


22 | English
BURGcam SMART 302
BURGcam SMART 302
English | 23
Getting started for WLAN operation
•
Depending on the type of WLAN router you are using, activate
the WPS / WLAN function either by pushing the respective
WPS / WLAN button on the router or by adjusting the appropriate
WLAN settings in your router. It is important that the different
devices will be allowed to communicate with each other
(disable guest access).
•
Press the network button on the camera to connect the
camera with the corresponding WLAN router.
•
The router will assign an IP-address to the camera (DHCP).
•
Insert the supplied CD into your PC / laptop drive and start
the Confi g Tool. (See page 24)
WLAN / LAN operation
Installation via smartphone
•
Connect your smartphone to the same network via WLAN.
•
Download the BURG CAM App to your smartphone.
•
Start the BURG CAM App on your smartphone and go to the
main menu:
BURG CAM MOVE
Inbetriebnahme:
Getting started:
For camera installation, the following 3
options are available:
Option 1:
LAN operation: Installation via PC/laptop:
•
Use a LAN/network cable (not
included in the delivery) to connect
the camera and your PC/laptop with
the network. Your PC/laptop has to be
in the same network as the camera.
•
Insert the supplied CD into your PC/
laptop drive and start the Config Tool.
Option 2:
WLAN/LAN operation: Installation via
smartphone:
•
Use a LAN/network cable (not
included in the delivery) to connect
the camera and your PC/laptop with
the network.
•
Connect your smartphone to the
same network via WLAN.
•
Download the BURG CAM App to
your smartphone.
•
Start the BURG CAM App on your
smartphone and go to the main
menu:
!
!
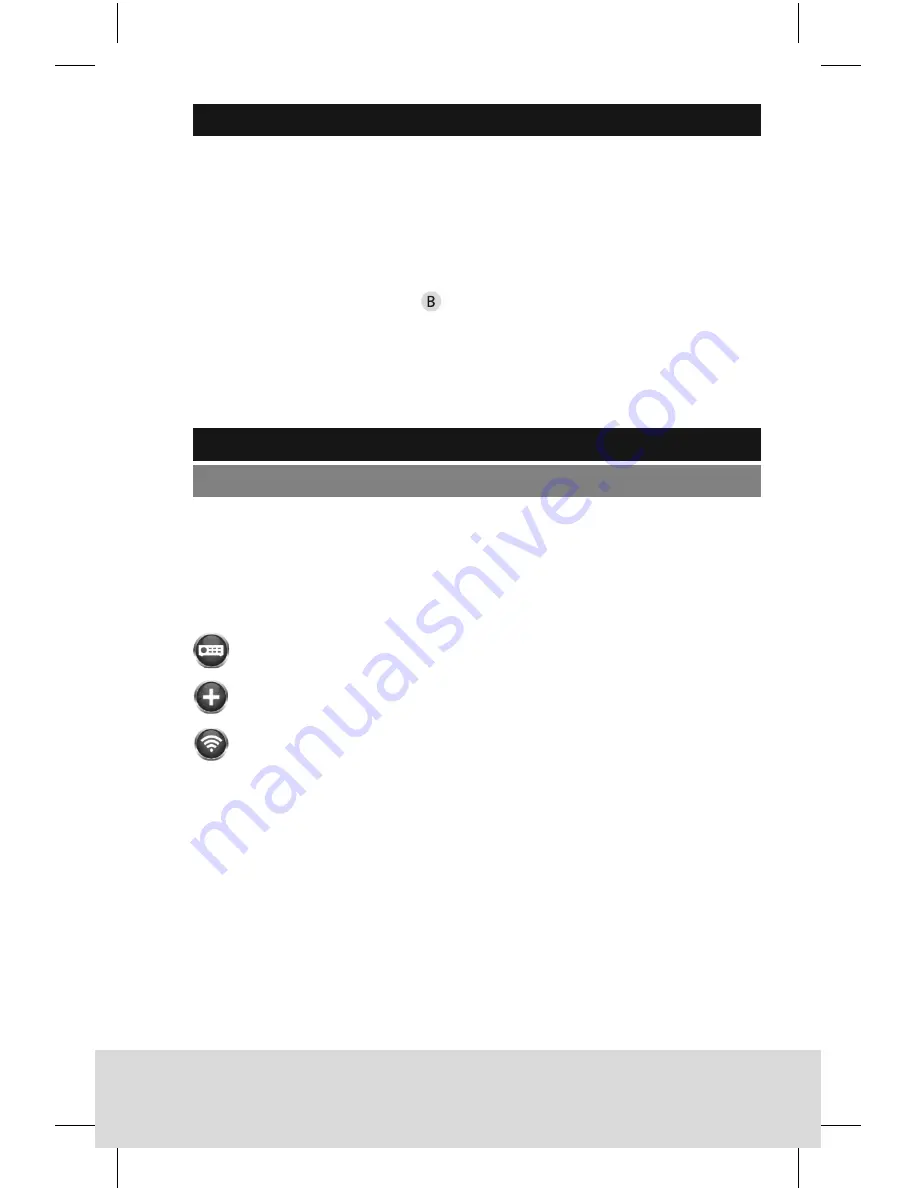
Device manager
!
!
Add device
!
!
WIFI configuration
•
Assign any name to the camera.
•
Scan the QR code of the camera or
type in the camera’s serial number
manually (you will find these
information on the label on the
camera or on the label on the
packaging box).
Für die Einrichtung der Kamera gibt es 3
unterschiedliche Möglichkeiten:
Option 1:
LAN Betrieb: Einrichtung mit PC/Laptop:
•
Verwenden Sie ein LAN/Netzwerkkabel
(nicht im Lieferumfang enthalten) und
verbinden Sie die Kamera und Ihren PC/
Laptop mit dem Netzwerk. Ihr PC/Laptop
muss sich im gleichen Netzwerk
befinden wie die Kamera.
•
Legen Sie die beiliegende CD in Ihren
PC/Laptop ein und starten Sie das
Config Tool.
Option 2:
WLAN/LAN Installation: Einrichtung mit
dem Smartphone:
•
Verwenden Sie ein LAN/Netzwerkkabel
(nicht im Lieferumfang enthalten) und
verbinden Sie die Kamera mit dem
Netzwerk.
•
Verbinden Sie Ihr Smartphone mit
demselben Netzwerk über WLAN.
•
Installieren Sie die BURG CAM App auf
Ihrem Smartphone.
•
Starten Sie die BURG CAM App auf
Ihrem Smartphone und wählen Sie im
Hauptmenü:
!
!
Gerätemanager
!
!
Gerät hinzufügen
!
!
WIFI Konfiguration
•
Vergeben Sie einen beliebigen Namen
für die Kamera.
•
Scannen Sie den QR-Code der Kamera
oder tippen Sie die Seriennummer der
Kamera manuell ein (Etikett auf
Verpackung/Kamera).
!5
Device manager
BURG CAM MOVE
Inbetriebnahme:
Getting started:
For camera installation, the following 3
options are available:
Option 1:
LAN operation: Installation via PC/laptop:
•
Use a LAN/network cable (not
included in the delivery) to connect
the camera and your PC/laptop with
the network. Your PC/laptop has to be
in the same network as the camera.
•
Insert the supplied CD into your PC/
laptop drive and start the Config Tool.
Option 2:
WLAN/LAN operation: Installation via
smartphone:
•
Use a LAN/network cable (not
included in the delivery) to connect
the camera and your PC/laptop with
the network.
•
Connect your smartphone to the
same network via WLAN.
•
Download the BURG CAM App to
your smartphone.
•
Start the BURG CAM App on your
smartphone and go to the main
menu:
!
!
Device manager
!
!
Add device
!
!
WIFI configuration
•
Assign any name to the camera.
•
Scan the QR code of the camera or
type in the camera’s serial number
manually (you will find these
information on the label on the
camera or on the label on the
packaging box).
Für die Einrichtung der Kamera gibt es 3
unterschiedliche Möglichkeiten:
Option 1:
LAN Betrieb: Einrichtung mit PC/Laptop:
•
Verwenden Sie ein LAN/Netzwerkkabel
(nicht im Lieferumfang enthalten) und
verbinden Sie die Kamera und Ihren PC/
Laptop mit dem Netzwerk. Ihr PC/Laptop
muss sich im gleichen Netzwerk
befinden wie die Kamera.
•
Legen Sie die beiliegende CD in Ihren
PC/Laptop ein und starten Sie das
Config Tool.
Option 2:
WLAN/LAN Installation: Einrichtung mit
dem Smartphone:
•
Verwenden Sie ein LAN/Netzwerkkabel
(nicht im Lieferumfang enthalten) und
verbinden Sie die Kamera mit dem
Netzwerk.
•
Verbinden Sie Ihr Smartphone mit
demselben Netzwerk über WLAN.
•
Installieren Sie die BURG CAM App auf
Ihrem Smartphone.
•
Starten Sie die BURG CAM App auf
Ihrem Smartphone und wählen Sie im
Hauptmenü:
!
!
Gerätemanager
!
!
Gerät hinzufügen
!
!
WIFI Konfiguration
•
Vergeben Sie einen beliebigen Namen
für die Kamera.
•
Scannen Sie den QR-Code der Kamera
oder tippen Sie die Seriennummer der
Kamera manuell ein (Etikett auf
Verpackung/Kamera).
!5
Add device
BURG CAM MOVE
Inbetriebnahme:
Getting started:
For camera installation, the following 3
options are available:
Option 1:
LAN operation: Installation via PC/laptop:
•
Use a LAN/network cable (not
included in the delivery) to connect
the camera and your PC/laptop with
the network. Your PC/laptop has to be
in the same network as the camera.
•
Insert the supplied CD into your PC/
laptop drive and start the Config Tool.
Option 2:
WLAN/LAN operation: Installation via
smartphone:
•
Use a LAN/network cable (not
included in the delivery) to connect
the camera and your PC/laptop with
the network.
•
Connect your smartphone to the
same network via WLAN.
•
Download the BURG CAM App to
your smartphone.
•
Start the BURG CAM App on your
smartphone and go to the main
menu:
!
!
Device manager
!
!
Add device
!
!
WIFI configuration
•
Assign any name to the camera.
•
Scan the QR code of the camera or
type in the camera’s serial number
manually (you will find these
information on the label on the
camera or on the label on the
packaging box).
Für die Einrichtung der Kamera gibt es 3
unterschiedliche Möglichkeiten:
Option 1:
LAN Betrieb: Einrichtung mit PC/Laptop:
•
Verwenden Sie ein LAN/Netzwerkkabel
(nicht im Lieferumfang enthalten) und
verbinden Sie die Kamera und Ihren PC/
Laptop mit dem Netzwerk. Ihr PC/Laptop
muss sich im gleichen Netzwerk
befinden wie die Kamera.
•
Legen Sie die beiliegende CD in Ihren
PC/Laptop ein und starten Sie das
Config Tool.
Option 2:
WLAN/LAN Installation: Einrichtung mit
dem Smartphone:
•
Verwenden Sie ein LAN/Netzwerkkabel
(nicht im Lieferumfang enthalten) und
verbinden Sie die Kamera mit dem
Netzwerk.
•
Verbinden Sie Ihr Smartphone mit
demselben Netzwerk über WLAN.
•
Installieren Sie die BURG CAM App auf
Ihrem Smartphone.
•
Starten Sie die BURG CAM App auf
Ihrem Smartphone und wählen Sie im
Hauptmenü:
!
!
Gerätemanager
!
!
Gerät hinzufügen
!
!
WIFI Konfiguration
•
Vergeben Sie einen beliebigen Namen
für die Kamera.
•
Scannen Sie den QR-Code der Kamera
oder tippen Sie die Seriennummer der
Kamera manuell ein (Etikett auf
Verpackung/Kamera).
!5
WIFI confi guration
•
Assign any name to the camera.
•
Scan the QR code of the camera or type in the camera’s serial
number manually (you will fi nd these information on the label
on the camera or on the label on the packaging box).
•
Then tap „Next“
•
Now enter the WLAN password of the network and then
tap „Next“
•
After the successful confi guration, the device is ready for use.