67
Chapter 8 NAS Navigator2
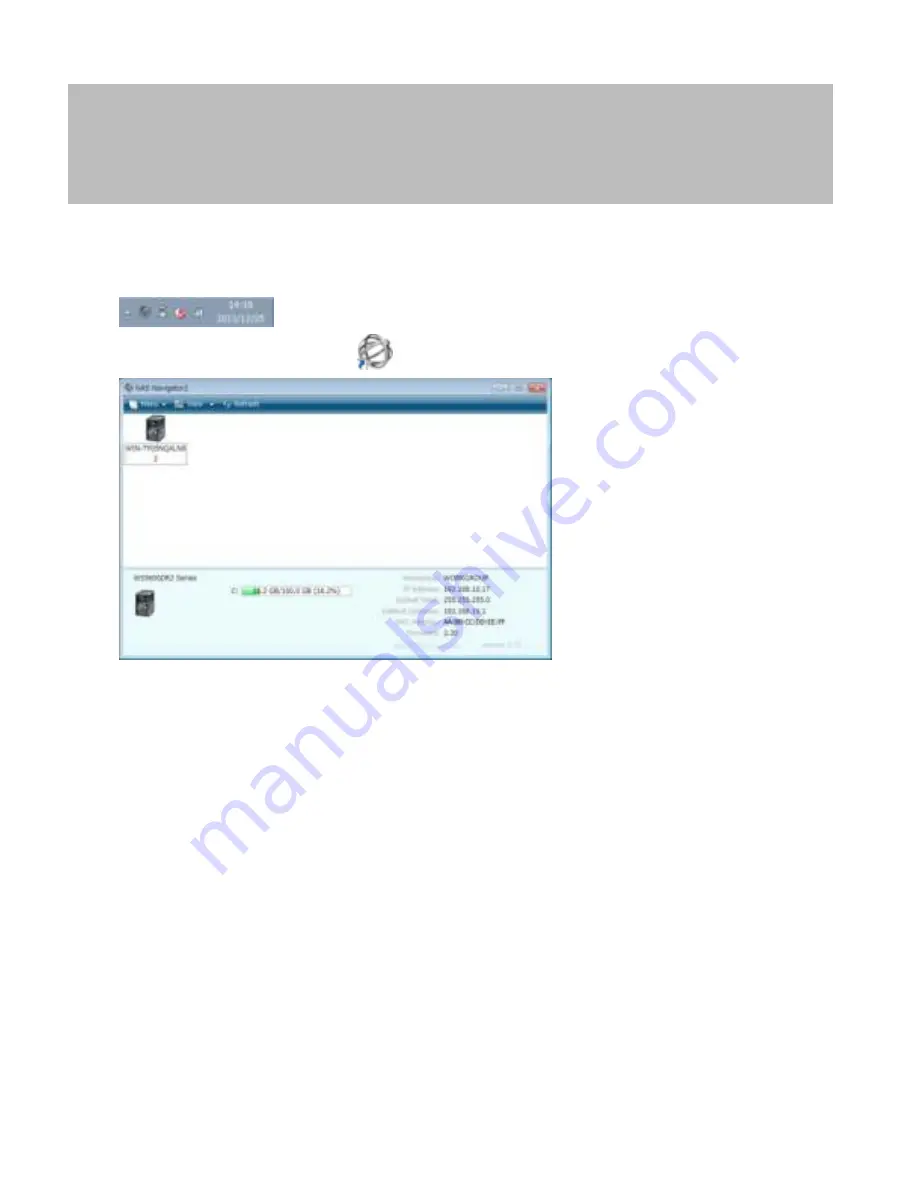
NAS Navigator2 is a utility program that makes it easy to display Windows Storage Server, change TeraStation’s IP
address, or check its hard drive in remote desktop. If you installed the TeraStation with the TeraNavigator CD, NAS
Navigator2 was installed automatically.
NAS Navigator2 will run in the system tray when the computer is on.
To launch NAS Navigator2, double-click the
icon.
Click your TeraStation’s icon to open a share on the TeraStation and display:
• Total capacity
• Capacity in use
• IP address
• Workgroup
• Subnet mask
• Default gateway
• MAC address
• Firmware version
Содержание TeraStation WSS 5000R2
Страница 1: ...TeraStation WSS 5000R2 User Manual www buffalotech com 35020333 01 2014 01...
Страница 5: ...5 Chapter 1 Installation Diagrams WS5600DR2 WS5400DR2 WS5200DR2...
Страница 17: ...17...
Страница 25: ...25 4 Click Next 5 Enter the volume size that you want to create and click Next...
Страница 30: ...30 8 Push the unlock button of the failed hard drive and swing the lock mechanism out...
Страница 31: ...31 9 Pull out the hard drive cartridge and remove it from the TeraStation...
Страница 33: ...33 11Swing the lock back down until it clicks into place...
Страница 40: ...40 4 Click Next 5 Select Custom and click Next...
Страница 41: ...41 6 Click Add Items 7 Select the backup source folders or drives and click OK...
Страница 42: ...42 8 Click Next 9 Specify the schedule to run the backup and click Next...
Страница 45: ...45 5 Select the date when backing up the data and click OK 6 Select the recovery targets and click Next...
Страница 49: ...49 4 Enter the computer name choose domain or workgroup and click OK...
Страница 51: ...51 4 Click Proceed 5 Enter a new password twice...
Страница 54: ...54 4 Enter the desired settings then click Add...
Страница 55: ...55 5 Click Advanced 6 Click Find Now 7 Select the users to be registered to the group then click OK...
Страница 56: ...56 8 Click OK 9 Click Close...
Страница 58: ...58 4 Click Next 5 Enter the path of an existing folder or a new folder then click Next...
Страница 60: ...60 7 Check Customize permissions then click Custom 8 Choose Everyone and check Allow for Change...
Страница 61: ...61 9 In the Security tab click Edit Add...


