


2
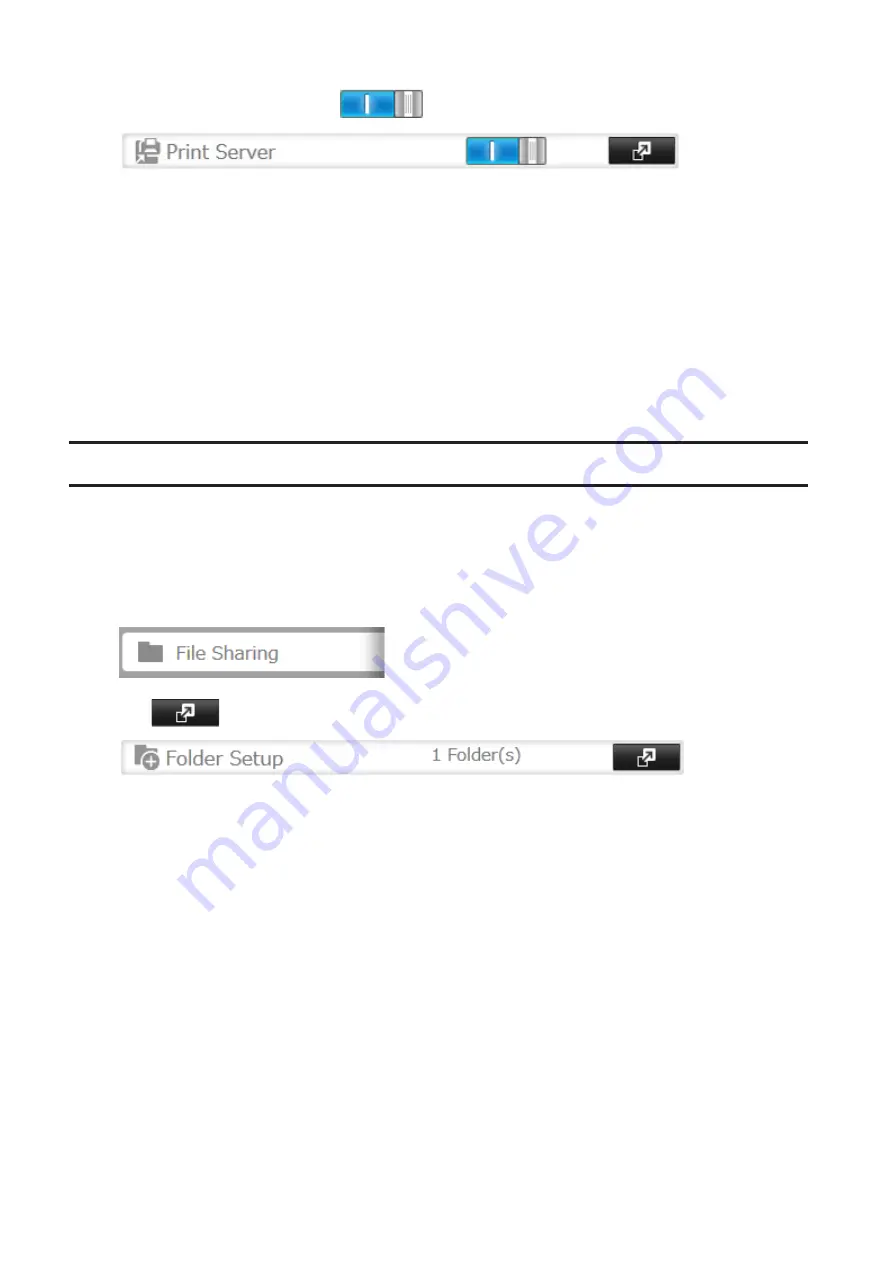
Move the print server switch to the
position to enable the print server.
3
Refer to the manual supplied with the printer and install the printer drivers.
4
Launch NAS Navigator2. Double-click your TeraStation's icon.
5
Double-click the icon of the connected printer (shared name is displayed).
6
Click
OK
.
7
Select your printer, then click
OK
.
8
Register the printer.
Offline Files
The "offline files" feature that is included with many versions of Windows can be used with files on the TeraStation.
You will be able to work on files stored on the TeraStation even when your PC is disconnected from the network.
When you next connect to the network, the updated files are written and synchronized. Follow the procedure below
to configure offline files.
1
In Settings, click
File Sharing
.
2
Click
to the right of "Folder Setup".
3
Click the shared folder for offline files.
4
Click the
Advanced Settings
tab.
5
Choose "Manual File Caching", "Automatic File Caching", or "Automatic Program and File Caching", then click
OK
.
• "Manual File Caching" - User selects files that are cached.
• "Automatic File Caching" - Opened files can be cached locally for offline use. Previous versions of files that
are not synchronized are automatically replaced by the latest versions.
• "Automatic Program and File Caching" - Opened files can be cached locally for usage offline. Previous
versions of files and applications executed from the network that are not synchronized are automatically
replaced by the latest version of the files and applications.
6
Click
OK
.
7
Click
Close
.
8
Right-click the icon of the shared folder on the TeraStation for which you have set the offline feature, then click
Always available offline
. If the offline file wizard opens, follow the instructions on the screen.
91
Содержание TeraStation 1000
Страница 23: ...2 Click to the right of Users 3 Click Create User 4 Click Create Sequential Users 22...
Страница 56: ...Once RAID 0 array is configured create a shared folder before use 55...
Страница 63: ...2 Click to the right of Backup 3 Click List of LinkStations and TeraStations 62...
Страница 65: ...3 Click Create New Job Note Up to 8 backup jobs can be configured 64...
Страница 75: ...19Click Select Backup Disk 20Select the TeraStation then click Use Disk 74...
Страница 108: ...4 Select the desired Ethernet frame size and click OK 107...


