31
With NFS enabled, you can access a shared
folder on the TeraStation from an NFS client.
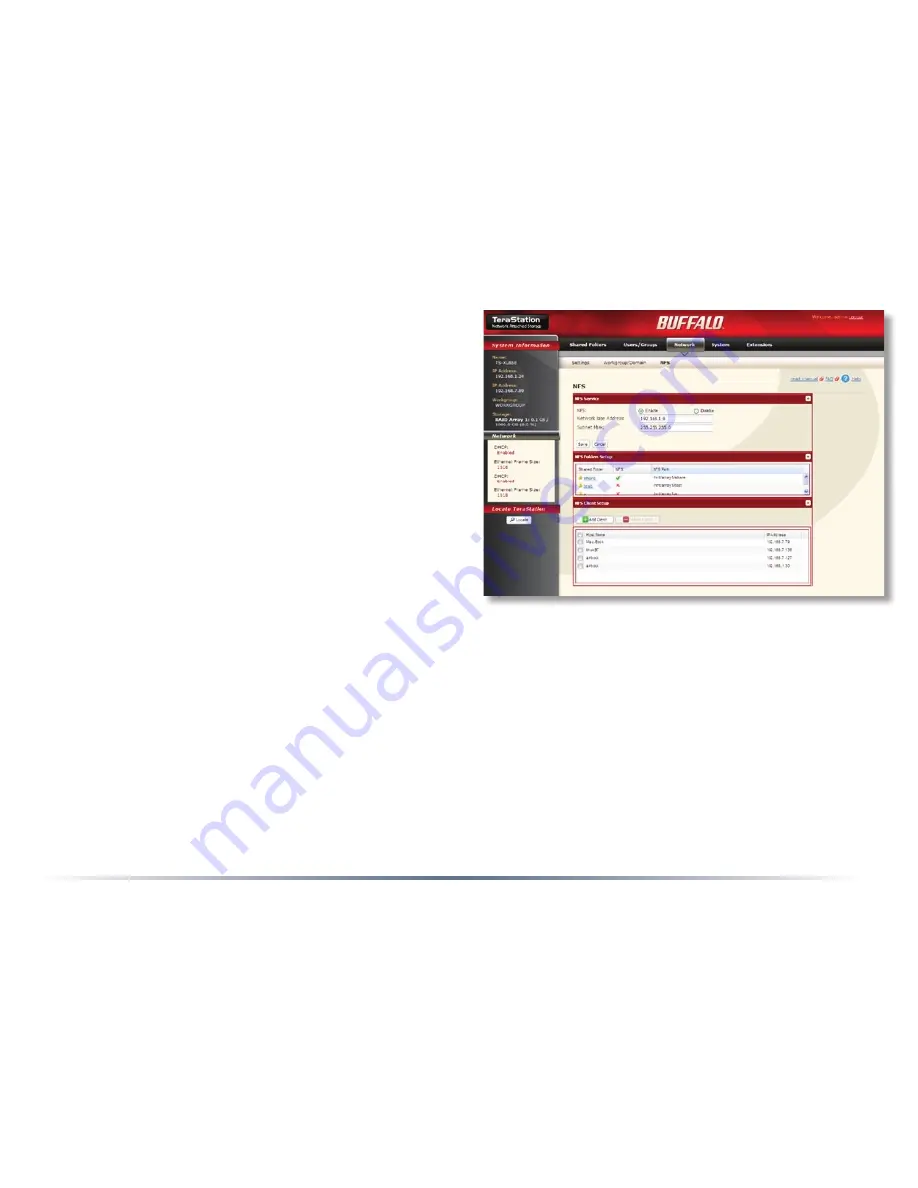
NFS is disabled by default. To enable it, navigate
to
Network/NFS
and open
Network Service
.
Click
Modify Settings
.
Enable
NFS, enter the
TeraStation’s network base address and subnet
mask, and then click
Save
. Examples: If the
TeraStation’s IP address is 192.168.1.150 and
the subnet mask is 255.255.255.0, then the
network base address would be 192.168.1.0.
If the subnet mask is 255.255.0.0, then the
network base address would be 192.168.0.0.
NFS
In
NFS Folders Setup
, click on the name of your share. Click
Enable
and then
Save
.
In
NFS Client Setup
, click
Add Client
. Enter the IP address and subnet mask of your client and click
Save
. Repeat for each client that you want to allow to connect with NFS.
To access the TeraStation through NFS using Windows Services for Unix 3.5, the command will be
mount 192.168.1.150:/mnt/array1/share z:
, where “192.168.1.150” is the TeraStation’s IP address,
“/mnt/array1/share” is the NFS publishing path, and “z” is an unused network drive letter. For an
OS X Mac, the command would be
mount -t nfs 192.168.1.150:/mnt/array1/share /Volumes
. Other
NFS compatible operating systems use different commands to access an NFS share. Consult your
OS’s documentation for more information about connecting to an NFS share.


