


CONTROLS & FUNCTIONS
1. Front
control
“
SELECT OR AUTO”
: press this button to shift among various input modes, such as RGB AV etc.
“Power”
: press this button to turn on or off the unit.
“+”
and
“-”
: to turn up or down the volume, and move up and down or left and right direction under setup interface.
“Menu”:
Pressing the “MENU” button will always activate the On-Screen Display. Under diff erent input mode, the
interface will be diff erent and the function of this button vast diff erent. Use the “-” and “ + ” Adjust left and right
buttons to change options. In the next few pages, more customizing usage will be introduced on detail.
391415 - 391416
14
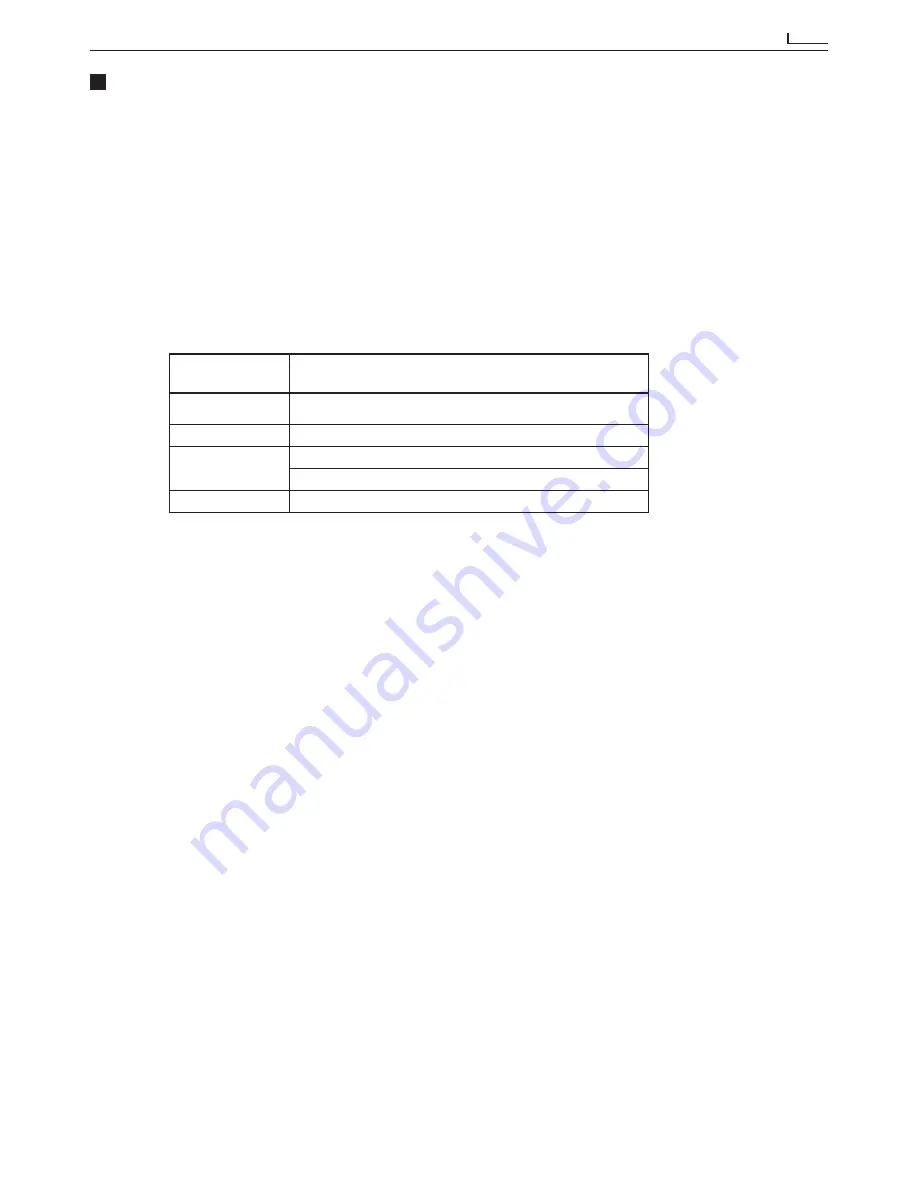
Buttons on the
Front Control
Buttons on the Remote Controller
POWER
Switch on/off the unit by software
MENU
Press to enter LCD OSD
SELECT OR AUTO
INPUT(select the desired signal input source)
EXIT (exit OSD setting)
+/-
Left/light the highlight icon
LE03096AA.indd 15
25/02/10 13:56


