6
4 SOFTWARE INSTALLATION
USB Driver
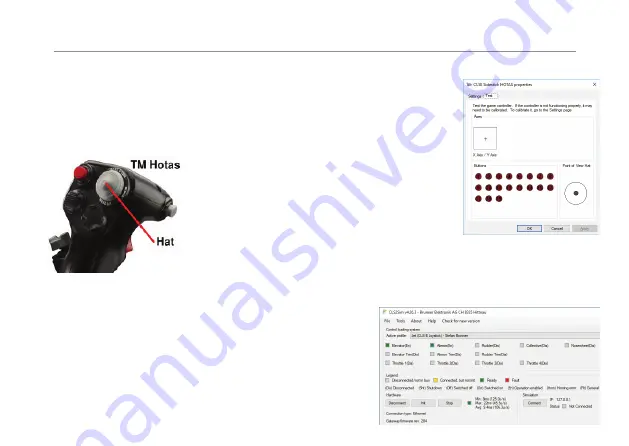
USB Driver is installed automatically when the Joystick is connected to your computer via USB
and power is applied the fi rst time. CLS-E Joystick (TM Hotas, A3xx, Jet, Custom) must show
up in Windows as Game Controller. In standalone mode (CLS2SIM SW is not installed) the Hat
Switch is assigned as Hardware Trim.Switch is assigned as Hardware Trim.
CLS2SIM (V 4.26.3 or later)
For enabling additional Control Loading Features download
and install CLS2Sim (win32 application):
http://www.brunner-innovation.swiss/media
If the optional CLS2Sim Soft ware is installed all axes are
mapped by the soft ware itself.
DUAL JOYSTICK SETUP / SYNCHRONIZATION
In case of using 2 CLS-E Joystick (MCC Confi guration), connect a standard
RJ45 Cat5 Ethernet cable on the “CANopen” connector between the units.
All necessary settings for self-synchronization is done automatically at the
fi rst power up of the devices (See Chapter 6 Wiring Diagram on page 32).
Read the manual and help fi le in CLS2Sim for additional information.
Contact us under following e-mail in case of troubles
or questions [email protected]
IN THIS CASE THE USB X-AXIS (ROLL) AND Y-AXIS (PITCH)
MAPPING FOR THE CLS-E JOYSTICK MUST BE DISABLED
IN THE SIMULATION SOFTWARE.
Содержание CLS-E
Страница 5: ...5 3 GRIP INSTALLATION...
Страница 11: ...11 3 GRIP INSTALLATION...
Страница 17: ...17 3 INSTALLATION DE LA POIGN E...
Страница 23: ...23 3 INSTALLAZIONE DELLA MANOPOLA...
Страница 29: ...29 3 INSTALACI N DE AGARRE...
Страница 32: ...32 6 WIRING DIAGRAMS 1 4 SINGLE JOYSTICK OPERATION...
Страница 33: ...33 6 WIRING DIAGRAMS 2 4 DUAL JOYSTICK OPERATION...
Страница 34: ...34 6 WIRING DIAGRAMS 3 4 SINGLE JOYSTICK RUDDER OPERATION...
Страница 35: ...35 6 WIRING DIAGRAMS 4 4 DUAL COCKPIT JOYSTICK RUDDER OPERATION...
Страница 38: ...NOTES...
Страница 39: ......


