CHAPTER 9
Wireless LAN
107
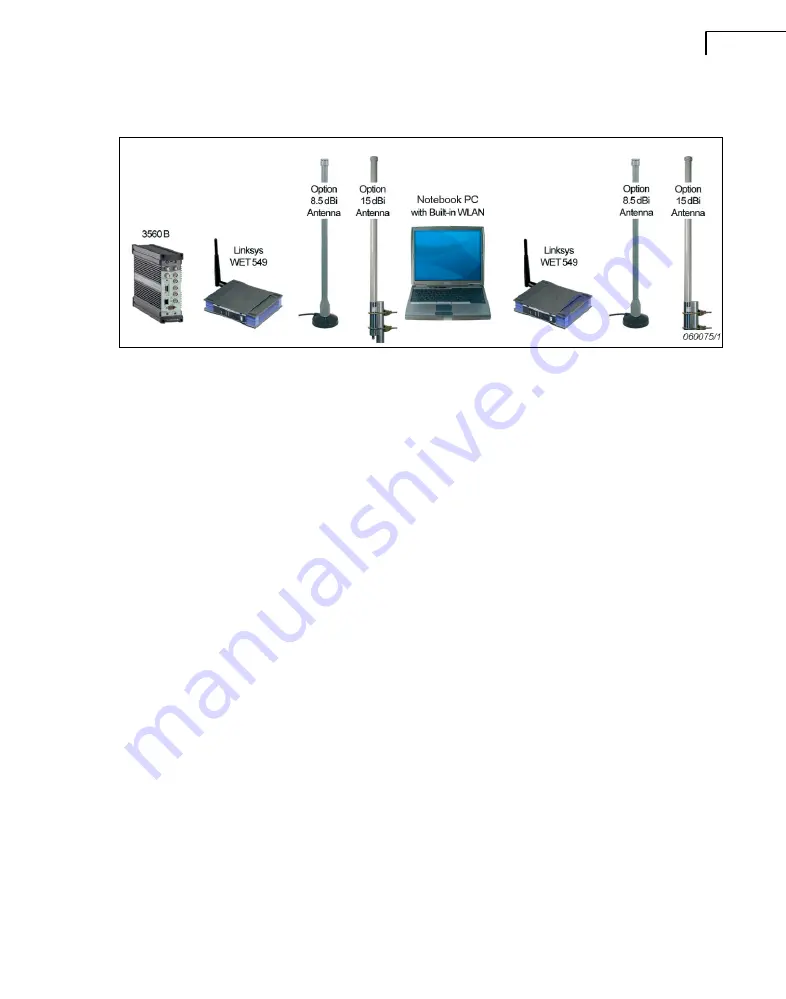
Fig.9.6
Linksys WET54 to Linksys WET54
9.4
Installing the System
Please refer to the Linksys manual for system installation – the easiest way is to use the
CD-ROM provided. In basic terms, you should go through all the steps in the sections
below.
9.4.1
Notebook PC and Linksys WET54
This system uses the internal Wireless LAN in the Notebook PC. The Linksys WET54
connects to a PULSE front-end. See Fig.9.5.
1) Connect the Linksys using the LAN Cable to the normal LAN interface in the PC.
2) Load the CD that came with the system.
3) Change the IP address of the Linksys WET54 to IP: 10.10.10.70. Use
ad hoc
mode.
4) Disconnect the LAN cable from the PC and connect it to the front-end.
5) Run the program
Start
,
Programs
,
PULSE
,
PULSE
Front-end Setup
.
6) Change the PC’s wireless LAN IP to 10.10.10.50.
7) Set the IP address of the front-end to 10.10.10.11 (factory default).
8) Run the setup program to the end.
9) You can now run PULSE.
9.4.2
Linksys WET54 to Linksys WET54
1) Disable the Built-in wireless LAN in the PC.
2) Connect the first Linksys WET54 to the normal LAN interface in the PC.
Содержание PULSE 3560-B
Страница 2: ......
Страница 8: ......
Страница 11: ...Part I Installation...
Страница 12: ......
Страница 44: ...PULSE Multi analyzer System Type 3560 B C D E Installation and IDAe Hardware 36...
Страница 53: ...Part II Hardware...
Страница 54: ......
Страница 110: ...PULSE Multi analyzer System Type 3560 B C D E Installation and IDAe Hardware 102...
Страница 140: ...PULSE Multi analyzer System Type 3560 B C D E Installation and IDAe Hardware 132...
Страница 142: ...PULSE Multi analyzer System Type 3560 B C D E Installation and IDAe Hardware 134...
Страница 143: ...Part III Appendices...
Страница 144: ......
Страница 148: ...PULSE Multi analyzer System Type 3560 B C D E Installation and IDAe Hardware 140...
Страница 161: ......


