


DIRECTIONS FOR USE
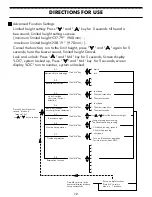
2. Forced initialization: Press the " " button until the desk frame reaches its
lowest point, then release the button and press it again for about 5 seconds
until hear the " di " sound and desk frame rebound, and the initialization is
completed.
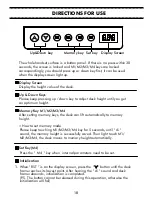
Safety Function
When the desktop is on the rise or down, encountered reverse resistance,
the desk will rebound.
Handset shows error code and solution
Error code
Fault cause
Solution
E01,E06,E07
power fault
E04
handset fault
E05
E08
E11
E12
E14~E17
E18
HOT
Anticollision alert
desktop sloping
Connection cable failure
controller fault
motor fault
overloading
overtime operation
Change power
Unplug and replug the cable of hand set
Rebound reminder , normal condition
Check the desktop
Check the connecting cable
Exchange the controller
Change motor
Reduce the loading
Automatic recovery after stop using
for 20 minutes
3. Restore the factory settings: When new controller is changed or the
parameters need to be restored to the settings, press the " " and " "
buttons simultaneously, you will hear the first “ di ”sound after about 5
seconds and second “ di ” sound after 10 seconds. When the display screen
shows " RST ", please operate refer to the No.1 item.
11


