UTILITY STITCHES
——————————————————————————————————————————————————
118
GETTING READ
Y
CONTENTS
SEWING BASICS
U
T
IL
IT
Y
S
T
ITCHES
APPENDIX
INDEX
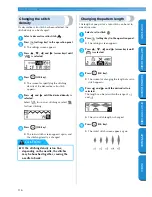
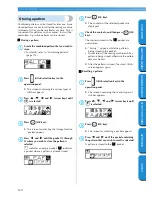
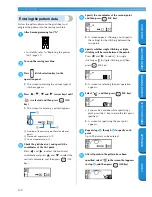
Changing the stitch
density
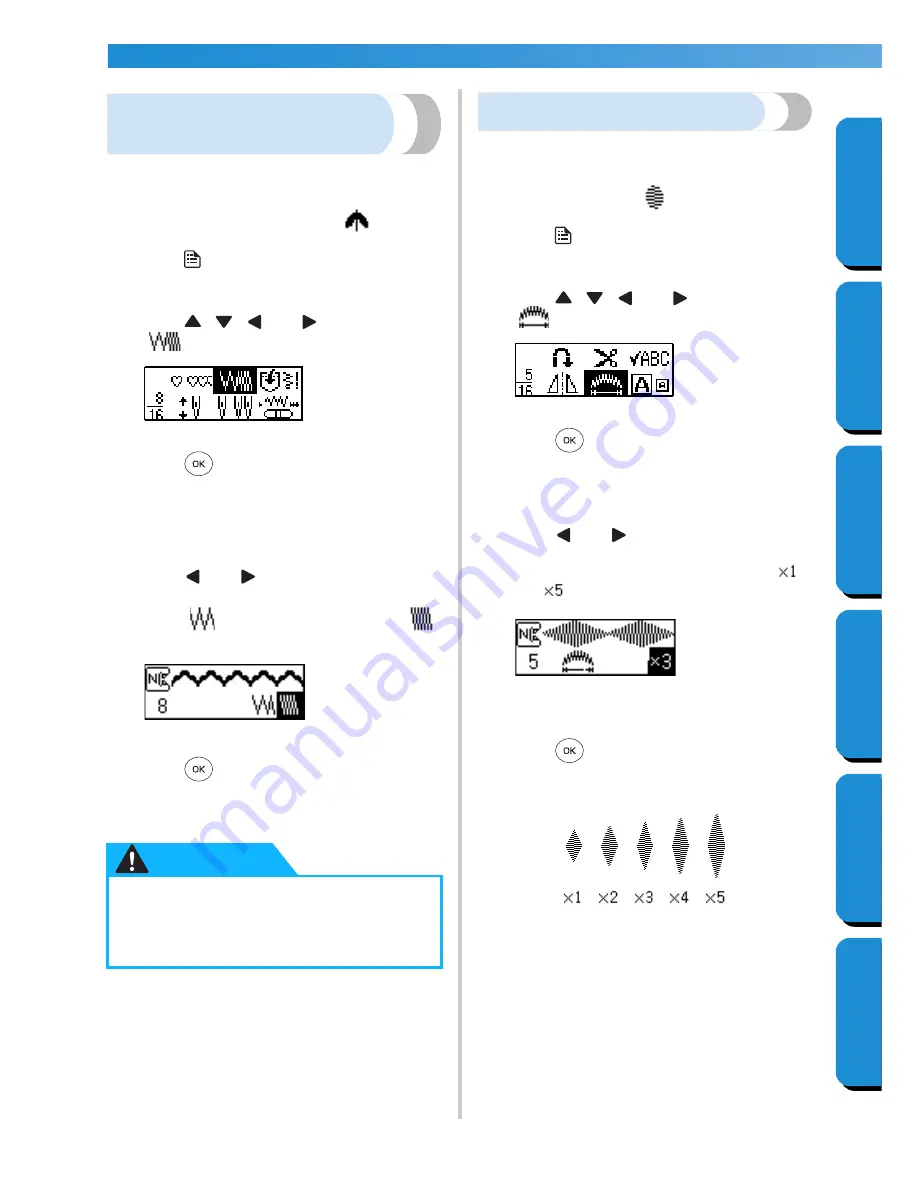
If a decorative satin stitch has been selected, the
stitch density can be changed.
1
Select a decorative satin stitch
.
2
Press
(settings key) in the operation panel.
X
The settings screen appears.
3
Press , ,
and
(arrow
keys)
until
is selected.
4
Press
(OK key).
X
The screen for specifying the stitching
density of the decorative satin stitch
appears.
5
Press
and
until the desired density is
selected.
Select
for coarser stitching or select
for finer stitching.
6
Press
(OK key).
X
The initial stitch screen appears again, and
the stitching density is changed.
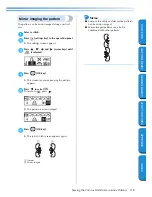
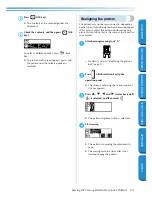
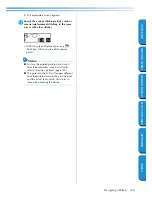
Changing the pattern length
The length of one part of a satin stitch can be set to
one of five sizes.
1
Select a satin stitch
.
2
Press
(settings key) in the operation panel.
X
The settings screen appears.
3
Press , ,
and
(arrow
keys)
until
is selected.
4
Press
(OK key).
X
The screen for changing the length of a satin
stitch appears.
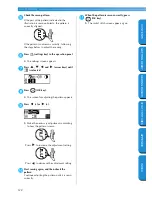
5
Press
and
until the desired ratio is
selected.
The length can be set within the range of
and .
X
The satin stitch length is changed.
6
Press
(OK key).
X
The initial stitch screen appears again.
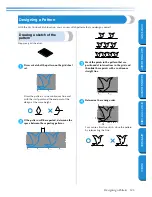
●
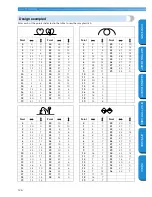
If the stitching density is too fine,
depending on the needle, the stitches
may be bunched together, causing the
needle to break.
CAUTION

