


78
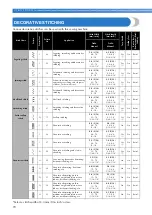
UTILITY STITCHES
—————————————————————————————————————————————————————————————————————————————————————————————————————
■
Adding new characters after sewing
After sewing a combination of characters, you
can add characters to the combination using the
following method.
Memo
●
When you have finished sewing, the pattern
No. of the first character in the current
combination is shown on the LCD.
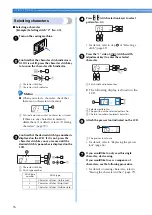
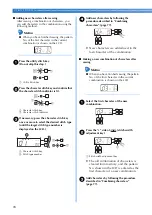
a
Press the utility stitch key.
(Do not skip this step.)
a
Utility Stitch key
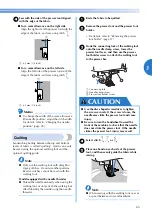
b
Press the character stitch key and confirm that
the character stitch indicator is lit.
a
Character stitch key
b
Character stitch indicator
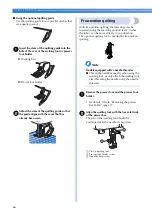
c
If necessary, press the character stitch key
once or more to select the desired stitch type
(until the target stitch type number is
displayed on the LCD.)
a
Character stitch key
b
Stitch type number
d
Add new characters by following the
procedure described in “Combining
characters” (page 77).
X
New characters are added next to the
last character of the combination.
■
Making a new combination of characters after
sewing
Memo
●
When you have finished sewing, the pattern
No. of the first character in the current
combination is shown on the LCD.
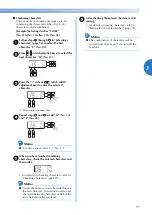
a
Select the first character of the new
combination.
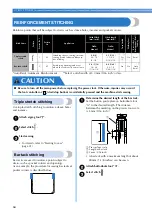
b
Press the “+” side of
(stitch width
adjustment key).
a
Stitch width adjustment key
X
The old combination of characters is
cleared from memory, and the pattern
No. shown in the LCD is entered as the
first character of a new combination.
c
Add characters by following the procedure
described in “Combining characters”
(page 77).
a
a
b
a