UTILITY STITCHES
40
Memo
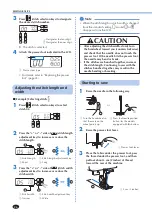
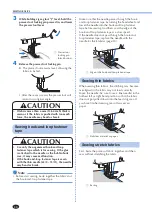
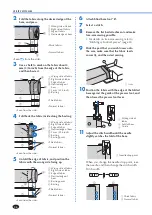
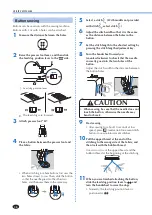
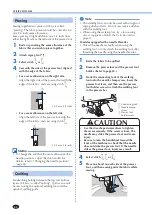
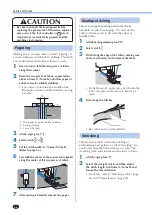
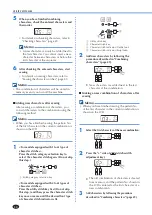
• If the presser foot contacts the zipper slider,
leave the needle lowered (in the fabric)
and raise the presser foot. After moving the
slider so it will not contact the presser foot,
lower the presser foot and continue sewing.
• To sew with the zipper on the left side of
the presser foot, attach the presser foot
holder to the left side of the pin on zipper
foot “I” in step
5
.
I
1
Left side of the pin
2
Needle drop point
8
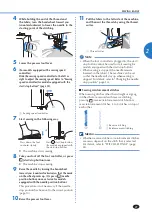
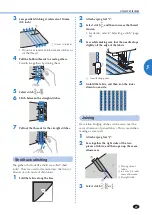
When you have finished sewing, remove the
basting stitching.
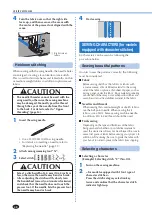
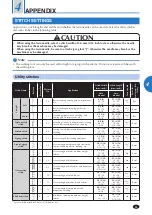
SEWING STRETCH FABRICS
AND ELASTIC TAPE
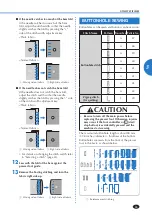
Stretch fabrics can be sewn and elastic tape can be
attached.
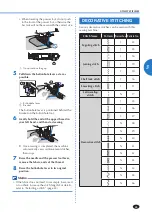
Stitch Name
Pattern Presser Foot Pattern No.
Stretch stitch
J
04
3-point
zigzag stitch
J
06
Elastic-attaching
stitch
J
24
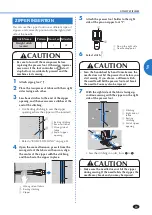
CAUTION
• Be sure to turn off the main power before
replacing the presser foot. Otherwise, injuries
may occur if the foot controller or (start/
stop button) is accidentally pressed and the
machine starts sewing.
Observe the corresponding precautions when
performing each of the following stitching operations.
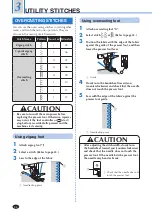
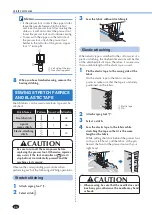
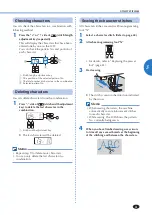
Stretch stitching
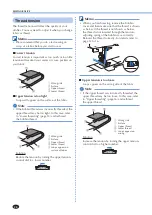
1
Attach zigzag foot “J”.
2
Select stitch .
3
Sew the fabric without stretching it.
Elastic attaching
When elastic tape is attached to the cuff or waist of a
piece of clothing, the finished dimensions will be that
of the stretched elastic tape. Therefore, it is necessary
that a suitable length of the elastic tape is used.
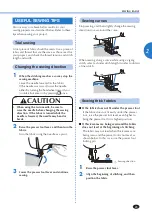
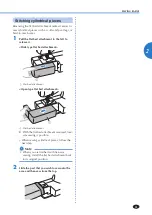
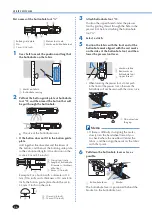
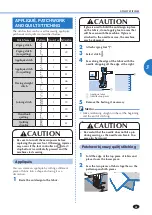
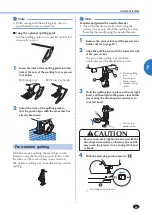
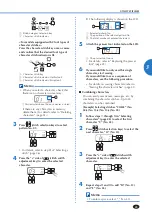
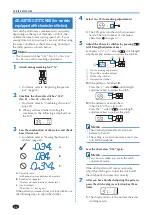
1
Pin the elastic tape to the wrong side of the
fabric.
Pin the elastic tape to the fabric at a few
points to make sure that the tape is uniformly
positioned on the fabric.
1
2
1
Elastic tape
2
Pin
2
Attach zigzag foot “J”.
3
Select a stitch.
4
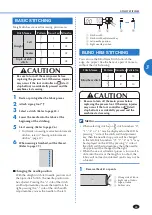
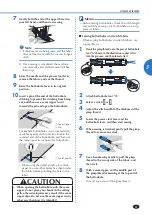
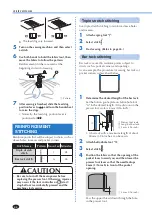
Sew the elastic tape to the fabric while
stretching the tape so that it is the same
length as the fabric.
While pulling the fabric behind the presser foot
with your left hand, pull the fabric at the pin
nearest the front of the presser foot with your
right hand.
CAUTION
• When sewing, be sure that the needle does not
touch any pins, otherwise the needle may bend
or break.

