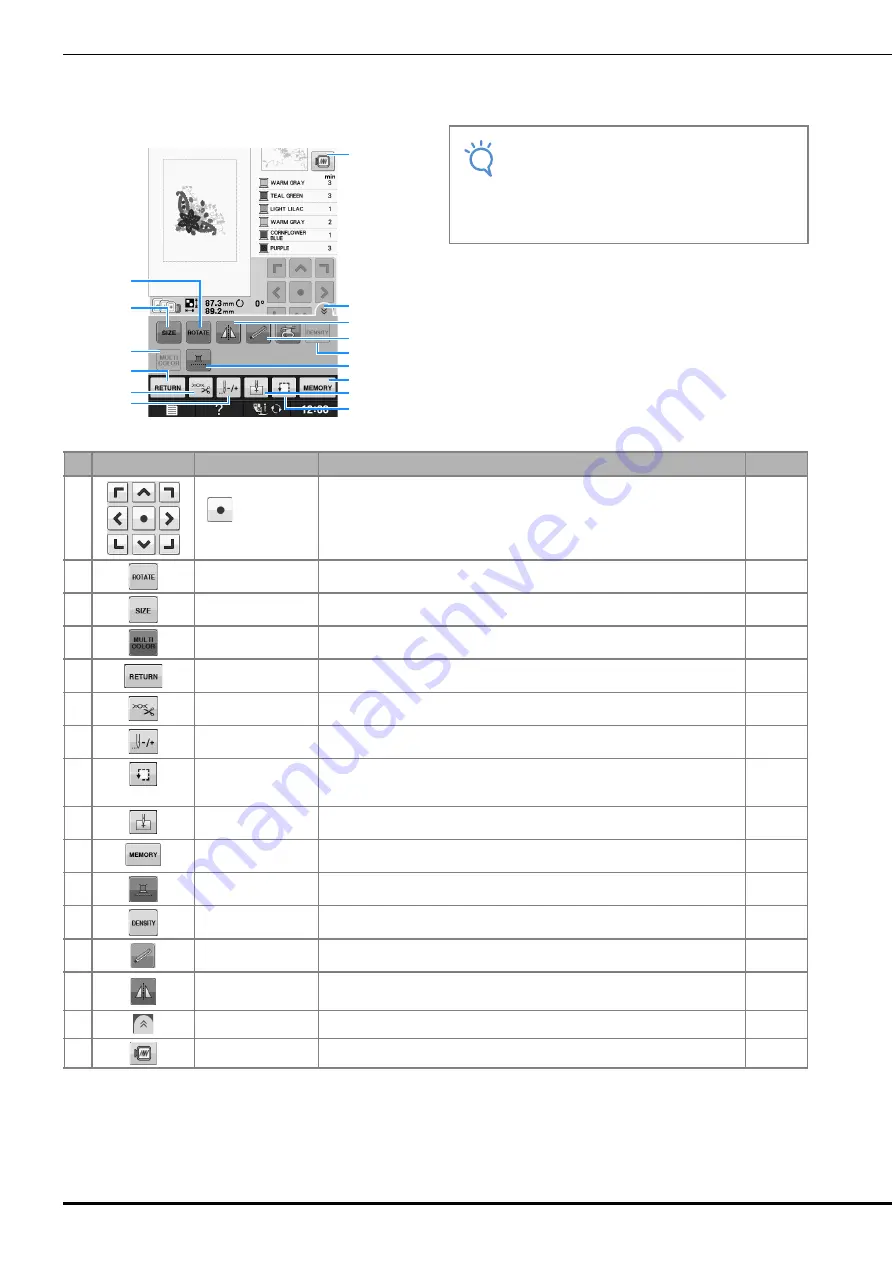
VIEWING THE EMBROIDERING SCREEN
E-10
■
Key Functions
Using these keys, you can change the size of the pattern, rotate the pattern, etc.
Note
• Some operations or functions are not
available for certain patterns. If the key
display is light gray, you cannot use that
function or operation with the selected
pattern.
No.
Display
Key Name
Explanation
Page
m
Arrow keys
(
Center
key)
Press an arrow key to move the pattern in the direction shown by the arrow.
(Press the Center key to return the pattern to the center of the embroidery
area.)
E-36
n
Rotate key
Press this key to rotate the pattern. You can rotate a pattern one degree, 10
degrees or 90 degrees at a time.
E-38
o
Size key
Press this key to change the size of the pattern.
E-37
p
Multi color key
Press this key to change the color of each letter when sewing alphabet
character patterns.
E-40
q
Return key
Press this key to return to the pattern type selection screen.
—
r
Cut/Tension key
Press this key to specify automatic thread cutting, thread trimming or the
thread tension. For embroidery, these functions are set automatically.
E-32 to
E-32
s
Forward/Back key
Press this key to move the needle forward or back in the pattern; useful if the
thread breaks while sewing or if you want to start again from the beginning.
E-27 to
E-29
t
Trial key
Press this key to check the position of the pattern.The embroidery frame moves
to the desired position so you can check that there is enough space to sew the
pattern.
E-19
u
Starting point key
Press this key to move the needle start position to align the needle with the
pattern position.
E-36
v
Memory key
Press this key to save a pattern in the machine’s memory, USB media or a
computer.
E-45 to
E-47
w
Uninterrupted
embroidery key
Press this key to embroider the selected pattern with a single color.
E-43
x
Density key
Press this key to change the density of alphabet character or frame patterns.
E-40
y
Embroidery LED foot
key
Press this key to turn on the LED pointer.
“Basic
operations”
z
Horizontal mirror
image key
Press this key to create a horizontal mirror image of the pattern.
E-39
Q
Function page key
Press this key to show all the keys in this screen.
E-40
R
Image key
Press this key for a preview of the sewn image.
E-20
Q
p
s
R
t
v
u
r
n
o
q
z
x
w
y
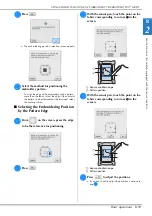
Содержание 882-D83
Страница 16: ...NAMES OF MACHINE PARTS AND THEIR FUNCTIONS B 14 ...
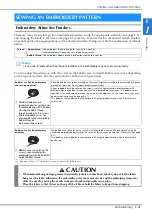
Страница 53: ...USING FUNCTIONS BY CONNECTING THE ACCESSORY TO THE MACHINE Getting Ready Basic operations B 51 B 1 ...
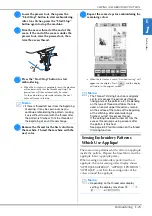
Страница 64: ...USING SENSOR FUNCTIONS IN EMBROIDERY EMBROIDERY EDIT MODE B 62 ...
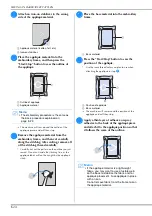
Страница 82: ...ATTACHING THE EMBROIDERY FRAME E 18 b Pull the embroidery frame toward you ...
Страница 119: ...EMBROIDERY APPLICATIONS Embroidery Embroidering E 55 E 1 ...
Страница 150: ...USING THE MEMORY FUNCTION E 86 ...


