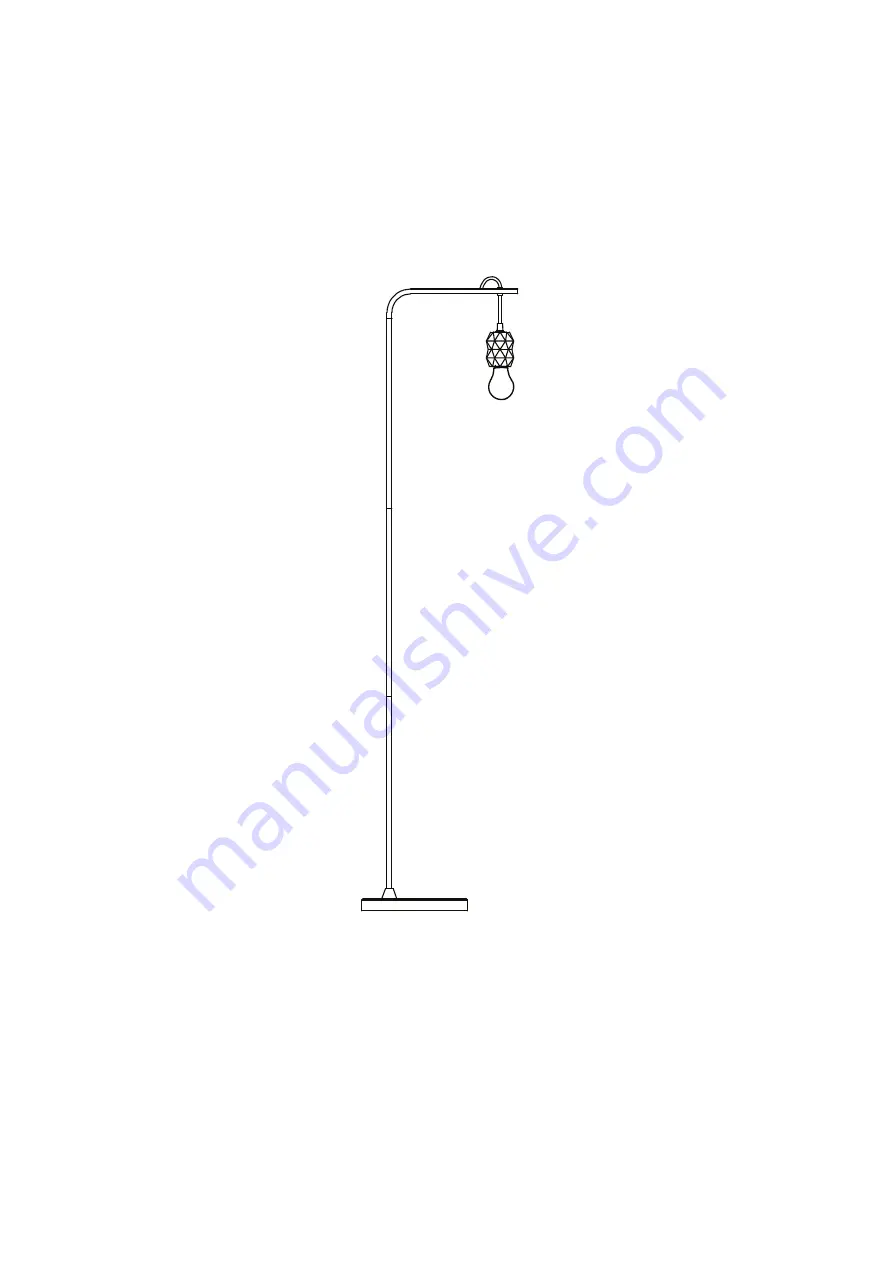
Step 3
Check if all parts are secure.
Enjoy! We hope your new lamp lights up your life.
Страница 1: ...ASSEMBLY GUIDE v1 0 Corvus Floor Lamp ...
Страница 2: ...low If anything s missing please visit www brosa com au pages product return and parts request and we ll sort it out right away What you need Hardware A x 1 Plastic Washer D x 1 Spanner B x 1 Washer C x 1 Nut Top Pole x 1 Middle Poles x 2 Bottom Pole x 1 Base x 1 1 2 4 3 ...
Страница 3: ...t be replaced by a professional 4 Never use a bulb of a greater wattage than recommended 5 To replace the bulb unplug the lamp from its power source and allow it to 6 Periodically check and re tighten all screws and fasteners 8 Firmly secure all pieces Small parts may present a choking hazard 9 Bulb is not included 220 240v 50Hz MAX 60W E27 ...
Страница 4: ...em together Continue with anoth er middle pole 2 and finally the bottom pole 3 Step 1 2 Attach the formed pole to the base 4 Fit a plastic washer A a washer B then a hex nut C to the bolt and tighten with the spanner D A x 1 B x 1 C x 1 D x 1 Step 1 1 Step 1 2 1 2 2 3 4 A B C D ...
Страница 5: ...Step 2 Gently screw the correct bulb not included into the bulb socket ...
Страница 6: ...Step 3 Check if all parts are secure Enjoy We hope your new lamp lights up your life ...