BROSA Capra Tripod Floor Lamp Скачать руководство пользователя страница 4

Components

Hardware

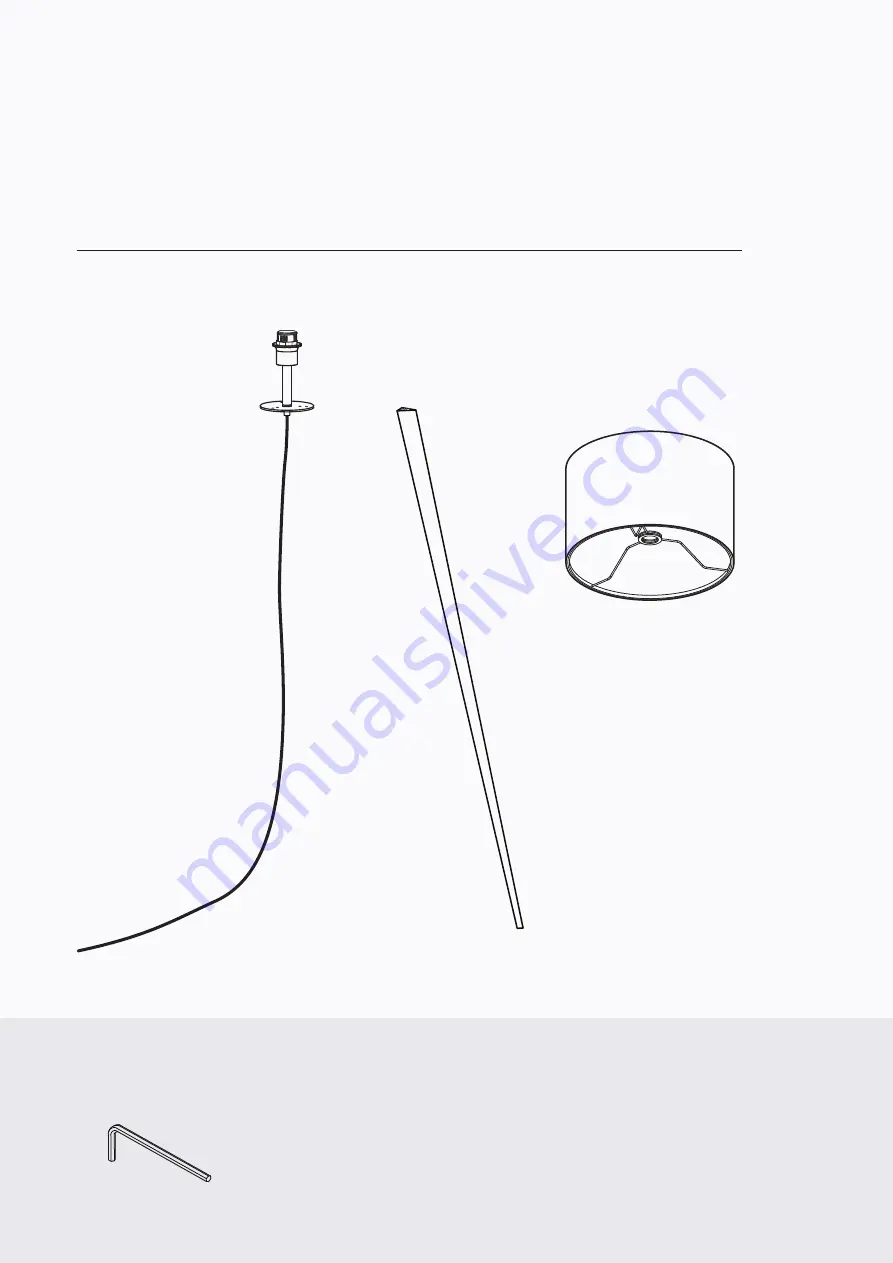
Before you get started, check you have all of the pieces below.
If anything’s missing, we’ll sort it out right away. Simply visit:
www.brosa.com.au/pages/product-return-and-parts-request

A

 x 1

Lamp Holder x 1

Leg x 3

Shade x 1

Содержание Capra Tripod Floor Lamp

Страница 1: ...Capra Tripod Floor Lamp A S S E M B LY G U I D E V2...

Страница 2: ...duct Avoid loose screws Tighten xtures every few months Assembly requires 2 people It s always easier with a friend Contact our support online or call 1300 027 672 Check the assembly guide for require...

Страница 3: ...recommended 5 To replace the bulb unplug the lamp from its power source and allow it to cool rst Then change the bulb plug it in and switch it on 6 This product is not suitable for children under 14...

Страница 4: ...efore you get started check you have all of the pieces below If anything s missing we ll sort it out right away Simply visit www brosa com au pages product return and parts request A x 1 Lamp Holder x...

Страница 5: ...Step 1 Unscrew the bolts attached to the top of the leg and remove them using the Allen key A Keep them for the following assembly Repeat this for the remaining legs A x 1 A...

Страница 6: ...lign one leg with the holes on the round plate of the lamp holder Make sure the holes on each component overlap Insert the bolts removed in Step 1 into the holes and tighten them with the Allen key A...

Страница 7: ...Step 3 Repeat Step 2 for the remaining legs A x 1 A...

Страница 8: ...Step 4 Unscrew the shade ring and remove it from the bulb holder...

Страница 9: ...Step 5 Attach the shade to the bulb holder Attach the shade ring to the bulb holder again and screw it until the shade is tight and secure...

Страница 10: ...Step 6 Gently screw the correct bulb not included into the bulb holder Enjoy We hope your new Capra Tripod Floor Lamp lights up your life...

Отзывы: