TECHNICAL SUPPORT
For assistance installing, configuring, or running
the controller, contact Broadcom Technical
Support:
WARRANTY NOTICE
1.
The warranty does not cover the return of
parts damaged by changing the bracket.
2.
The warranty does not cover ESD damage to
the controller. Controllers returned without a
bracket mounted on the board will be returned
without return merchandise authorization (RMA)
processing.
Website:
For product information and a complete list of distributors, please go to our website:
www.broadcom.com
.
Broadcom, the pulse logo, Connecting everything, Avago Technologies, Avago, the A logo, and MegaRAID are among the
trademarks of Broadcom in the United States, certain other countries and/or the E
U.
Copyright © 2017 Broadcom. All Rights Reserved.
pub-005165.
The term "Broadcom" refers to Broadcom Limited and/or its subsidiaries. For more information, please visit
www.broadcom.com
.
Broadcom reserves the right to make changes without further notice to any products or data herein to improve reliability,
function, or design.
Information furnished by Broadcom is believed to be accurate and reliable. However, Broadcom does not assume any
liability arising out of the application or use of this information, nor the application or use of any product or circuit described
herein, neither does it convey any license under its patent rights nor the rights of others.
Corporate Headquarters
Website
www.broadcom.com
5972-4864-P0002 — May 17, 2017.
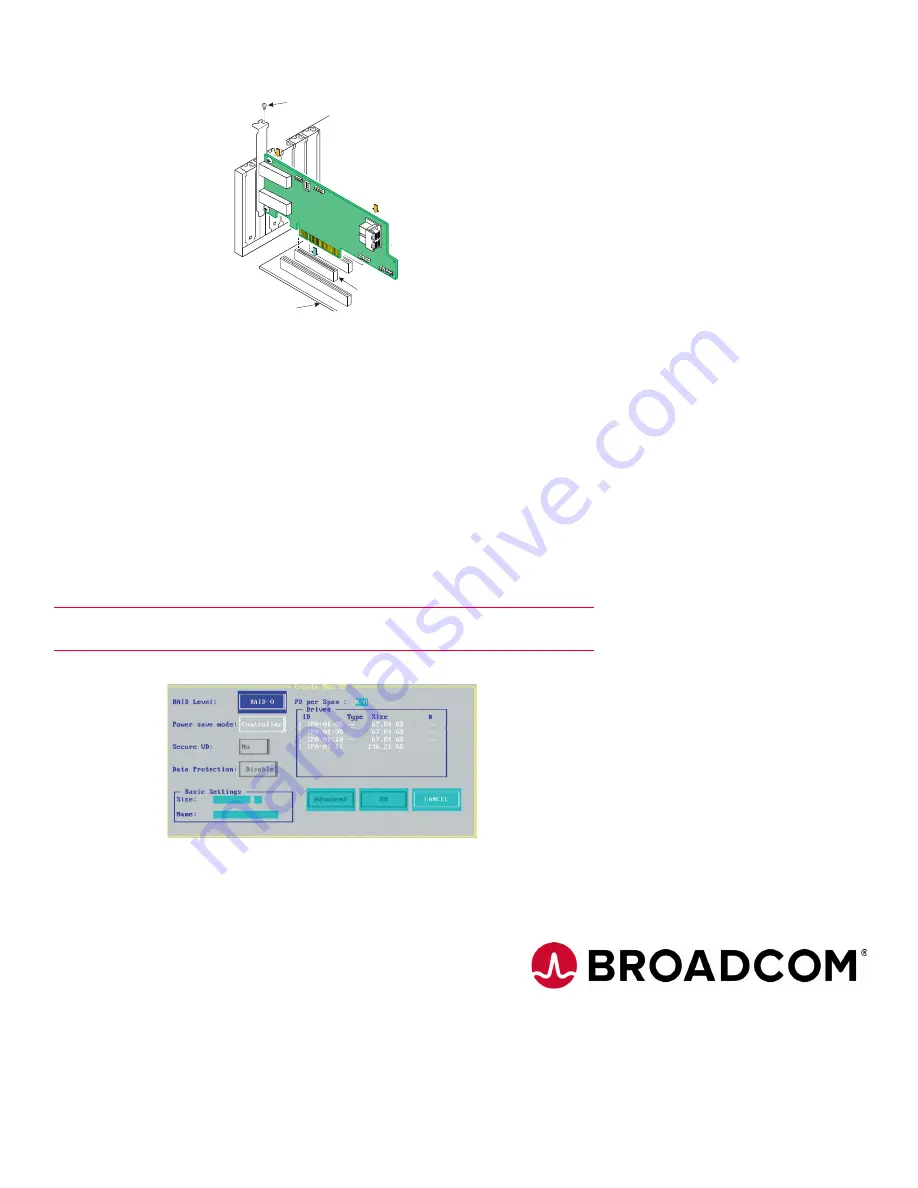
Figure 1. Installing the MegaRAID SAS 9380-8i8e RAID Controller in a PCIe Slot
6.
Connect SAS cables between the board and the SAS backplane or any other SAS or SATA
device.
To avoid the risk of data loss, back up your data before you change your system configuration.
This 12Gb/s SAS controller has two SFF-8643, internal x4, mini-SAS HD connectors, and two SFF-8644
mini-SAS HD-4e external connectors. For the internal connections, use cables with an internal mini-SAS
HD connector on one end (to connect to the controller) and the appropriate connector on the other end
to attach to the backplane or SAS/SATA devices. For the external connections, use cables with an external
mini-SAS HD-4e connector on one end (to connect to the controller) and the appropriate connector on
the other end to attach to the drive enclosure or SAS/SATA devices.
7.
Make sure the system provides the required airflow for the controller.
Airflow must be at least
300 linear feet per minute (LFM) at 55 °C inlet temperature to avoid operating the LSISAS3316 processor
above the maximum junction temperature.
8.
Replace the cover, reconnect any cords and cables, and power up the system.
Replace the
chassis’s cover, reconnect any power cords, and reconnect any network cables. Turn on the power.
9.
Run the MegaRAID BIOS Configuration Utility.
Run the MegaRAID BIOS Configuration Utility to
configure the groups and the virtual drives. When the message about the configuration utility appears on
the screen, immediately press Ctrl+R to run the utility. The following screen is an example of this utility.
NOTE: Refer to the
12Gb/s MegaRAID SAS Software User Guide
for detailed steps on configuring drive
groups and virtual drives.
Figure 2. Create New Virtual Drive Screen
Driver Installation
The firmware and drivers are routinely updated and made available on the Support and Download
center. Visit
http://www.broadcom.com/support/download-search
, and download the latest firmware
and driver for the controller.
Edge of Motherboard
PCIe Slot
Bracket Screw
Press Here
Press Here
3_03172


