background image

Registration Information

R 2 : 0 9 / 0 1
P 2 2 2 0 0 0

Fill out the registration card and mail it in today!

Child restraints could be recalled for safety reasons. You must
register this restraint to be reached in a recall. Send your name,
address and the restraint's model number and manufacturing
date to Britax Child Safety, Inc.  13501 South Ridge Drive
Charlotte, NC 28273 or call 1-888-4BRITAX. For recall
information, call the U.S. Government's Auto Safety Hotline at
1-800-424-9393 (202-366-0123 in DC area).

Britax Child Safety, Inc.

13501 South Ridge Drive
Charlotte, NC 28273
USA

Tel: 1-704-409-1700 ext. 1
www.BritaxUSA.com

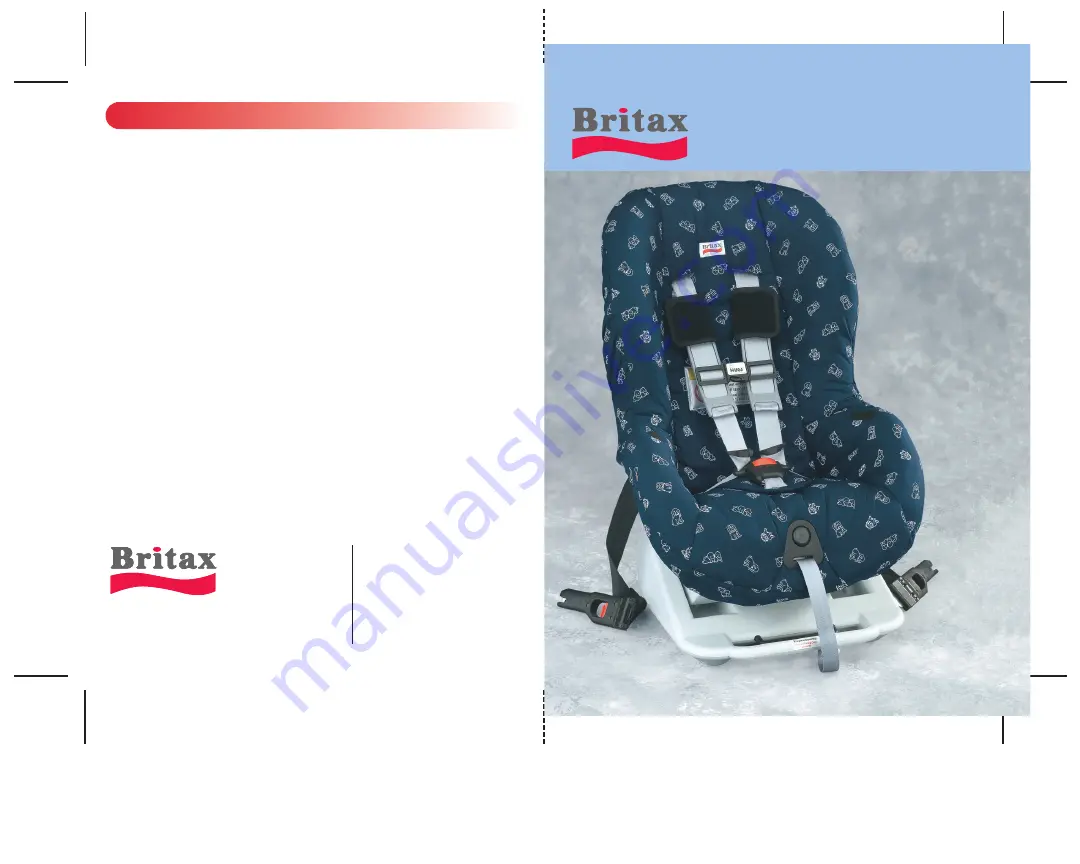
User Guide

E x p r e s s w a y

Содержание Expressway

Страница 1: ...Send your name address and the restraint s model number and manufacturing date to Britax Child Safety Inc 13501 South Ridge Drive Charlotte NC 28273 or call 1 888 4BRITAX For recall information call the U S Government s Auto Safety Hotline at 1 800 424 9393 202 366 0123 in DC area Britax Child Safety Inc 13501 South Ridge Drive Charlotte NC 28273 USA Tel 1 704 409 1700 ext 1 www BritaxUSA com User...

Страница 2: ... Expressway It is recommended that you store this booklet in the storage pocket for future use and consult it often to assure that you are using your child seat correctly Table of Contents Introduction i 1 Introduction 1 Safety Information 2 Feature Identification 4 Checking Harness Height 6 Adjusting Harness Height 6 Compatible Seat Belts 8 Incompatible Seating Positions 10 Important Notes 11 Ins...

Страница 3: ...e child seat differ from vehicle to vehicle Please study the section on Compatible Seat Belts in this booklet for the safety assurance of your child If in doubt about installing your child seat using the vehicle safety belts consult your motor vehicle handbook or your Britax retailer The primary protection for occupants of a motor vehicle in a collision is the body of the vehicle itself and a chil...

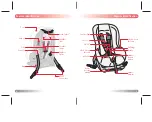
Страница 4: ...TM Shoulder Slots Shoulder Straps Lap Belt Guide ISOFITTM Connectors Base Yoke Side Slot Lock off Cover Harness Adjuster Harness Release Button Buckle Pull Rings Recline Release Handle Belly Pad HUGSTM Comfort Pads Chest Clip Hook Loop Fastener Hook Loop Fastener ...

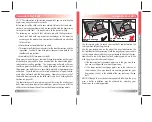
Страница 5: ...ill go and verify that all straps are threaded at the same height and are not twisted Checking Harness Height 6 7 Adjusting Harness Height The shoulder harness MUST be threaded through the slots in the cover and shell nearest the top of your child s shoulders If in any doubt always use the slot above the shoulder rather than below it Once the top slots become necessary your child may continue to u...

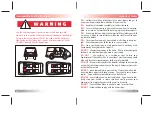
Страница 6: ... following are seat belts that will not work with the Expressway Front seat belts with top or bottom anchorages in the door an anchorage is the point where your seat belt and buckle are attached to the vehicle Motor driven automatic belts of any kind Three point belts that have retractors for the shoulder section and the lap section Such belts have latch plates tongues sewn both to the shoulder an...

Страница 7: ...ts can become hot to the touch in sunny weather DO Store your Expressway in a safe place when it is not being used Avoid placing heavy objects on top of it DO NOT Use your Expressway in the home It has not been designed for home use and should only be used in your vehicle DO NOT Use anything i e a cushion or coat to raise your Expressway off the vehicle seat In an accident your Expressway could sl...

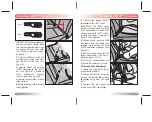
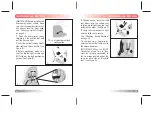
Страница 8: ...onnect the second ISOFIT connector to the LATCH bar IMPORTANT The ISOFIT straps must be routed around the shell If the connections are made with a direct route to the LATCH bars re route the straps as shown in Figure E then continue 6 With one hand push the child seat down into the vehicle seat cushion while pulling the each ISOFIT connector strap tight See Figure D 7 Pull tether strap to tighten ...

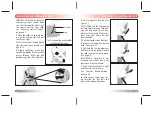
Страница 9: ... lock off See Figure C NOTE Although the Expressway has two forward facing lock offs you will only need to use one Always use the lock off that is far thest away from where the seat belt is buckled 5 Pull the shoulder seat belt tight ly through the lock off to remove slack See Figure D 6 Pull hard on the shoulder seat belt then rotate the lock off toward the child seat until it clicks in place See...

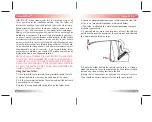
Страница 10: ... that the lap belt passes through BOTH lower lap belt positioning guides See Figure B This is a typical lap seat belt configuration A B 4 With one hand push the child seat down into the vehicle seat cushion while tightening the seat belt with the other See Figure C 5 Verify that the seat belt is tight and the child seat is secure See Checking Buckle Position on Page 20 To remove your Expressway un...

Страница 11: ...erally requires that an anchorage be bolted into a steel panel If you can t find information in your vehi cle owner s manual check with your vehicle dealer or call the vehicle manufacturer s toll free customer service number in your vehicle owner s manual Ask for a tether anchor kit and instructions on how to install a tether anchor for a forward facing child seat Tethers need to be attached to st...

Страница 12: ... buckle to release then re insert tongues Periodically clean the buckle to ensure proper operation Refer to Cleaning the Buckle on page 26 for instructions Using Recline Positions NOTE The appearance of the chest clip may vary Open the chest clip by squeezing the middle tab s IMPORTANT The correct height for the chest clip is at the middle of the chest level to the armpit Always make sure that the...

Страница 13: ...o halves of the chest clip together Double Check The correct height for the chest clip is at the middle of the chest level to the child s armpit Securing Your Child Securing Your Child 22 23 Once all adjustments have been made to properly fit your child in the child seat and the child seat has been secured properly in the vehicle follow these instructions to restrain your child in the Expressway 1...

Страница 14: ...f an aircraft Removing the Cover 1 Completely loosen the harness by pushing in the harness release but ton as you pull the shoulder straps forward as far as possible 2 Unhook the harness straps from the yoke and the HUGS straps from the c clips Pull them through to the front of the seat See Figure A 3 Remove comfort pads shoulder pads and d rings from the harness 4 To remove the belly pad you must...

Страница 15: ...ric cover off of the seat to expose the crotch strap You can now grasp the metal plate under the seat by which the strap is secured to the seat shell c Push the metal plate upwards on its side through the slot in the shell See Page 25 2 Clean the buckle unit a Soak the buckle in warm water if necessary with mild soap for about an hour b Rinse and dry thoroughly 3 Reinstall the crotch strap a Hold ...

Страница 16: ...om negli gence misuse or use not in accordance with the product instruction LIMITATION OF DAMAGES The Warranty and remedies as set forth above are exclusive and in lieu of all others oral or written express or implied In no event will Warranty Information Warranty Information 28 29 Britax or the retailer selling this product be liable to you for any dam ages including incidental or consequential d...

Отзывы: