26
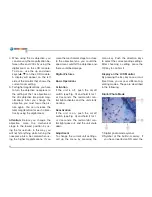
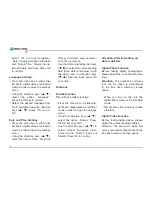
select “Off” (no time inscription),
“Date” (image inscription with date)
and “Date & Time” (image inscrip-
tion with date and time). Press OK
to confirm.
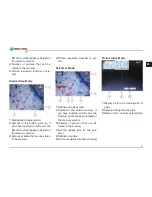
Language Settings
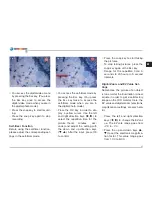
• Press the menu key in either dig-
ital photo, digital video or self-timer
mode in order to open the settings
menu.
• Using the direction keys (
,
),
select the option „Language.”
Press the OK key to confirm.
• Select the desired language from
the 9 available using the direction
keys (
,
). Press OK to con-
firm.
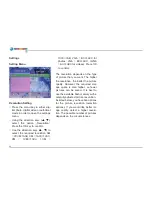
Date and Time Settings
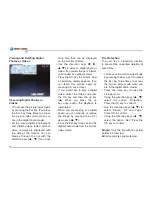
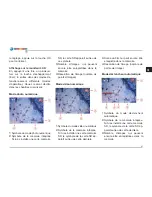
• Press the menu key in either dig-
ital photo, digital video or self-timer
mode in order to open the settings
menu.
• Using the direction keys (
,
),
select the option „Date.” Press the
OK key to confirm, and you will ac-
cess the input menu.
• Use the left and right direction keys
(
,
) to select the corresponding
data (time, date) and adjust it with
the down and up direction keys
(
,
). After the input, press OK
to confirm.
Functions
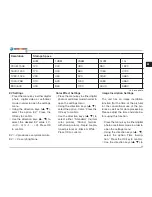
Format Function
This unit has a delete function.
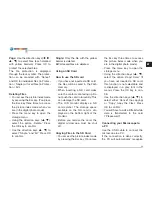
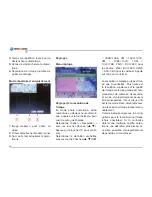
• Press the menu key in either dig-
ital photo, digital video or self-timer
mode in order to open the settings
menu.
• Using the direction keys (
,
),
select the option „Format.” Press
the OK key to confirm.
• Use the direction keys (
,
) to
select “Cancel” (no format, return
to menu) and “Format” (carry out
format). Press OK to confirm.
Attention: After formatting, all
data is deleted.
Digital Photo Function
Before taking digital photographs,
please adjust the corresponding set-
tings.
Attention:
The number of pictures
that can be taken is proportional
to the free flash memory storage
space.
• When you turn on the unit, the
digital photo mode is the standard
mode.
• Simply press the snap key to take
a picture.
Digital Video Function
Before taking digital videos, please
adjust the corresponding settings.
Attention: The amount of video that
can be recorded is proportional to the
free flash memory storage space.

