


19
Technical specifications
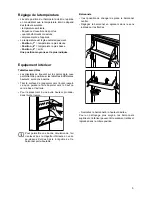
The technical data is indicated in the rating plate on the left side inside the appliance.
Something not Working
Problems may be due to causes which can easily be solved before calling the Technical Service. Please
follow these instructions:
Weight surpasses the storage limit of the door shelf so spread weight more evenly or
take some products out.
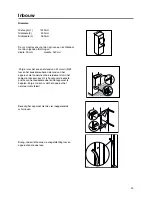
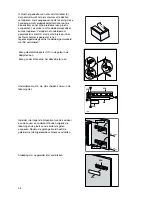
The appliance is not properly installed. Please look in the “Building-in” section.
Set a lower temperature.
Distribute the food products to allow cold air to circulate around them.
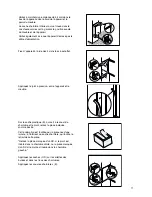
Make sure that the door is completely closed and that the insulating strip is complete
and clean.
The temperature where the cabinet is placed is above normal room temperature.
Set a warmer temperature.
Turn the thermostat knob to a lower number.
The temperature where the cabinet is placed is above normal room temperature.
Check that the ventilation is sufficient and that the ventilation openings are
unobstructed.
The cause could be the introduction of large quantities of food and/or frequent
opening/closing of the door.
Sometimes is normal. During automatic defrosting frost thaws on the cooling plate.
Place the drain hose at the back of the cabinet above the drain bowl.
Sometimes this is normal. Temperature control may cause clicking sounds when the
system is connected or disconnected.
The injected cooling gas may produce a gurgling sound while passing through the
tubes.
The motor may cause a humming noise and/or slight bumping.
The insulation material used has a tendency to slighly increase noise levels, how ever it
allows for much better insulation and a lower energy consumption.
Door does not close
It is too warm inside the refrigerator
It is too cold inside the refrigerator.
The compressor works continuously.
There is water inside/outside the refrigerator.
Water comes out on the floor.
Noises
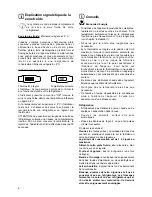
SYMPTOM
SOLUTION
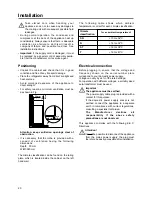
This information can be found on the rating plate
inside the cabenit on the left hand wall. We
recommend that you enter this information here, so
that it is handy if needed.
If you cannot find the remedy for a malfunction in
these operating instructions, please contact your
dealer or our customer service department and
consult the Guarantee card.
Selective ordering of replacement parts can save
unnecessary travel and costs.
For this reason always provide the following
appliance information:
•
Model Name
•
Model Number (PNC)
•
Serial Number (S-No.)
Customer service and spare parts