USING THE STAND MIXER
Depending on the nature of the ingredients, the bowl (5) with its cover can be used to
prepare up to 1kg of dough (500g flour).
1. Press button (2) to release the multifunctional head (9) and to raise it to a vertical
position. (Fig. 1 & 2)
2. Fit the bowl (5) onto the appliance by turning until it locks in position and place the
ingredients in it. (Fig. 3)
3. Position the cover (4) on the bowl with the filling opening at the front of the
appliance. Fit the desired accessory (6/7/8) into the power outlet. Push the shaft of
the accessory home and turn it a quarter turn towards you, to lock it into position.
(Fig.4)
5. Lower the multifunctional head of the appliance to a horizontal position and press
the button again until it clicks into place. (Fig. 5 & 6)
6. Set the timer (3) to control the working time of your recipe. Set from a min time of
“0” to a max time of “30” minutes (plus 30 seconds to adjust) in one set. (Fig.7)
7. During preparation, you can add ingredients through the opening in the cover.
8. To stop the appliance, turn off the switch (1).
MEAT GRINDER (Figure B)
1. Lift the cutting housing upward facing towards the outlet drive before using
the meat grinder.
2. Insert the worm shaft (14) (drive pins first) in the cutter housing (13). Fit the cutter
blade (15) on the shaft with the cutting edges facing upwards. (Fig . 9)
3. Place the selected hole-plate (16/17/18) over the blades ensuring that the two lugs
fit into the two cut-outs in the cutting housing. (Fig. 9)
4. Screw the ring cap nut (19) fully home on the cutting housing.(Fig.10)
5. Insert the assembled meat grinder attachment (tilted towards you) into the outlet
drive (12) and engage it fully. Return the feed tube to a vertical position by turning
to the anticlockwise direction until it stops and clicks into place. (Fig.11)
6. Place the removable tray (21) on the feed tube. (Fig.12)
CAUTION:
1. To release the cutting housing (13), press top left corner to open the cover then
press the button (11).
2. Insert pieces of meat into the feed tube piece by piece using the pusher (20),
WARNING: Never push the meat with your fingers or any other utensil.
Always use the pusher!
SAUSAGE STUFFER KEBAB
1. Assemble the sausage stuffer kebab attachment according to FIGURE C.
2. Insert the assembled sausage stuffer kebab attachment (tilted towards you) into the
cutting housing (13) by turning in a anti clockwise direction until it locks into place.
3. Put the sausage casing into water and soak for 10 mins. Slowly and carefully slip it
over the sausage tube (22). Plug it in and set the speed switch to 1 or 2
4. Insert the ground meat into the cutting housing (13) using the pusher(20).
TIMERS
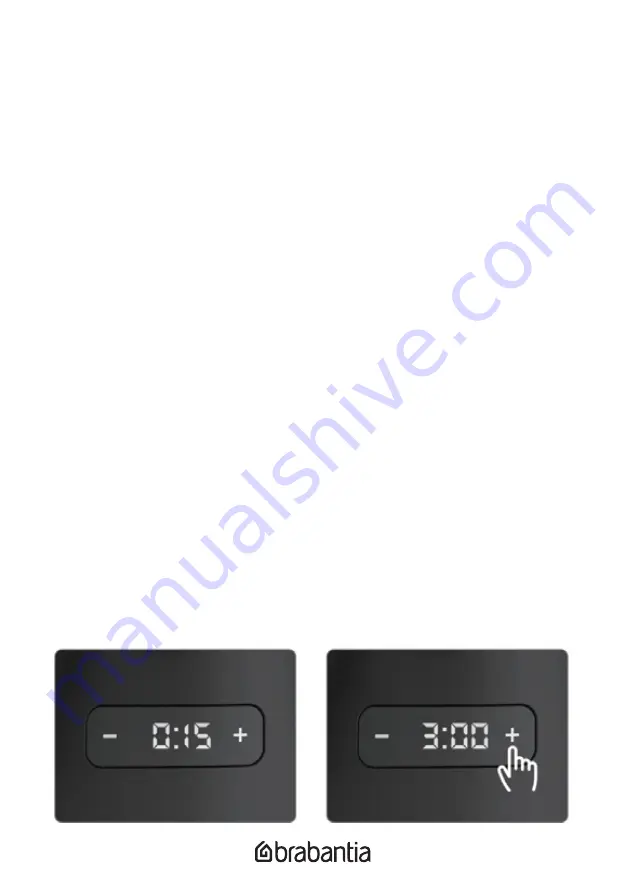
The count-up timer (Fig 13)
The count-up timer is especially useful to guage mixing time or when a recipe does not
specify the mixing time. You can monitor the time it takes to thoroughly mix the
ingredients, so that the next time you mix the same ingredients you can set the
count-down timer to a specific time. The count-up timer will automatically begin
counting up as soon as the Speed Control Dial is rotated from the OFF position to one of
the mixing speeds. When the Speed Control Dial is rotated back to the OFF position, the
LCD screen will display 0:00.
The count-down timer (Fig 14)
The count-down timer is expecially useful for any recipe that specifies the lentgh of time
ingredients should be mixed. For example, if a recipe reads, “beat for 3 minutes”, you
can set the count-down timer to 3 minutes by pressing the”+” “-”. after 3 minutes of
mixing, the lcd screen will display off, an alert will sound and the stand mixer will
automatically turn off. The Speed Control Dial must be rotated back to the OFF position
to reset the timer and continue mixing. To set the count-down timer, press the up or
down arrows until the desired mixing time is displayed on the LCD screen. Rotate the
Speed Control Dial clockwise to select the desired speed and to begin mixing. Once the
Mixer automatically turns off, the Speed Control Dial must be rotated back to the OFF
position to reset the count-down timer and continue mixing.
Fig. 13
Fig. 14


