INSTALLATION AND OPERATING INSTRUCTIONS
Electronic Side Load Lock
ALP210H-
YD30M COBALT-mini V1.5
Страница 1: ...INSTALLATION AND OPERATING INSTRUCTIONS Electronic Side Load Lock ALP210H YD30M COBALT mini V1 5 ...
Страница 2: ...r position 9 Security Electrical Manipulation when set to Fail Secure mode and only meets the requirements for class 1 when set to Fail Safe mode In the European Union Norway Iceland and Liechtenstein This symbol on the product or in the manual and in the warranty and or on its packaging indicates that this product shall not be treated as household waste Instead it should be taken to an applicable...
Страница 3: ...PRE INSTALLATION ASSESSMENT 6 4 1 MECHANICAL 6 4 2 ELECTRICAL 6 5 INSTALLATION 7 5 1 MORTISE INSTALLATION 7 5 2 SURFACE INSTALLATION 8 6 WIRING 10 6 1 FAIL SAFE CONNECTION 10 6 2 FAIL SECURE CONNECTION 10 6 3 JUMPER POSITION 11 7 OPERATION 11 7 1 FAIL SAFE OPERATION 11 7 2 FAIL SECURE OPERATION 11 8 SPECIFICATIONS 12 9 MAINTENANCE AND INSPECTION 12 ...
Страница 4: ...cured and locked the Cobalt mini can be given an unlock signal and it will instantly unlock If the door is loaded pre load when the unlock signal is given the Cobalt mini will still unlock even with loads in excess of 100Kg on the door Critically the ability of the Cobalt mini to instantly release with excessive pre load on the door even occurs in the event of a power failure if the lock is config...
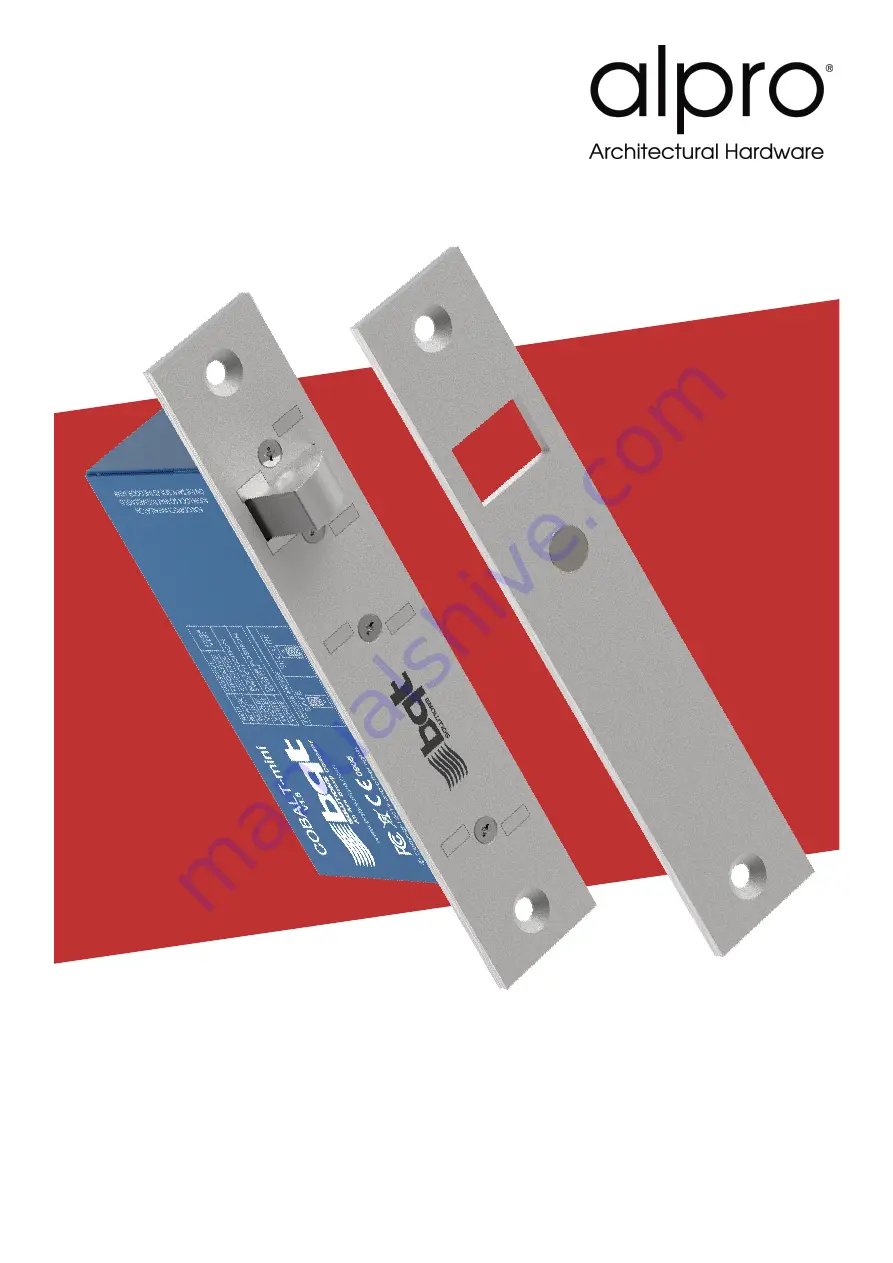
Страница 5: ...SIONS The dimensions shown in millimetres are approximate and are subject to change without prior notice 3 1 Lock 3 2 Strike Plate 3 3 Fitting Tab 3 4 Housing Available separately 3 5 Dress Plate Available separately ...
Страница 6: ...e left the bolt pin is at the top if the door is approaching from the right then the bolt pin is at the bottom as indicated below 4 2 Electrical The first consideration is to establish where to run the wires and decide on what feedback is required from the lock There are a total of seven available connections three are compulsory power connections whilst the remaining four provide optional door an...
Страница 7: ...d fitting tabs can be used to secure the lock and strike plate in place The mortise behind the lock body needs to have enough space to accommodate the wiring 5 1 2 Wiring the lock Wires are run from the power supply to the lock A hole needs to be drilled in the back of the mortise to bring the wires out and a connection can be made to the supplied wire loom which in turn plugs into the lock The ju...
Страница 8: ...metal doors 5 2 1 Securing the lock housing to wood Two 10G x 1 hex head self tapping screws are supplied with the housing and can be screwed into the wood door frame The housing has two keyhole cut outs that fit over the screw heads and once the housing is in place the screws can be tightened with a spanner 5 2 2 Wiring the lock The wires will need to be run into the housing to connect to the loc...
Страница 9: ...using can be applied directly to the glass A flat stainless steel dress plate is fitted on the opposite side of the glass to give a clean finish The protective coating on the dress plate can be removed once it is in place 5 2 5 Fitting the strike plate into the housing The strike plate is placed into the housing and secured in place with the supplied M5 machine screws 5 2 6 Checking the operation ...
Страница 10: ... contact NO closed when the bolt pin is extended VIOLET WHITE Door Position Switch Normally open contact NO closed when the strike is aligned with the lock WHITE 6 1 Fail Safe Connection When wiring the Cobalt mini the positive voltage is connected to RED negative is connected to BLACK and a switched positive voltage wire connected to BLUE In Fail Safe configuration applying voltage to the Cobalt ...
Страница 11: ...nge state again The Cobalt mini will remain unlocked as long as the door is open but will instantly re lock when voltage is applied to the BLUE wire and the door is closed In the event of a power failure the Cobalt mini unlocks 7 2 Fail Secure Operation Assume the lock is installed and wired the door is open and voltage is removed from the BLUE wire As the door closes the Cobalt mini senses the do...
Страница 12: ... position 9 Security Electrical Manipulation when set to Fail Secure mode and only meets the requirements for class 1 when set to Fail Safe mode 9 MAINTENANCE AND INSPECTION The Cobalt mini has been lubricated at assembly and applying any other type of lubricant may void the warranty A dry cloth can be used to polish the stainless steel face plate and strike plate as required This lock contains co...