D
D
D
L
L
L
P
P
P
P
P
P
r
r
r
o
o
o
j
j
j
e
e
e
c
c
c
t
t
t
o
o
o
r
r
r
—
—
—
U
U
U
s
s
s
e
e
e
r
r
r
M
M
M
a
a
a
n
n
n
u
u
u
a
a
a
l
l
l
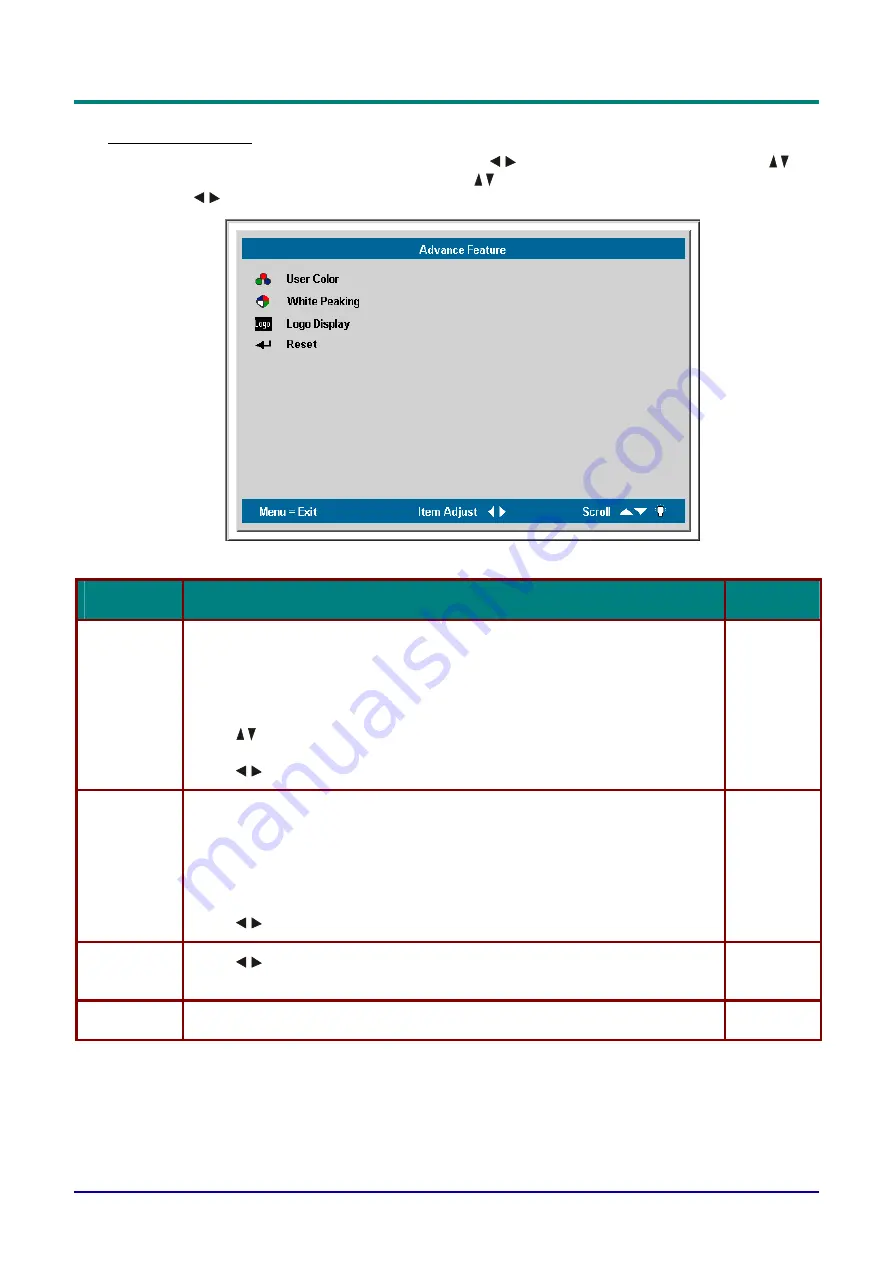
Advance Feature
to move to the
Setup
menu. Press
Press the
Menu
button to open the
OSD
menu. Press
to
move to the
Advance Feature,
press
Enter.
Press
to move up and down in the
Advance Fea-
ture
. Press
to change values for settings, and then press
Enter
to confirm the new setting.
—
22
—
I
TEM
D
ESCRIPTION
D
EFAULT
0
User Color
This feature adjusts the color balance in each color of RGB (Red, Green,
Blue), and their neutral colors (cyan, magenta, yellow, white) by using Color
correction adjustment. Increasing a color’s setting heightens the intensity of
that color on the screen, while a lower setting makes the color less intense.
Press
to select a color.
Press
to adjust the selected color. (Range: -50—50)
White Peak-
ing
White Peaking increases the output in the brightest whites without changing
the blacks and dark grays. It crushes the whites slightly, but it does not appear
to clip them or seriously obscure white detail. If you prefer a stronger image,
adjust toward the maximum setting. For a smoother, more natural image, ad-
just toward the minimum setting.
10
Press
to adjust the value of white peaking. (Range: 0—10)
Logo Dis-
play
Press
to enable or disable the logo displays when the projector starts, and
when no source is detected. (Range: On—Off)
On
Reset
all
White Peaking, Logo Display
settings to default values
Reset