Page 26/38
10.1.
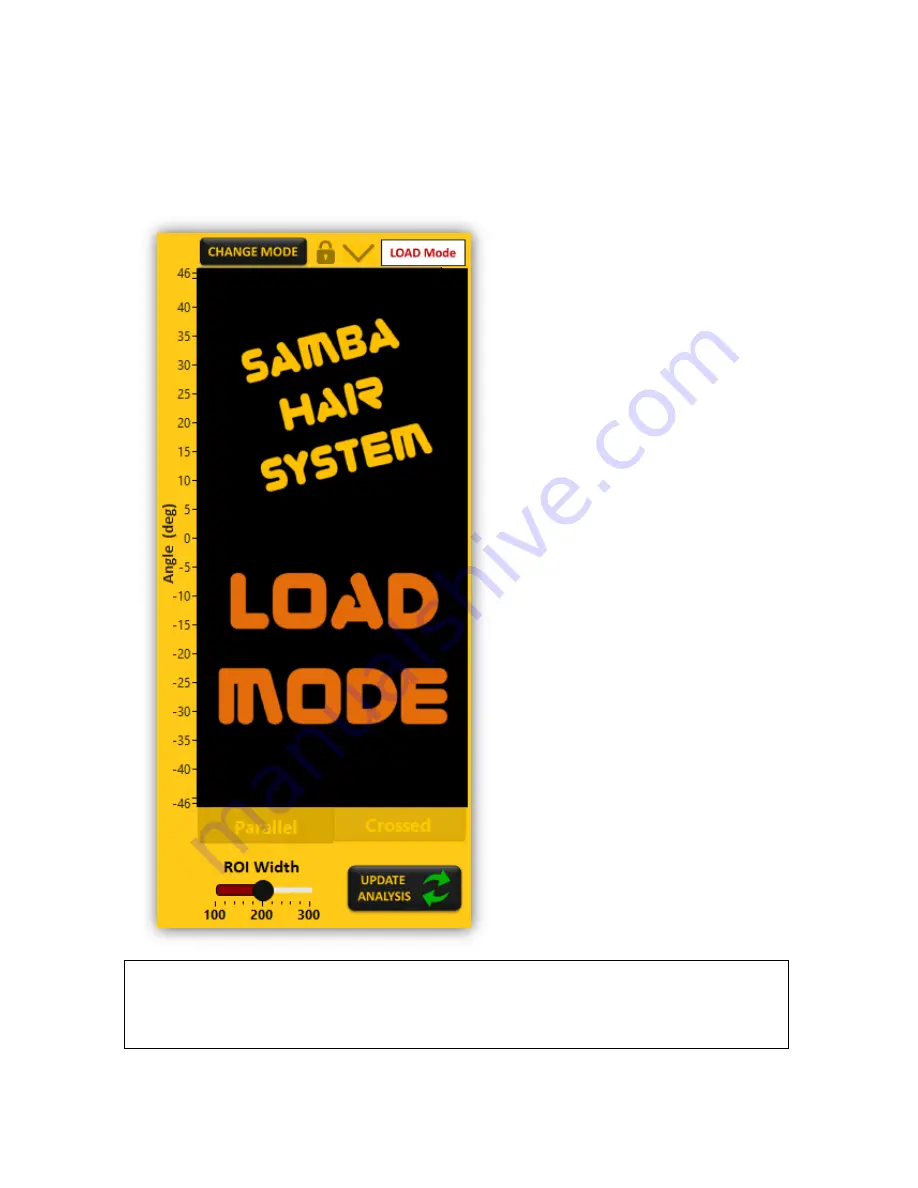
Image visualization area
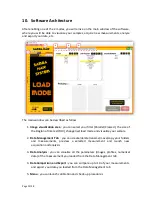
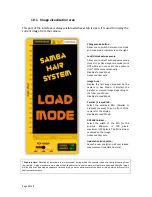
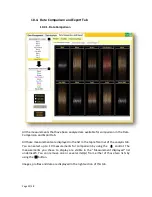
This part of the interface is always visible whichever tab is open. It is used to display the
current image from the camera.
Change mode button :
Allow you to switch between Live mode
and Load mode. Indicator is on the right.
Lock/Unlock auto-exposure
Allow you to select auto-exposure mode
(Lock On) or fixed exposure mode (Lock
Off) where you can select the exposure
time* of the camera manually.
Disabled in Load Mode.
Advanced User only.
Image Area :
Display the last image acquired by the
camera in Live Mode. It displays the
parallel or crossed image depending on
the filter you choose.
Disabled in Load Mode.
Parallel / Crossed Tab :
Select the polarized filter (Parallel or
Crossed) you want to put in front of the
camera for the display.
Disabled in Load Mode.
ROI Width slider :
Select the width of the ROI for the
analysis. Minimum is 100 pixels,
maximum is 300 pixels. The ROI is always
centered on the image.
Advanced User only.
Update Analysis button :
Launch a new analysis on all your loaded
measurement (see Data Analysis).
* Exposure time
: Duration of time (here in microseconds) during which the camera is open to the light coming from
the sample. A higher exposure time means that the detector in your camera will get more light, and that the image
will be brighter. By using an exposure time too high, you may obtain saturation on your image which will results in
faulty measurements.


