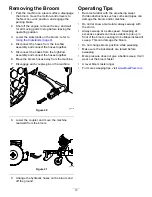
17.
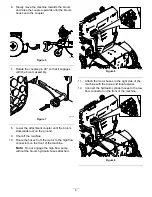
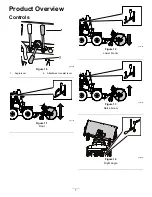
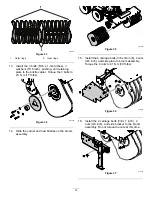
Install the 5 carriage bolts (3/8 x 1 inch) and 5
nuts (3/8 inch) to the side bracket. Torque the 5
nuts from this step and 2 nuts from the previous
step to 41 N·m (30 ft-lbs).
g371992
Figure 38
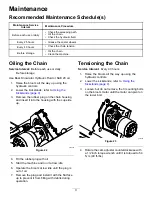
18.
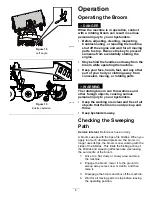
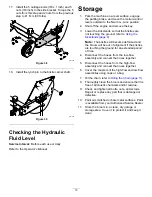
Install the lynch pin to the bristle carrier shaft.
g371999
Figure 39
Checking the Hydraulic
Fluid Level
Service Interval:
Before each use or daily
Refer to the
Operator’s Manual
.
Storage
1.
Park the machine on a level surface, engage
the parking brake, and move the motion-control
levers outward to the N
EUTRAL
-L
OCK
position.
2.
Shut off the engine and remove the key.
3.
Lower the kickstands so that the bristles are
not touching the ground; refer to
Kickstands (page 9)
.
Note:
The bristles will become deformed and
the broom will be out of alignment if the bristles
are touching the ground for an extended period
of time.
4.
Disconnect the hoses from the low-flow
assembly and connect the hoses together.
5.
Disconnect the hoses from the high-flow
assembly and connect the hoses together.
6.
Cover the couplers of the high-flow and low-flow
assemblies using caps or a bag.
7.
Oil the chain; refer to
Oiling the Chain (page 11)
.
8.
Thoroughly clean the broom and ensure that it is
free of all caustic chemicals and/or residue.
9.
Check and tighten all bolts, nuts, and screws.
Repair or replace any part that is damaged or
defective.
10.
Paint all scratched or bare metal surfaces. Paint
is available from your Authorized Service Dealer.
11.
Store the broom in a clean, dry garage or
storage area. Cover it to protect it and keep it
clean.
15


