INSTRUCTIONS
INSTRUCTIONS
06
13
Turn on/off Host
When the ignition switch is put in ACC or ON position, Press [ ] button on the front panel
to turn on the unit. After the host starts, hold [ ] button for 3 seconds , the host will turn
off.
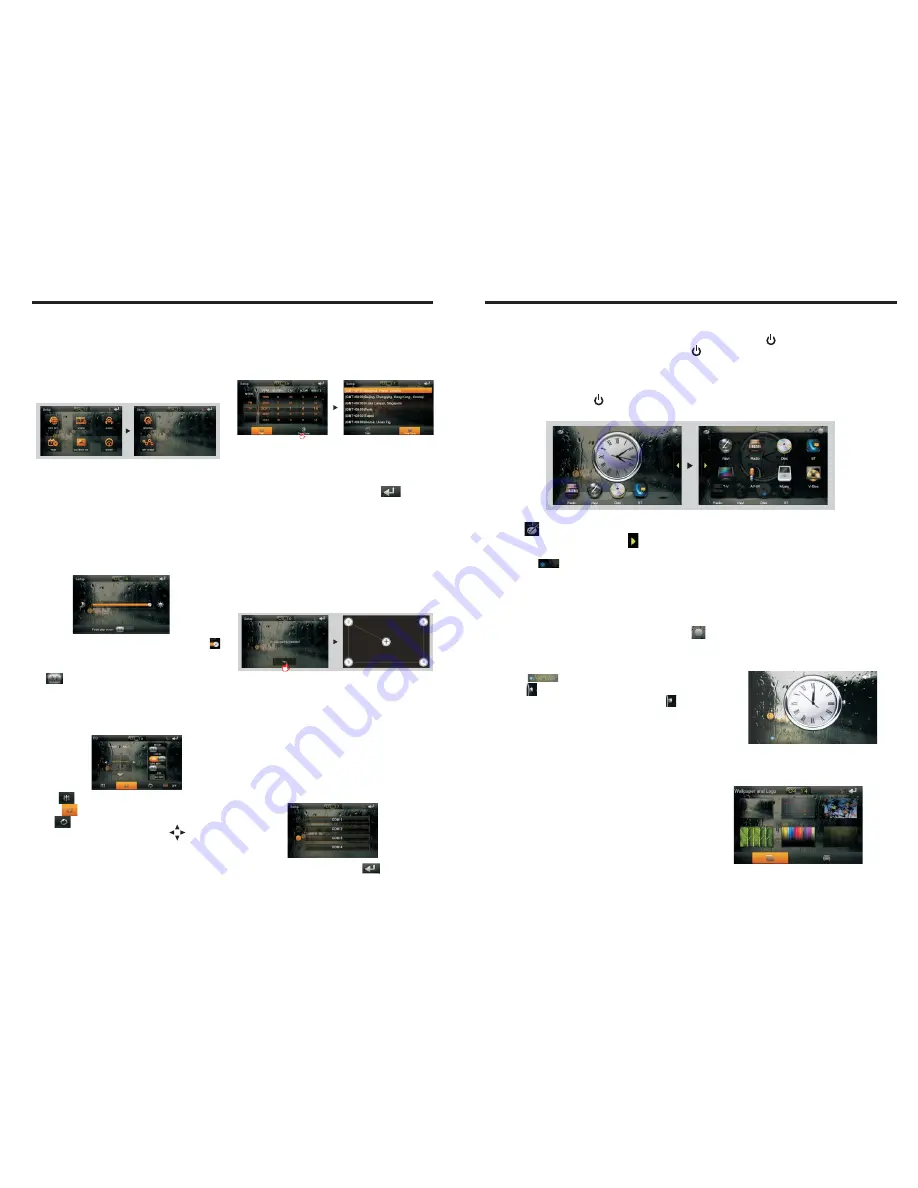
Access main interface
In boot-up state, press [ ] button on the panel to switch to main interface, as shown in
below picture:
1.
2.
Touch in different interface style to switch between.
Press and hold the hide icon hold to the left and right drag, you can hide the location
of the icon to the left or right.
3. Click the icon or gently with a touch pen or finger to the left and sliding screen to
toggle the main menu page.
4. To reset the shortcuts with a touch pen or finger to hold down the icon to drag the icon
to drag the icon to the shortcut bar to the
bottom of the screen, move over the icon will replace the old icon. If you want to delete the
shortcut icon, first press and hold the icon until the trash can icon and then drag to the trash.
5. The icon at the touch on the main interface to switch between day, night and
off-screen three modes.
6. Touch the function icons so as to access the corresponding function operations.
7. Double-click the watch icon to enter the clock setting interface:
Click the icon to select your favorite type of clock.
Click the icon unlock unlocked drag minutes
to set the time, set up and click again to icon
to lock the clock.
Wallpaper and Logo Setup
Click on the main interface [wallpaper] icon into the wallpaper and boot screen settings
interface, you can choose your favorite wallpaper and boot screen.
Note: The start-up screen has been set at the factory.
Navigation setting
Navigation path has been set at the
factory, please do not enter the navigation
setup interface to change the path freely,
otherwise the procedure many lead to
abnormal navigation.
Audio setting
In the set interface click [AUDIO] icon,
into the Audio set interface.
Click into sound effect default interface.
Press into loudspeaker interface,
click to adjust the
channel of loudspeaker, touch to get
back to initial setting.
BEEP:
click that icon to switch on/off that.
LOUD:
click that icon to switch on/off that.
GPS. MIX:
click that icon to switch on/off that.
EQ:
click that icon to switch different mode.
Basic operation setup menu
Click on the main screen [Setup] icon,
enter the setting interface.
With a finger or touching pen to gently
sliding screen can be set about switching
interface.
Access setup interface
Video setting
In the set interface click [VIDEO] icon, into
the video set interface.
Brightness: Drag icon can adjust video
the screen brightness.
Forbid play on run: Driving ban and click
on play icon can open/close the
function.
Time setting
Click the Settings interface Time setting
icon, enter the Time settings screen,
as shown below:
12h/24h interchangeable,
In the year, month, day, hour, sub-office
slide up and down to the relevant settings.
Zone is set to enter the time zone settings
interface when clicked.
Choose the time zone, click the icon
to save your settings and exit the time
setting interface.
SET COMM setting
In the set interface click [SET COMM] icon,
into the Serial port set interface.
Choose good then click the icon to
save your settings and exit the serial port
settings interface.
Touch calibration
If touch calibration error occurs, you can
adjust the touch coordinate by “Touch
calibration”. Click [CALIBRATION] icon on
setup interface, click OK to pop up a [Do
you want to calibration?] as shown below,
click OK to confirm to access touch
calibration interface:
Touching methods
Use touch pen to click the center of”+” icon,
and move along with center of “+” icon so
as to calibrate the screen, It shall
automatically save data and exit after
screen calibration. Please accurately click
all positions on screen, or the accuracy of
touch calibration shall be affected.


