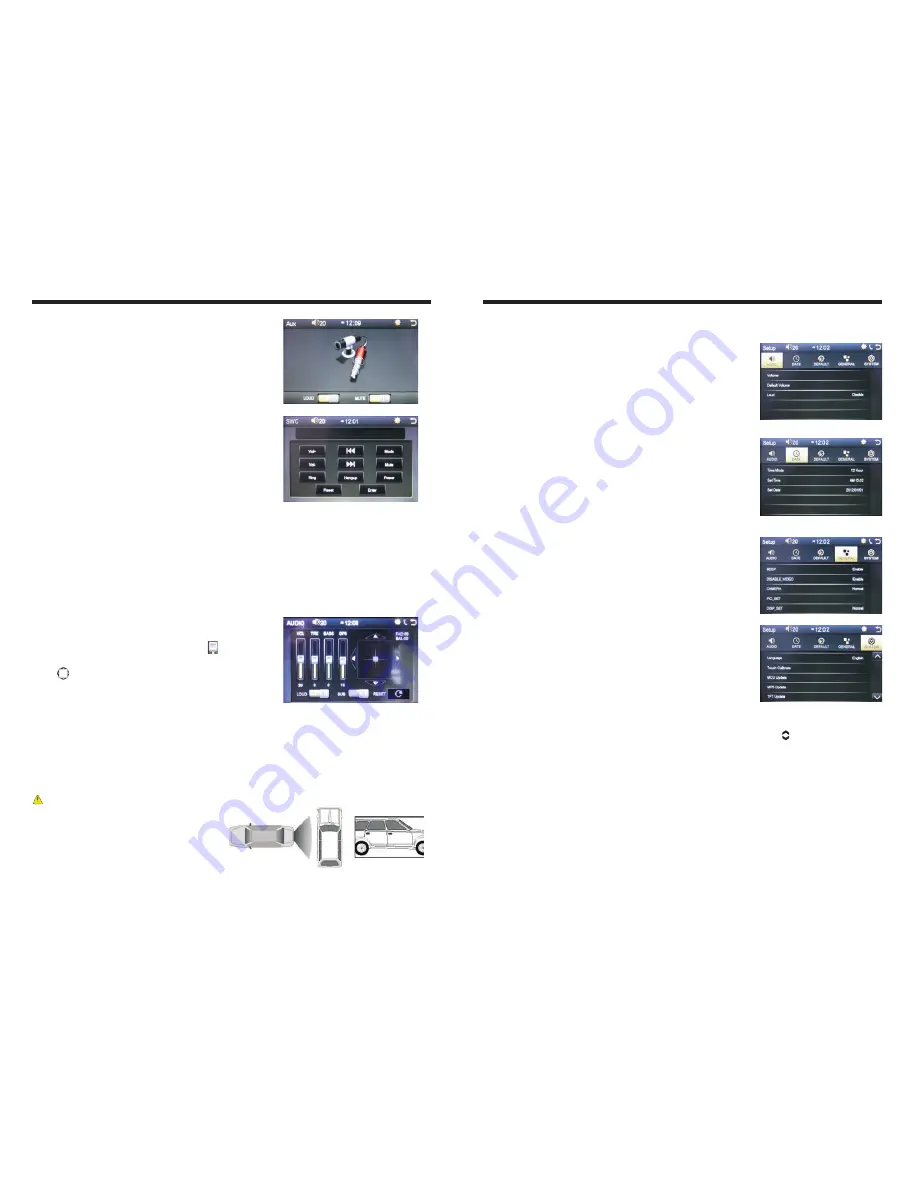
Access setup interface
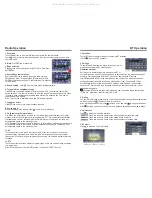
Click [Setup] icon on main interface to access setup interface.
Audio setting
Click [AUDIO] icon on setup interface to access audio
setting interface.
You can turn on or turn off the existing functions on audio
setting interface and adjust the rearview volume.
Date setting
Click [DATE] icon on setup interface to access time setting
interface.
Click [12 Hour] icon on time bar [Time Mode 12 Hour]
time setting interface shall display, Can be set time mode.
Click [AM 12:02] icon on time bar [Set Time AM 12:02]
time setting interface shall display, Can be set time.
Click [2012/01/01] icon on time bar [Set Date 2012/01/01]
time setting interface shall display, Can be set Date.
General setting
Click [GENERAL] icon on setup interface to access general
setting interface.
In general setting interface, you can select to turn on or turn
off the existing functions.
System setting
Click [SYSTEM] icon on setup interface to access system
setting interface.
Language setting
During use, you can select your familiar language to display menu by language setup.
Click the corresponding [English] icon on the language bar desired to be set so as to
switch the language type, when there are more than 3 languages, direction icon shall
pop up, click it to select your familiar language.
Touch calibrate
If touch calibration error occurs, you can adjust the touch coordinate by “Touch calibrate”.
Click [Touch Calibrate] icon on system setting interface, to confirm to access touch
calibration interface.
Touching methods
Use touch pen to click the center of “+” icon, and move along with center of “+” icon so
as to calibrate the screen. It shall automatically save data and exit after screen
calibration. Please accurately click all positions on screen, or the accuracy of touch
calibration shall be affected.
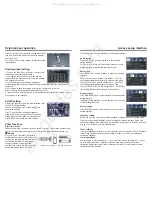
External input operation
jack, and connect the audio input plug with external
audio input jack.
Touch [Aux] icon on main interface to access external
input interface.
Connect the video input plug with external video input
Steering wheel setting
1. Click on the [SWC] icon in the main interface into
the steering wheel settings interface.
2. The original vehicle to the control line positive,
negative with the machine control line in the positive
and negative connection.
3. Click the steering wheel buttons will appear
corresponding operating tips, and fundamental operation prompts the steering wheel
feature set.
4. Set function to save the settings and click the Confirm icon to confirm.
Note: To modify function settings, repeat procedures 3~4.
To reset functions, click [Reset] icon, all the settings set before shall be cleared, repeat
procedures 3~4 for resetting.
AUDIO setting
Click on the [AUDIO] icon in the main interface enter
the AUDIO setting interface.
Drag on each volume, treble, bass bar icon
associated settings.
Click icon to adjust the speaker channel.
Click LOUD icon at the option on / off loudness.
Click SUB icon at the option on / off subwoofer.
Click RESET icon restore the initial settings.
Reverse field simulation
Rearview backup image
Other functions
Rearview function
In any running state, the video signal can switch to reverse video state when reversing
the car, and the system shall return to its initial running state after reversing the car.
Warning
Do not rely on CCD system completely,
please make sure your car is safe by your
eyes during driving. Back rearview system
only assists in driving. As the distance
range of rearview system is limited,
completely relying on the rearview system
during driving may cause accidents.
All manuals and user guides at all-guides.com
all-guides.com

