Bosch Security Systems | 2011-02
Praesideo 3.5
| Installation and User Instructions | 11 | Optional Software
en
| 436
55.3 Network adapter configuration
Network adaptors on home or business PC networks are
normally configured to obtain an IP address
automatically from the network to which they are
connected. These address services are typically
provided by an internet gateway or a server computer
on the network. Although some sophisticated audio
networks may have these services, a dedicated
CobraNet network typically will not. Therefore, your
network adaptor should be manually assigned an IP
address in most cases.
55.3.1 IP address assignments
It is recommended to assign the following IP addresses
for CobraNet networks.
•
192.168.100.1 through 192.168.100.199 - CobraNet
devices (Default IP addresses assigned by CobraNet
Discovery)
•
192.168.100.200 through 192.168.100.219 - Network
switches and infrastructure.
•
192.168.100.220 through 192.168.100.254 -
Computers
When following the above recommendations, your
computer should be assigned an unused IP address in
the range 192.168.100.220 through 192.168.100.254.
See also section 32.8 about IP address limitations.
55.3.2 Manually assigning an IP address
1 From Control Panel, open
Network Connections.
2 Right click on the Ethernet adaptor you will be using
for connection to the CobraNet network and select
Properties.
3 Find
Internet Protocol (TCP/IP)
in the list of services.
4 Press
Properties
button.
5 In the
Internet Protocol (TCP/IP) Properties
dialog,
select
Use the following IP address.
6 Enter
IP Address.
7 Enter 255.255.255.0 for
Subnet mask.
8 Leave
Default gateway
blank.
9 Settings in the second half of the dialog box are
unimportant for Discovery operation. It is fine to
leave
Preferred DNS server
and
Alternate DNS server
fields blank.
10 Click
OK
on all dialogs to save settings. On Windows
NT and 2000, you may be directed to reboot before
new settings will take effect.
55.4 Operation
Make sure that the PC on which you installed CobraNet
Discovery is connected to the CobraNet network, and is
not behind a firewall. On the PC, go to
Start > Programs
> CobraNet Discovery > CobraNet Discovery.
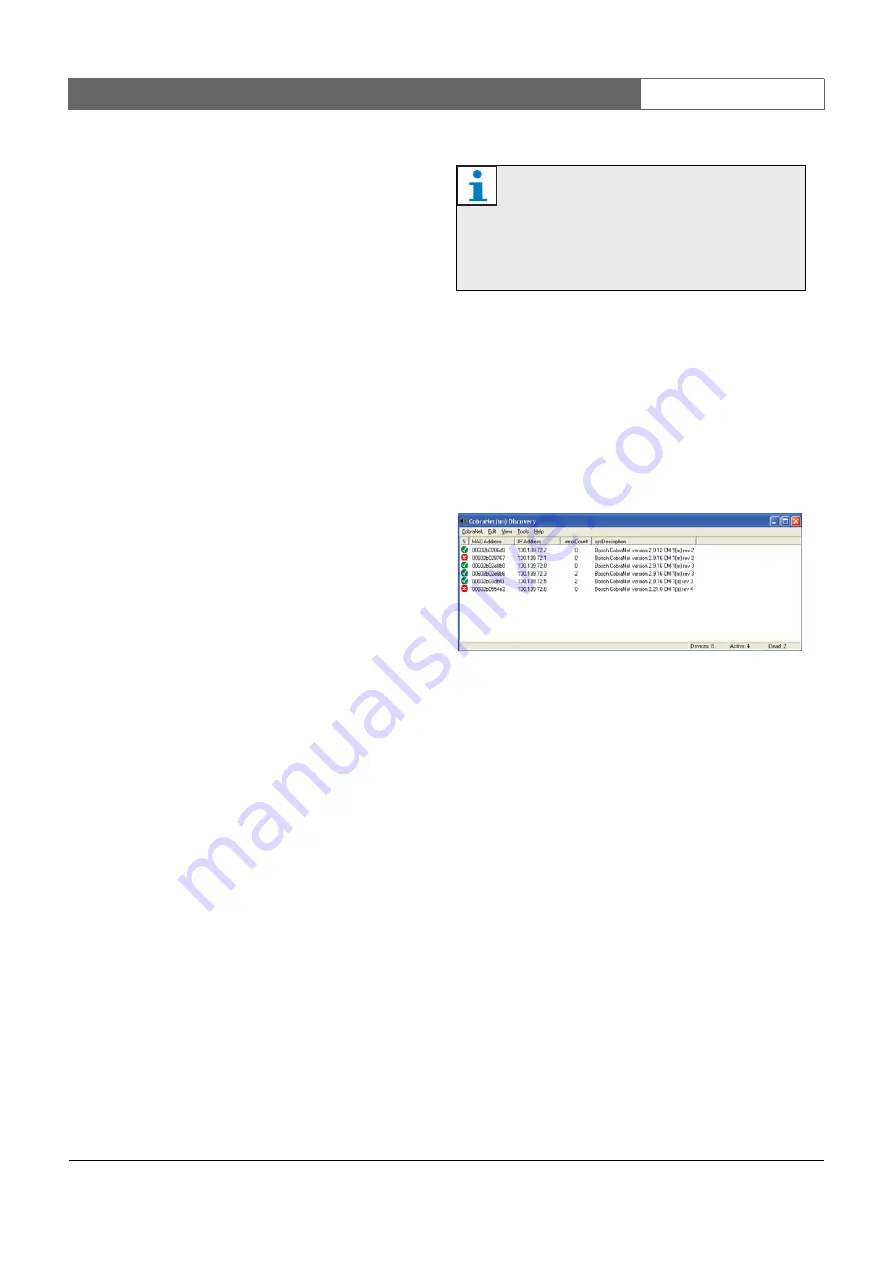
Upon starting
the program the PC shows the CobraNet Discovery
window (refer to figure 55.1 for an example). Only one
CobraNet Discovery program can be active at one time.
The Discovery window is a dynamic display of devices
found on the network. When a CobraNet device is
added to the network, the device is added to the list. If a
device is removed from the network or powered down,
its status will change to off line but it will remain on the
list until the display is manually reset with the
Display
Refresh (F5)
operation or the application is restarted. If
Discovery is started for the first time the devices do not
show a valid IP address yet. Columns in the discovery
window may be resized by dragging the boundaries
between columns in the column heading area. Columns
may be reordered by dragging the text area in the
column heading area.
The discovery window contains default columns
S (Status), MAC Address
and
IP Address
, that are always
present and cannot be hidden or removed.
The information in these columns is obtained by
passively monitoring communications on the network.
Note
To restore settings to automatic assignment at a
later time, return to the Internet
Protocol
(TCP/IP) Properties
dialog and select
Obtain
and IP address automatically
.
figure 55.1: CobraNet Discovery main window
Содержание Praesideo 3.5
Страница 1: ...Praesideo 3 5 Installation and User Instructions Digital Public Address and Emergency Sound System en ...
Страница 131: ...Bosch Security Systems 2011 02 Praesideo 3 5 Installation and User Instructions 4 Amplifiers en 131 Part 4 Amplifiers ...
Страница 201: ...Bosch Security Systems 2011 02 2011 02 Installation and User Instructions 5 Call Stations en 201 Part 5 Call Stations ...
Страница 309: ...Bosch Security Systems 2011 02 Praesideo 3 5 Installation and User Instructions 8 Software en 309 Part 8 Software ...
Страница 411: ...Bosch Security Systems 2011 02 Praesideo 3 5 Installation and User Instructions 10 Events en 411 Part 10 Events ...
Страница 487: ...Bosch Security Systems 2011 02 Praesideo 3 5 Installation and User Instructions 12 Appendices en 487 Part 12 Appendices ...
Страница 497: ......
Страница 498: ... Bosch Security Systems B V Data subject to change without notice 2011 02 ...


