background image

1

1

G

RAND BLOOMINGTON

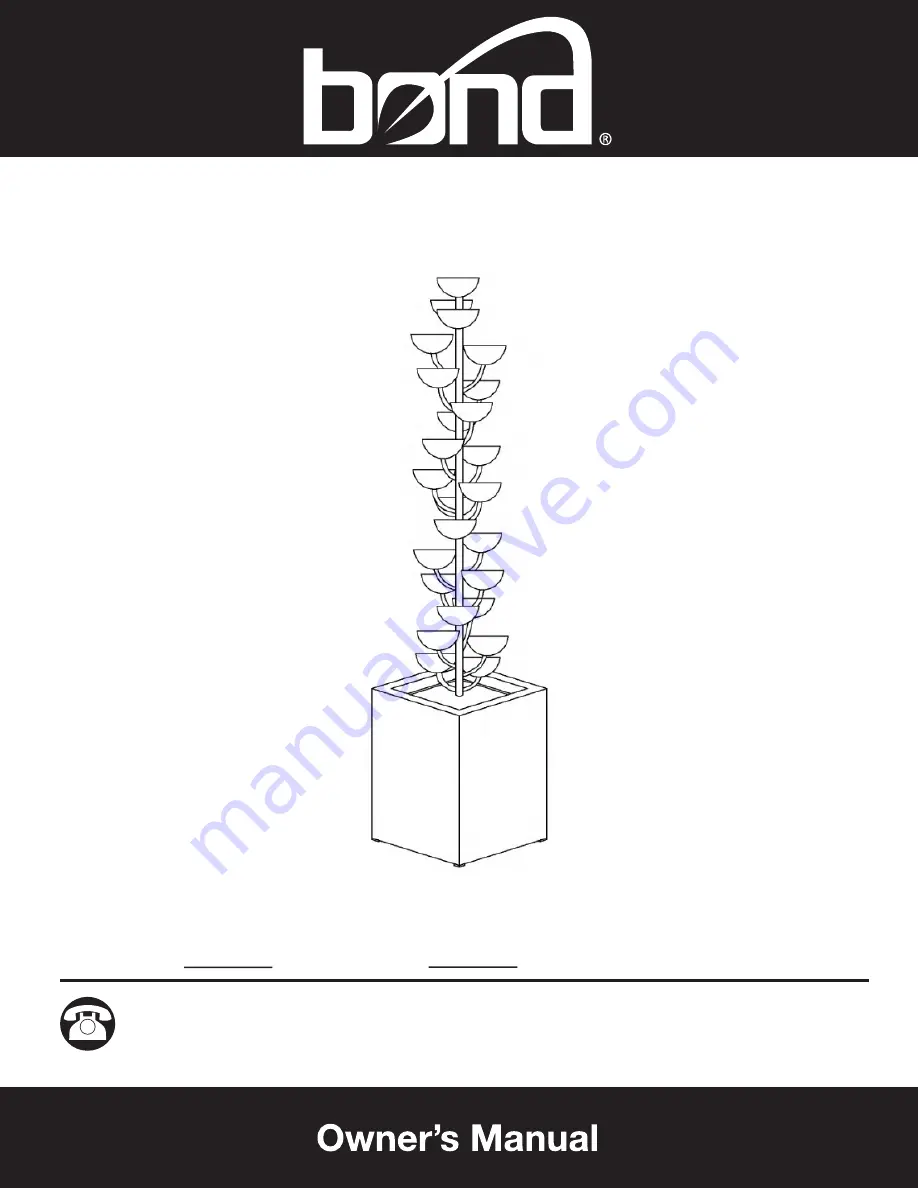
 FOUNTAIN

ITEM # Y95

871

Serial Number

Purchase Date

Questions, problems, missing parts?

Before returning to your retailer, call our customer service department at 1-8

66

-7

71

-

BOND 

(

2663)

 8 a.m. – 4

:30

 p.m. PST, Monday – Friday.

ATTACH YOUR RECEIPT HERE

Содержание GRAND BLOOMINGTON FOUNTAIN

Страница 1: ...IN ITEM Y95871 Serial Number Purchase Date Questions problems missing parts Before returning to your retailer call our customer service department at 1 866 771 BOND 2663 8 a m 4 30 p m PST Monday Frid...

Страница 2: ...fountain working with sufficient water and clean of debris and dirt to ensure proper functioning of the pump If necessary clean the fountain with a soft cloth and change the water frequently Due to w...

Страница 3: ...e plug or your wall receptacle gets wet due to water dripping down the power cord or for any other reason do not remove the plug from the wall outlet until the circuit breaker is turned off 7 Always u...

Страница 4: ...4 PACKAGE CONTENTS A E B D C Top fountain Fountain base Pump Water flow rate control valve assembly Reservoir lid ITEM DESCRIPTION QUANTITY A 1 B 1 C 1 D 1 E 1 Glass bead F 1 bag F...

Страница 5: ...ge contents list If any part is missing or damaged do not attempt to assemble the product Estimated Assembly Time 10 minutes HARDWARE CONTENTS AA BB CC DD EE Silicone plug M8xL30 Screw Washer Plastic...

Страница 6: ...sembly C to the inlets on the bottom side of the top fountain A 3 Block the drain hole at the bottom of the fountain base B with the silicone plug AA 2 Connect the short hose on the water flow rate co...

Страница 7: ...Then buckle the 6 Pour clean water into fountain base through the operation hole on the bottom plate of top fountain A make sure the water pump is fully submerged to prevent pump damage View the wate...

Страница 8: ...VHG E PRYLQJ WKH RZ rate controller on the water pump to the signs If the flow is not same for the two outlets adjust the knobs on the water flow rate control valve assembly C CAUTION Be careful not t...

Страница 9: ...all water during winter months or cold seasons to prevent reservoir from cracking or breaking Operating Fountain ALWAYS MAKE SURE THE PUMP IS FULLY SUBMERGED UNDER THE WATERLINE PRIOR TO TURNING PUMP...

Страница 10: ...nect the power and empty the reservoir if the fountain will not be used for an extended time If installed outdoors and in a freeze prone area of the country ensure all water is removed and the unit is...

Страница 11: ...it breaker or try another outlet Check the setting of the flow control on the pump and adjust the flow Check the pump discharge and intake for dirt and debris Check and reconnect the cord and try agai...

Страница 12: ...12...

Страница 13: ...u lundi au dimanche d taillant appelez notre service la client le au 1 866 771 BOND 2663 entre 8 h et 16 h Des questions des probl mes des pi ces manquantes Avant de retourner l article au 13 Guide d...

Страница 14: ...fisamment d eau et retirez la salet et les d bris renseignements sur l appareil Communiquez avec votre fournisseur d appareils lectriques pour obtenir davantage de de d rivation qui alimente la pompe...

Страница 15: ...e que de l eau s coule le long du cordon d alimentation ou pour toute autre raison ne retirez pas la fiche de la prise murale avant que l alimentation du disjoncteur n ait t coup e 7 D branchez toujou...

Страница 16: ...MBALLAGE PI CE DESCRIPTION QUANTIT A B C D E Partie sup rieure de la fontaine Base de la fontaine Ensemble vanne de r gulation de d bit d eau Couvercle du r servoir 1 1 1 1 1 A E B D C F F Bille de ve...

Страница 17: ...u de l emballage S il y a des pi ces manquantes ou endommag es ne tentez pas d assembler l article Temps d assemblage approximatif 10 minutes PI CE DESCRIPTION QUANTIT AA BB CC 2 4 4 QUINCAILLERIE INC...

Страница 18: ...tuyaux flexibles longs 1 Retirez les mat riaux d emballage de toutes les pompe E r gulation de d bit d eau C la sortie de la 2 Connectez le tuyau court l ensemble vanne de pi ce de rechange pour l as...

Страница 19: ...ne B 5 vidange am nag sur le fond de la fontaine de la fontaine sup rieure est align sur le trou de REMARQUE Assurez vous que le trou d intervention de la fontaine B remplissage minimum sur la paroi i...

Страница 20: ...identique aux deux sorties ajustez les boutons pompe eau vers les signes ou Si le d bit n est d bitd eau en tournant le r gulateur de d bit de la dans la prise secteur L utilisateur peut ajuster le 8...

Страница 21: ...eau minimal Valve de r glage de d bit maximum minimum AVERTISSEMENT Veuillez vous assurer que le cordon d alimentation n est pas endommag avant d utiliser cet appareil fontaine B travers letrou d int...

Страница 22: ...llez la fontaine l ext rieur dans un endroit o il y a des risques de gel assurez vous d avoir retir toute l eau et que l article est compl tement sec avant que la temp rature ne devienne trop froide C...

Страница 23: ...a commande de d bit d eau de la pompe et r glez le d bit V rifiez si la conduite de refoulement de la pompe et les tuyaux pr sentent de la salet ou des d bris V rifiez le cordon et rebranchez le puis...

Страница 24: ...24...

Страница 25: ...71 SUJETE SU RECIBO AQU N mero de serie Fecha de compra Tiene preguntas problemas o le faltan piezas Antes de regresar a la tienda llame a nuestro servicio al cliente al 1 866 771 BOND 2663 de 8 h a 1...

Страница 26: ...no causen da os El C digo El ctrico Nacional exige el uso de un disyunctor de falla a tierra GFCI en el circuito alimentando la bomba de la fuente y otro equipo de estanque Obtenga este dispositivo d...

Страница 27: ...o el tomacorriente mural se moja debido al agua goteando del cable de alimentaci n o por cualquier otra raz n no retire el enchufe del tomacorriente mural hasta que el disyunctor est apagado 7 Siempre...

Страница 28: ...L EMBALLAGE A B C D E Parte superior de la fuente Base de la fontaine Bomba Tapa del dep sito 1 1 1 1 1 A E B D C F ART CULO DESCRIPCI N CANTIDAD V lvula de control del caudal de agua F Moldura de cri...

Страница 29: ...CRIPCI N CANTIDAD PREPARACI N Antes de empezar el montaje del producto aseg rese de que todas las piezas est n presentes Compare las piezas con la lista del contenido del paquete Si cualquier pieza fa...

Страница 30: ...trol del caudal de agua C a la salida de la bomba E NOTA Solo necesita un tap n de silicona para el montaje el otro constituye una pieza de repuesto INSTRUCCIONES DE MONTAJE 1 Retire todo el embalaje...

Страница 31: ...de la fuente a trav s del agujero de funcionamiento situado en la placa inferior de la parte superior de la fuente A aseg rese de que la bomba est completamente sumergida para evitar da os en la bomba...

Страница 32: ...audal de la bomba de agua hacia los signos Si el caudal no es el mismo para las dos salidas ajuste los diales de la v lvula de control del caudal de agua C 9 Ajuste los pies situados bajo la base de l...

Страница 33: ...acorriente y enci ndalo la bomba comenzar a funcionar 3 Se puede aumentar o reducir la velocidad de flujo moviendo el control de velocidad de flujo de la bomba a los signos 4 Apague el interruptor de...

Страница 34: ...calor o viento Desenchufe el cable de alimentaci n y vac e el dep sito si la fuente no se va a utilizar durante un per odo prolongado Si est instalada en exteriores en una zona propensa a la congelaci...

Страница 35: ...ujo Si la bomba no funciona GARANT A SERVICIO AL CLIENTE Garant a de 1 an contra defectos de fabricaci n o mano de obra La garant a del fabricante se anular y el fabricante declina toda responsabilida...

Страница 36: ...36...

Отзывы: