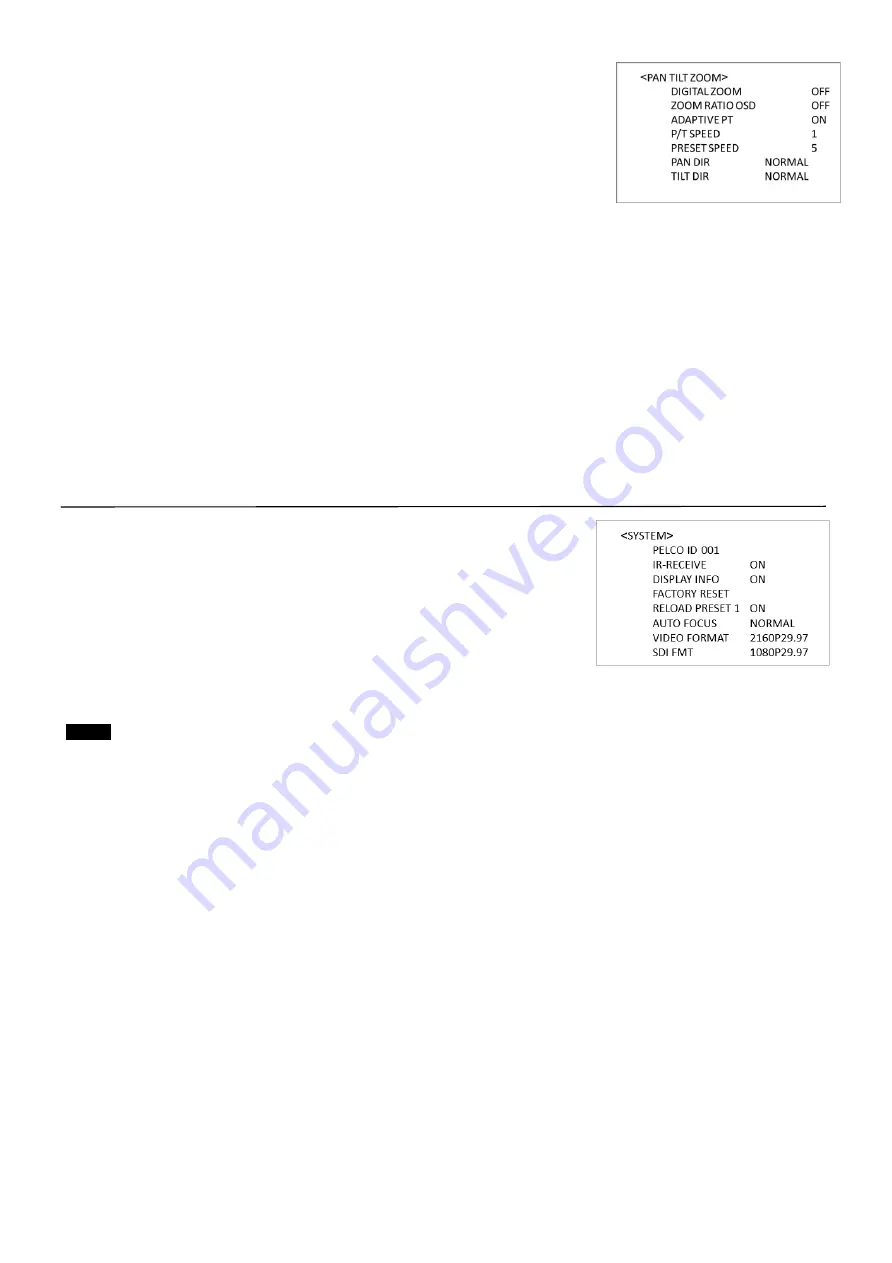
24
OFF:
When set to OFF, digital zoom does not operate, and only optical zoom is
available.
ON:
Set to DIGITAL ZOOM ON, 12X digital zoom is activated. The resolution
would be compromised when digital zoom is activated.
SRZ (Supper Resolution Zoom):
Through the use of “all pixel super resolution
technology” developed by Sony Corporation, this product provides superior images
while maintaining the resolution without degrading image quality, even when
magnified. By combining with optical zoom 20×, zoom is achieved up to 30× in 4K
and 40× in FHD.ZOOM RATIO OSD (Zoom times display):
Set Ratio OSD to ON, the number of the zoom times that you are operating displays on screen.
ADAPTIVE PT:
Set to ON, Pan Tilt speed would be adaptive with the zoom range
.
Turn ON to automatically adjust the Pan and Tilt speed with various zoom ratios. For example, the higher
zoom ratio you use, the slower the speed of P/T.
P/T SPEED:
Set P/T Speed value to from 0 to 5 (The speed from low to high), to change the speed of P/T on remote controller.
ZOOM RATIO OSD (Zoom times display):
Set Ratio OSD to ON, the number of the zoom ratio that you are operating displays on screen.
PRESET SPEED:
Set Preset Speed value to from 0 to 5 (Speed up to 5), to adjust the speed of PRESET on remote controller.
PAN DIR:
Camera horizontal left and right orientation setting, option: Normal/Invert
TILT DIR:
Camera tilt up and down orientation setting, option: Normal/Invert
SYSTEM Menu
PELCO ID
When using RS485 (PELCO P/D) control, Set Camera ID to the address that you
want to control to. This value is from 000-255.
IR-RECEIVE (Infrared Signal Reception)
When this is set to OFF, the camera does not receive the signal from the infrared
remote controller.
Be sure to keep it set to ON when you use the infrared remote controller.
Note
You cannot set IR-RECEIVE to OFF when you operate the menu using the infrared remote controller. To set it to OFF,
use the appropriate VISCA controller.
DISPLAY INFO
When this item is set to ON, the message of the camera configuration appears for about 3 seconds on the
screen, after the camera is powered on or rebooted.
FACTORY RESET
You can select this item to set camera back to Factory Default setting by pressing HOME button to confirm the action.
All data of the camera that have been set will be deleted.
RELOAD PRESET 1:
When this item is set to ON, preset 1 is set to Home position. The camera goes to Home position when it is powered on
or reset.
AUTO FOCUS
Set speed of auto-focusing from Low to Normal.
VIDEO FMT:
You can change the video format by adjusting this item. Select the item, press “←” button to choose the video format you
want to set to, then press “→” (Pressing “→” button changes value on some product models) or HOME button to confirm
it. After you confirm your choice, press HOME button again to restore it. The camera will reboot by itself. The new video
format is activated.
You can cancel it by pressing the MENU button.
The video formats that you can select from are: 2160p:29.97/25/23.98; 1080p:59.94/50/29.97/25; 1080i:59.94/50;
720p:59.94/50/23.98 (23.98 supported via FW upgrade).
You can select SDI video format are: 1080p:59.94/50/29.97/25/23.98; 1080i:59.94/50; 720p:59.94/50.
SDI 1080p23.98 can be gained when video format is set to 2160p:29.97/25.
SV:


