126
Spoilboard installation (optional)
Installing the Spoilboard. NOTE: Whether you are installing the Spoilboard
from BobsCNC or one of your own design, you should follow the same
basic steps.
Step 1
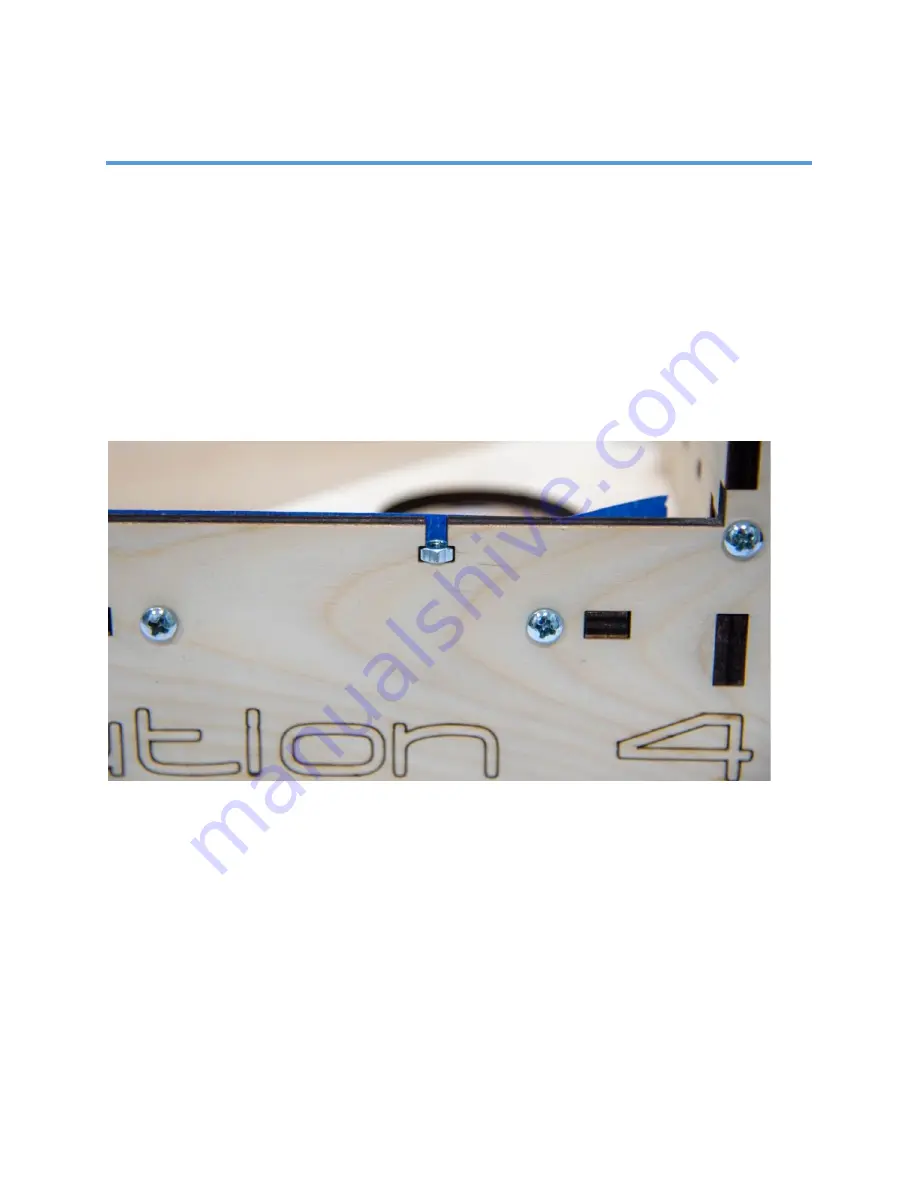
Insert 24 M4 Nuts into the Frame S
upport. Use 1” strips of
painter’s tape to hold them in place
as illustrated below.
Содержание Evolution 4
Страница 1: ...Evolution 4 Assembly Manual Rev 1 06 ...
Страница 20: ...19 1 2 3 4 ...
Страница 22: ...21 The finished Z Assembly should look like this ...
Страница 42: ...41 CB11 Stepper Motors 3 CB12 Power Supply with Cord 1 H31 8 Zip Tie 1 CB16 Controller 1 CB13 Home Switches 3 ...
Страница 70: ...69 23d Connect the Y Home Switch plug to the Y pin on the Arduino Controller as shown ...
Страница 78: ...77 28b Route the Power Wire through the Controller Mount as shown ...
Страница 82: ...81 ...
Страница 93: ...92 H60 M6 Nuts 8 H38 M4 x 30 Machine Screw 5 H15 M4 Nuts 4 R2 R3 Makita or DeWalt Router 1 ...
Страница 102: ...101 6d Insert the free end of the Belt through the lower slot of the X Frame Assembly and pull the Belt through ...
Страница 129: ...128 Completed Views Front View Back View ...
Страница 130: ...129 X1 Home Switch X1 Side View ...
Страница 131: ...130 X2 Home Switch X2 Side View ...
Страница 132: ...131 Z Home Switch Y Home Switch ...
Страница 133: ...132 ...


