background image


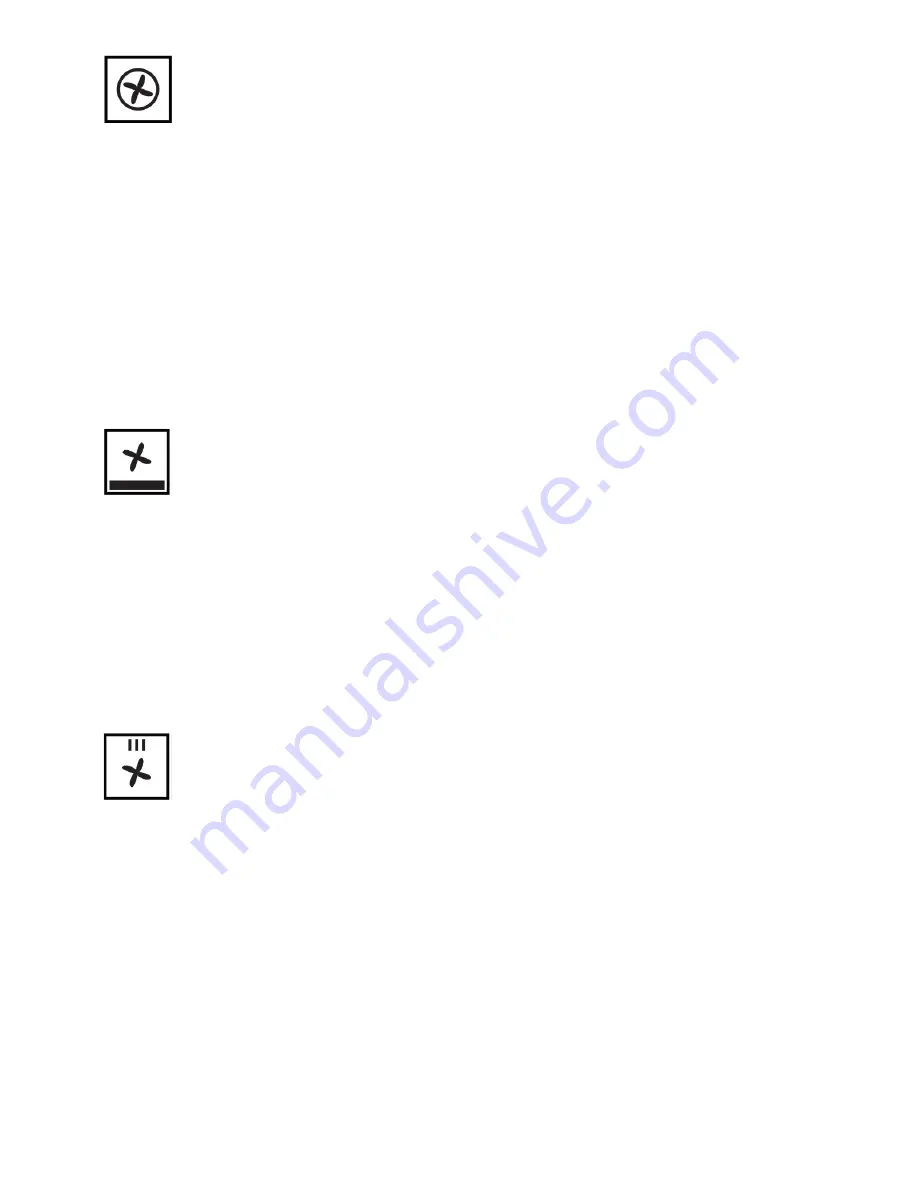
 Fan Element Function: 


This is the function where the air heated from the rear heating element is circulated into the oven by the 
rear fan. 
Adjust the Function control knob so it indicates the Fan Element Function symbol. Great for when multiple 
dishes are cooked at the same time (as mixing of flavours is minimised, 3 mximum) and best with smaller 
portions. Adjust the temperature using the Adjustment control knob to a temperature recommended on the 
cooking table for the cooking operation you wish to perform. Preheating of the oven for about 10 minutes is 
recommended.   
If you are going to cook using two trays at the same time, while adjusting the cooking temperature, select 
the temperature that is the lowest among the levels suitable for your food of choice, as shown on the table. 
Cooking with two trays requires additional cooking time compared to cooking with one tray.  Usually, the 
food on each tray does not finish at the same time so you may need to take the tray of cooked food out of 
the oven, and continue the cooking operation for the remaining tray. 
After cooking, turn off the Function control knob and cancel the timer program if in use.  Take the cooked 
food out of the oven and place it on a safe heatproof surface.  As the oven will be hot, work with caution 
and keep children away from the cooling oven. 


 Conventional Fan with Lower Element Function: 


This function heats from the bottom of the oven and the heated air is circulated by the fan. Adjust the 
Function control knob so it indicates the Conventional Fan with Lower Element Cooking function symbol.  
Adjust the temperature using the Adjustment control knob to a temperature recommended on the cooking 
table for the cooking operation you wish to perform. Preheating of the oven for about 10 minutes is 
recommended.  Place food in a suitable container, then place into oven and cook for the recommended 
time. This function will cook food in a slower more delicate process and is recommended for finishing off the 
cooking of food (in baking dishes or trays) which is already superficially well-cooked and golden on the top 
but still soft inside.  This is an ideal function for delicate cooking such as quiches, cheesecakes and 
custards where limited top browning of the food is required. 
After cooking, turn off the Function control knob and cancel the timer program if in use.  Take the cooked 
food out of the oven and place it on a safe heatproof surface.  As the oven will be hot, work with caution 
and keep children away from the cooling oven. 


 Conventional Fan & Half Grill Function: 


This function will ensure complete, fast and all over grilling by working the fan and the grill element at the 
same time. Adjust the Function control knob so it indicates the Conventional Fan & Half Grill Cooking 
function symbol.  Adjust the temperature using the Adjustment control knob to a temperature recommended 
on the cooking table for the cooking operation you wish to perform. Preheating of the oven for about 10 
minutes is recommended.  Place food in a suitable container, then place into oven (generally at the upper 
shelf positions) and cook for the recommended time. Placing the food on a rack with a tray underneath 
helps collect any fats that drip out of the food. Keep the oven door closed when grilling. This function is 
ideal for cooking food to achieve a crispy skin (such as chicken thigh or breast with the skin on) and lightly 
browning meat such as lamb and seafood.


After cooking, turn off the Function control knob and cancel the timer program if in use.  Take the cooked 
food out of the oven and place it on a safe heatproof surface.  As the oven will be hot, work with caution 
and keep children away from the cooling oven.


Содержание BOSE608PX

Страница 1: ...Instruction Manual for Built In Oven BOSE608PX...

Страница 2: ...y with your kitchen d cor It is easy to use and performs to a high standard Blanco also makes a range of products that will enhance your kitchen such as cooktops rangehoods dishwashers microwaves sink...

Страница 3: ...Read these instructions carefully before using your oven and keep them in a safe place If you follow the instructions your oven will provide you with many years of good service...

Страница 4: ...them in appropriate collection containers If you wish to discard this product please contact your local authorities and ask for the correct method of disposal Important Safety Instructions 1 Applianc...

Страница 5: ...Do not store or use flammable materials or aerosols near the oven Items made from aluminium plastic or plastic film should also be kept away from the appliance as they may fuse to the surface 14 Never...

Страница 6: ...appliance identification plate The switched outlet must be connected to a suitable earth wiring in conformity to current safety regulations It should not be located above the appliance and no more tha...

Страница 7: ...nearest after sales service centre TRANSPORTATION Keep the original carton of the product and use this packaging if the item needs to be transported Follow the transport signs on the carton Place a pa...

Страница 8: ...re fixing the appliance in place CHOOSING A PLACE FOR THE APPLIANCE There are several points to pay attention to when choosing a place for your oven Make sure to take into account our recommendations...

Страница 9: ...ct and resistant to increases in temperature In a correct installation contact with electrical or insulated parts must be prevented Insulating parts need to be fitted in a way to ensure that they cann...

Страница 10: ...ure for 30 minutes At the same time you need to properly ventilate the environment in which the oven is installed In order to cook in your oven the oven function controls need to be set the temperatur...

Страница 11: ...reduces the value rotating clockwise increases the value and pressing the control knob in selects the value Pressing the Adjustment control knob can also be used to cycle through the different displa...

Страница 12: ...will start up automatically For the other cooking functions the default temperature will be shown the temperature indicator will also be lit If this is acceptable no changes need to be made If a diff...

Страница 13: ...with the Auto Function indicator A Rotate the Adjustment control knob once and the hour display will flash Adjust this time by rotating the Adjustment control knob left reduce or right increase until...

Страница 14: ...cooking chart During heated oven functions a cooling fan in the top of the oven will operate in order to cool down the oven door and kitchen cabinet as well as reducing condensation in the oven There...

Страница 15: ...h sides of the food and is based on the Top and Lower Elements Cooking function Adjust the Function control knob so it indicates the Eco Traditional Top and Lower Elements Cooking function symbol Adju...

Страница 16: ...the oven for about 10 minutes is recommended Place food in a suitable container then place into oven and cook for the recommended time This function will cook food in a slower more delicate process a...

Страница 17: ...the oven for about 10 minutes is recommended Place food in a suitable container then place into oven generally at the upper shelf positions and cook for the recommended time Placing the food on a rac...

Страница 18: ...is way splattering and dripping oils will not make the oven interior dirty If you are going to use the large wire oven rack grill insert a tray into one of the lower racks to collect fat or oil To mak...

Страница 19: ...the holes at the top of the oven side and unhook the guide To replace after cleaning reverse the process Cleaning the interior of the oven using the pyrolysis function Remove all cooking accessories...

Страница 20: ...Unit smoking when first used This is a result of protective oils being removed and is to be expected with a first use Clock Flashing on Display Power failure or interruption Error Codes on Display If...

Страница 21: ...at pos c Rack pos Cooking Period min Thermosta t pos c Rack pos Cooking Period min Roast Pork 230 190 2 3 20 45 50 min per kilo 220 180 2 3 20 45 50 min per kilo Roast Chicken 190 200 2 3 50 60 min pe...

Страница 22: ...even cooking To do this cut into the thick fish flesh behind the head through to the bone These scored areas also allow you to check easily to see if the fish is cooked It is a good idea to either me...

Страница 23: ...e of the bowl when the beating is complete as this will knock out precious air you have just spent time adding Remove the beaters from the hand mixer and tap them over the edge of your open palm to kn...

Страница 24: ...We appreciate your feedback Please review our products on www blanco australia com...

Отзывы: