


724-746-5500 | blackbox.com
Page 49
Chapter 3: Installation and Configuration
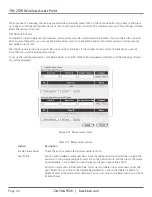
After you finish, go to the bottom of this page and click on the Apply button, and the following message will be displayed:
Figure 3-48. Settings saved successfully prompt.
When you see this message, the settings you made are successfully saved. You can click on the Continue button to go back to
the previous page and continue setting other items, or click on the Apply button to restart the wireless access point. The changes
will take effect after about 30 seconds.
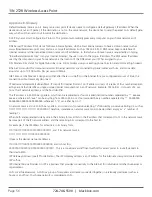
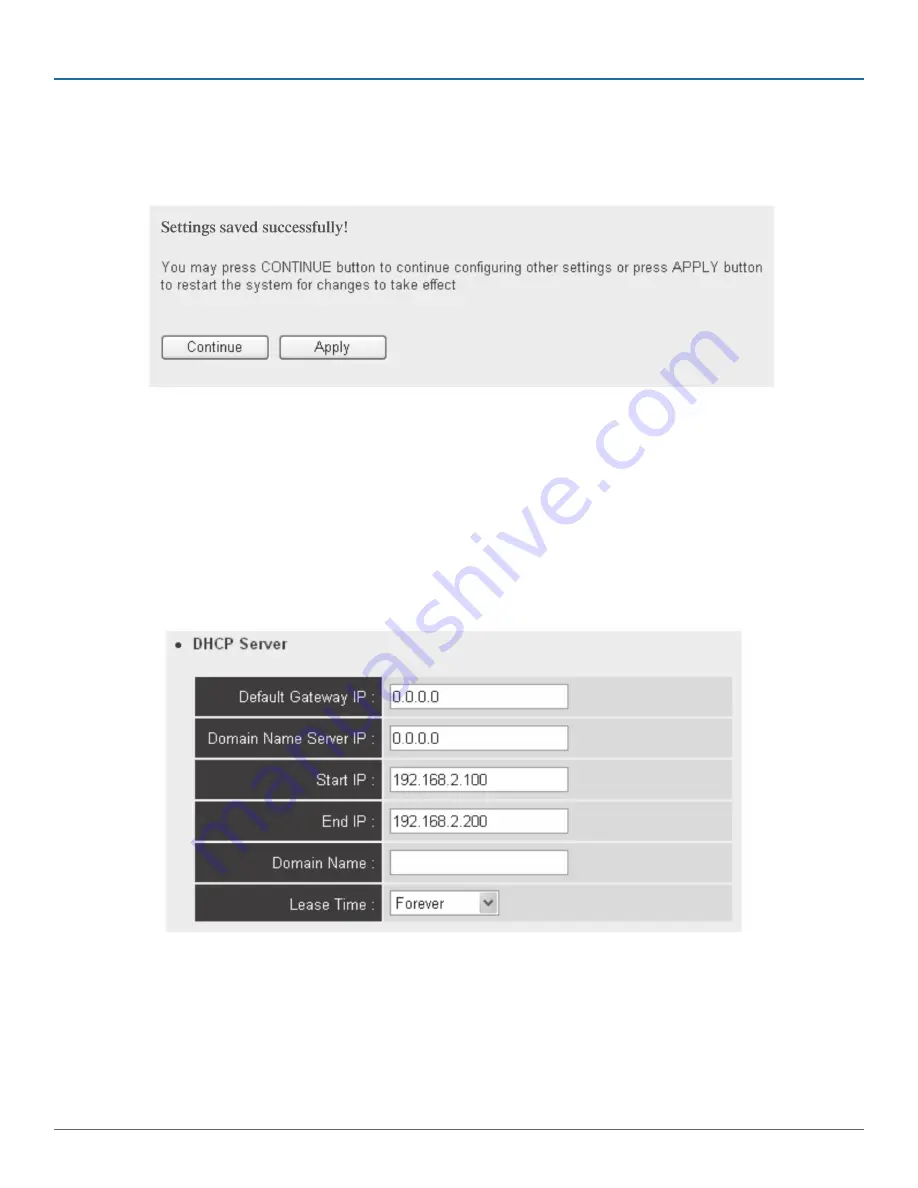
3.10.3 DHCP Server
This wireless access point can act as a DHCP server for your network, and it’s disabled by default. If you want to activate this
function, click System Utility on the left, and the following screen will be displayed:
Figure 3-49. DHCP server screen.
NOTE: Remember to select Enable in the DHCP Server option as described in Section 3.10.2, or all DHCP related fields will be
grayed out, and you will not be able to input any DHCP parameters.


