Page 14
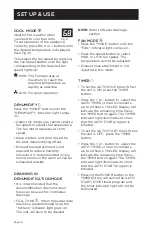
COOL MODE
Ideal for hot weather when
you need to cool the room.
To set operation of the appliance
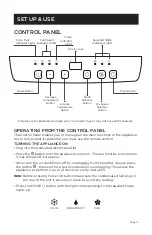
correctly, press the
+
or
–
buttons until
the desired temperature is displayed.
(See Fig. 6)
Then select the fan speed by pressing
the Fan Speed Button until the light
corresponding to the required fan
speed lights up:
HIGH: The Fan operates at
maximum to reach the
required temperature as
rapidly as possible.
LOW: For quiet operation.
DEHUMIDIFY
Press the “MODE” button until the
“DEHUMIDIFY” indicator light comes
on.
• Under this mode, you cannot select a
fan speed or adjust the temperature.
The fan motor operates at LOW
speed.
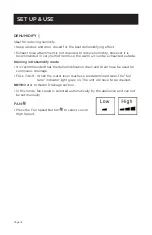
• Keep window and door closed for
the best dehumidifying effect.
• Exhaust hose attachment is not
required to reduce humidity,
however it is recommended in very
humid rooms so the warm air can be
exhausted outside.
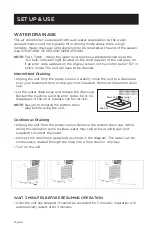
DRAINING IN
DEHUMIDIFICATION MODE
• It is recommended that the
dehumidification drain and drain
hose can be used for continuous
drainage.
• FULL TANK - When the water level
reaches a predetermined level, the
“full tank” indicator light goes on.
The unit will have to be drained.
NOTE:
Refer to Water Drainage
section.
FAN MODE
• Press the “MODE” button until the
“FAN” indicator light comes on.
• Press the speed button to select
HIGH, or LOW fan speed. The
temperature cannot be adjusted.
• Exhaust hose attachment is not
required in this mode.
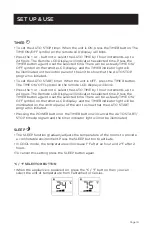
TIMER
• To set the AUTO STOP timer. When
the unit is ON, press the TIMER
button.
• Press the + or - button to select the
AUTO TIME by 1 hour increments,
up to 24 hours. The LED Display will
indicate the remaining time. Press
the TIMER button again. The TIMER
indicator light illuminates to show
that the AUTO STOP program is
initiated.
• To set the AUTO START timer. When
the unit is OFF, press the TIMER
button.
• Press the + or - button to select the
AUTO TIME by 1 hour increments,
up to 24 hours. The LED Display will
indicate the remaining time. Press
the TIMER button again. The TIMER
indicator light illuminates to show
that the AUTO START program is
initiated.
• Pressing the POWER button or the
TIMER button will cancel the AUTO
START/STOP timed program and
the timer indicator light will not be
illuminated.
SET UP & USE
Fig. 6
Содержание BP05PWA
Страница 26: ...Page 26 ...
Страница 52: ...Page 52 ...
Страница 54: ...Page 54 ...
Страница 79: ......


