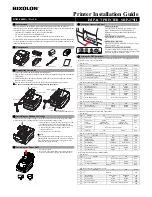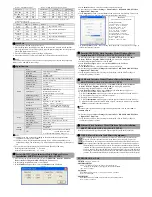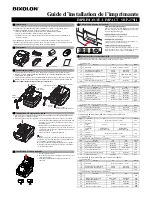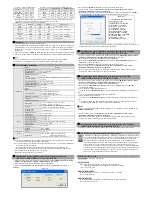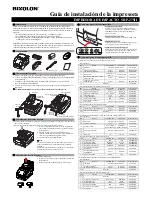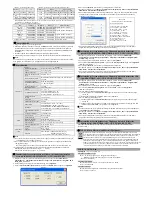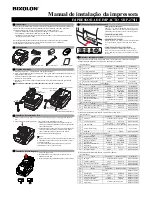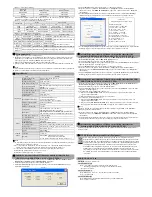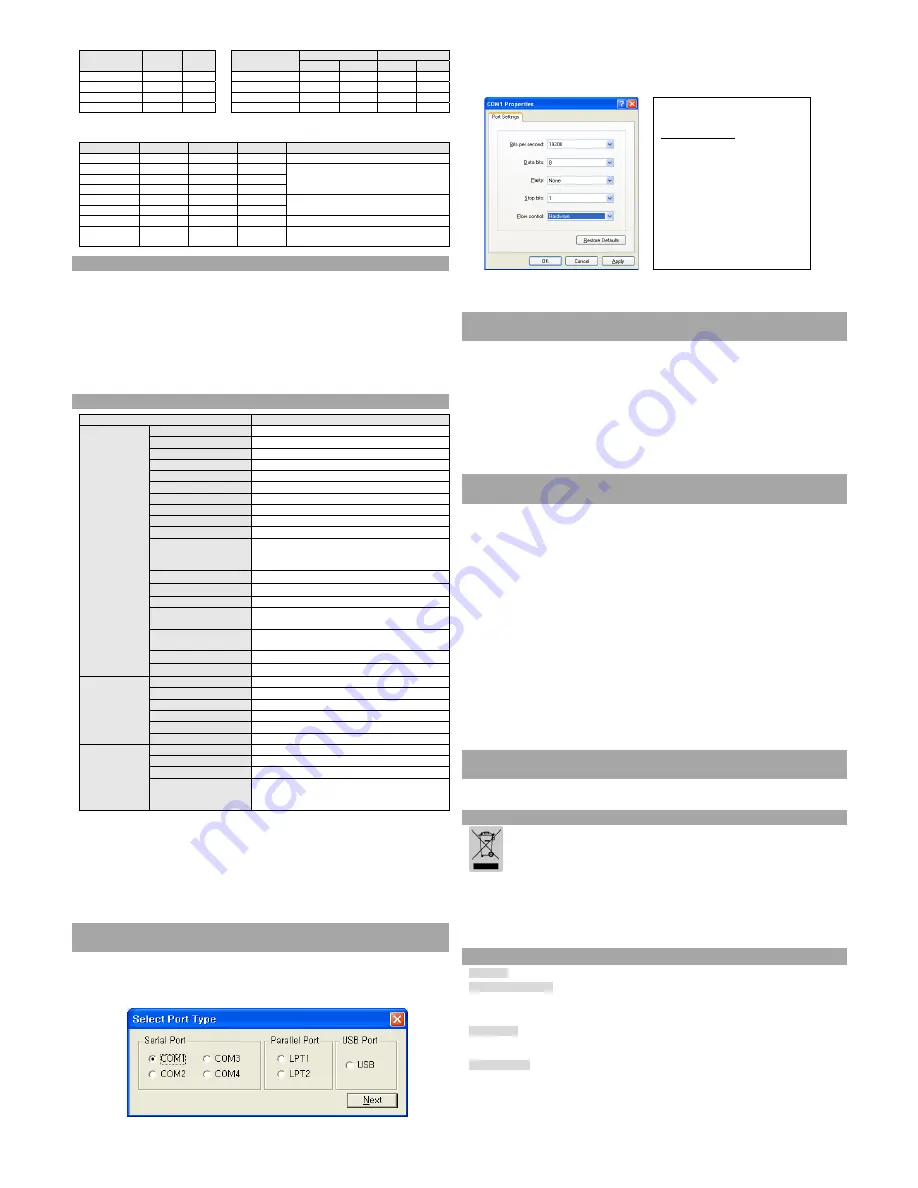
• Table 1 – Emulation Selection • Table 2 – Transmission Speed (bps) Selection
Emulation
1-1
1-2
Transmission
Setting
Citizen Mode
2-7
2-8
2-5
2-6
BXL/POS OFF
OFF
2400
ON ON ON ON
BXL/POS-KP
ON
ON
4800
OFF
ON
OFF
ON
STAR OFF
ON
9600 OFF
OFF
OFF
OFF
CITIZEN ON
OFF
19200 ON OFF ON
OFF
- BXL/POS-KP (Kitchen Printer Mode): Buzzer will sound when the automatic cutting function is
activated or paper is low.
• Table 3 – International Language Selection
Country
DSW1-5
DSW1-6
DSW1-7
Code Page
U.S.A
ON
ON
ON
Page 0 (PC437 : USA)
France OFF ON ON
Page 2 (PC850 : Multilingual)
Germany ON OFF ON
U.K OFF
OFF ON
Denmark ON ON OFF
Page 5 (PC865 : Nordic)
Sweden OFF ON OFF
Italy
ON
OFF
OFF
Page 2 (PC850 : Multilingual)
Windows
Code
OFF OFF OFF
Windows
Code
◈
Self-Test
1. Turn the printer off and close the rear cover.
2. While holding down the FEED button, turn on the printer and continue to hold until the
paper begins to feed. The self-test begins to print the printer settings and cuts the paper and
pauses. (ERROR lamp will be on.)
3. Press the FEED button to print the rolling ASCII pattern.
4. When the rolling ASCII pattern is printed, the self-test mode automatically ends.
※
Note
The self-test lets you know if your printer is operating properly. It checks the print quality,
ROM version, and DIP switch settings.
◈
Specification
Item
Details
Printer
Printing Method
Serial impact dot matrix
Head Pin
9-pin serial
Dot Pitch
0.352mm (1/72”)
Dot Pin Diameter
0.28mm (0.01”)
Printing Direction
Bi-directional (logic seeking) with friction speed
Character per line
Max 42 (Characters)
Printing speed *1)
5.1 lines/ sec
Printing Width
63.5 mm
Line Interval
4.233 mm (1/6”)
Font
7 × 9 / 9 × 9
Character Set
Alphanumeric Character : 95
International Character : 48
Extended Graphic : 128 × 27 page
SMPS Input Voltage
100~240 VAC
Frequency
50 / 60 Hz
SMPS Output Voltage
24VDC
Temperature
Operating : 0~40
℃
(32~104
℉
)
Storage : -20~60
℃
(-4~140
℉
)
Humidity
Operating : 10~80% RH (Non-condensing)
Storage : 10~90% RH (Non-condensing)
Mechanism Life *2)
18,000,000 Lines
Auto Cutter
1,500,000 Cuts
Paper
Paper Type
Paper Roll
Roll Width
76±0.5 mm
Roll Diameter
Max ø83 mm (3.27")
Paper Thickness
Thickness : 1-ply 0.06~0.085 mm
Paper Weight
Weight : 52.3~64g/m
2
(0.115~0.1411 lb)
Paper Tube (Outer)
Max ø19mm (0.75")
Ribbon
Cartridge
Standard GRC-201BR
Color Black
and
Red
Size 13
mm
(W)
Life
GRC-201BR : 1,500,000 characters (Black)
750,000 characters (Red)
(7×9 font continual printing, ASCII, 25
℃
)
※
Note
*1) Printing speed may be slower depending on the data transmission speed and the
combination of control commands.
*2) The above values are calculated under printing level 2 with recommended paper at
normal temperature. The values may vary with environment temperature, printing level,
etc.
* The specifications of print density for the black mark.(DensiEye 700 used)
Density print of the black mark: 1.0 or more
Density of the non-black mark: 0.1 or less
◈
Serial (RS-232C) Fixed Interface Model Windows Driver
Installation: SRP-275IIA,AG,C,CG (IFA-S TYPE)
1. After running the product installation CD, run the
SRP-275II > Drivers > Windows
Driver > Drivers > English > SRP-275II_WIN_Vx.x.x.exe
file.
2. In the opening installation window, click on
Next
.
3. In the
Select Port Type
window, select one
Serial Port
and click
Next.
(Figure 1.)
4. In the
Installer
window, select
Yes
and the computer will reboot.
5. After rebooting, open
Start > Settings > Printers & Fax > BIXOLON SRP-275II Icon
> Right-Click > Properties
.
6. In the
Properties
window, select the
Port
tab and click on the Port Settings. Check to see
that the information is identical to the self-test results after installation.
SELF TEST
<SRP-275II VER. V01.00 STB 110608>
DIP Switch setup status
Interpreter (DIP1_1,2): BXL/POS
AutoCut (DIP1 _ 3): Disabled
Memory S/W (DIP1 _ 5): Off
Logo Print (DIP1 _ 6): Off
Near_end (DIP1 _ 7): Enabled
Rx ErrorPrint(DIP2 _ 1): Print ?
Black mark (DIP2 _ 2): Disable
HandShaking (DIP2 _ 3): RTS/DSR
Word Length (DIP2 _ 4): 8
Parity (DIP2 _ 5): None
Baud Rate (DIP2_7,8): 19200
7. In the
Properties
window, after selecting the General tab, click on Print Test Page to
confirm that printing is normal.
◈
Parallel (IEEE1284) Fixed Interface Model Windows Driver
Installation: SRP-275IIAP,APG,CP,CPG (IFG-P TYPE)
1. After running the product installation CD, run the
SRP-275II > Drivers > Windows
Driver > Drivers > English > SRP-275II_WIN_Vx.x.x.exe
_
Vx.x.x.exe
file.
2. In the opening installation window, click on
Next
.
3. In the
Select Port Type
window, select one
Parallel Port
and click
Next
.
(Refer to Figure 1.)
4. In the
Installer
window, select
Yes
and the computer will reboot.
5. After rebooting, open
Start > Settings > Printers & Fax > BIXOLON SRP-275II Icon
> Right-Click > Properties
.
6. In the Properties window, after selecting the General tab, click on Print Test Page to
confirm that printing is normal.
◈
USB Fixed Interface Model Windows Driver Installation:
SRP-275IIAU,AUG,CU,CUG (IFG-U TYPE)
1. After running the product installation CD, run the
SRP-275II > Drivers > Windows
Driver > Drivers > English > SRP-275II_WIN_Vx.x.x.exe
_
Vx.x.x.exe
file.
2. In the opening installation window, click on
Next
.
3. In the
Select Port Type
window, select
USB
and click
Next
. (Refer to Figure 1.)
4-1. If using Windows 2000/VISTA/2008 Server/7:
After the
①
Information
window appears, turn the printer off and back on and click Yes.
After installation is complete, reboot the computer.
②
4-2. If using Windows XP/2003 Server:
After the
①
Information
window appears, turn the printer off and back on and click Yes.
After the New Hardware Detected window appears, continue to click Next to install the
②
USB
drive, and then reboot the computer.
※
Note
When the digital registration message appears during installation, click on either
OK
or
Continue Anyway
.
5. After rebooting, open
Start > Settings > Printers & Fax > BIXOLON SRP-275II Icon
> Right-Click > Properties.
6. In the Properties window, after selecting the General tab, click on Print Test Page to
confirm that printing is normal.
◈
Ethernet Fixed Interface Model Windows Driver Installation:
SRP-275IIAE,AEG,CE,CEG (IFA-EP TYPE)
Refer to the user manual regarding separate Ethernet interface cards.(Refer to the CD)
◈
WEEE (Waste Electrical and Electric Equipment)
This marking shown on the product or its literature, indicates that is should not be
disposed with other household wastes at the end of its working life, To prevent
possible harm to the environment or human health from uncontrolled waste disposal,
please separate this from other types of wastes and recycle it responsibly to promote
the sustainable reuse of material resources. Household users should contact either the
retailer where they purchased this product, or their local government office, for details
of where and how they can take this item for environmentally safe recycling. Business
users should contact their supplier and check the terms and conditions of the purchase
contract. This product should not be mixed with other commercial wastes for disposal.
☎
BIXOLON Co., Ltd.
●
Website
http://www.bixolon.com
●
Korea Headquarters
(Add) 7~8F, (Sampyeong-dong), 20, Pangyoyeok-ro241beon-gil,
Bundang-gu, Seongnam-si, Gyeonggi-do, 463-400, Korea (ROK)
(Tel.) +82-31-218-5500
●
U.S. Office
(Add) BIXOLON America Inc., 3171 Fujita St, Torrance, CA 90505
(Tel.) +1-858 764 4580
●
Europe Office
(Add) BIXOLON Europe GmbH, Tiefenbroicher Weg 35 40472 Düsseldorf
(Tel.) +49 (0)211 68 78 54 0

