


etc.
Use a needle object(such as pen)
to insert into hole of ‘Reset’, hold until all the LED
indicators turn off.
3. Configuration and Management
3.0 Getting start Web UI
TG451 provide visible and easy-to-use WebUI for configuration setting and management. Below
sections indicate each menu items feature introduce and setting on WebUI.
3.0.1 Connect your PC to TG451 network.
Using an Ethernet cable, connect one end of the Ethernet cable to the LAN port on
TG451 unit and the other end to a LAN port on a PC.
Or use your laptop to
connect to WIFI hotspot ‘Bivocom_xxxx’ from TG451, login with
default password:
“admin123”.
If your PC is configured to automatically get an IP address, it will obtain the IP address
from the TG451 DHCP. Otherwise, make sure your PC can connect to the network
192.168.1.0 (255.255.255.0).
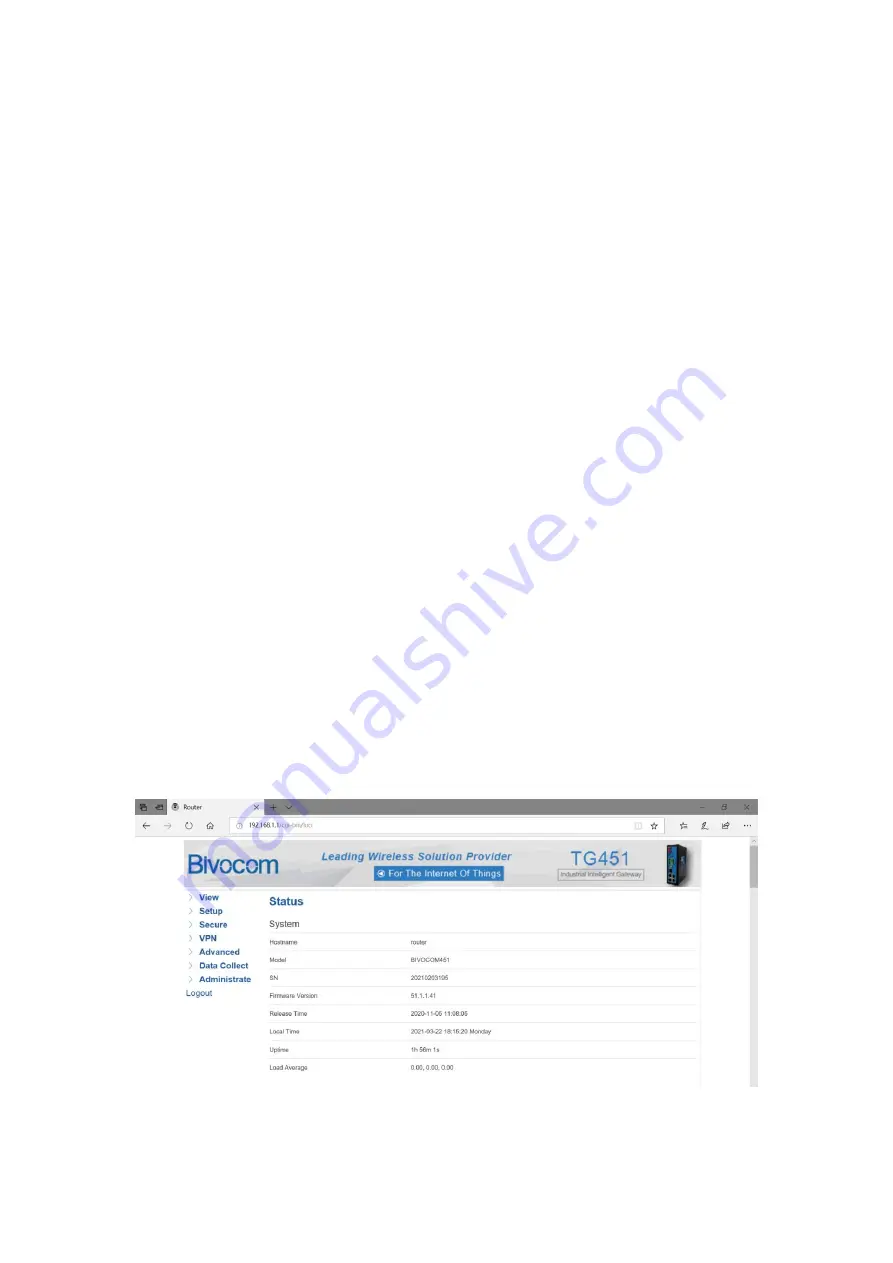
3.0.1 Login the WebUI
Enter 192.168.1.1 into the address bar of your PC web browser. Login with user name and
password both “admin” as default. A web page with menu items will guide you start the
configuration.
Содержание TG451 Series
Страница 1: ...Industrial Cellular WIFI Router TG451 Series User Guide...
Страница 14: ...3 1 3 Routing Tables Display ARP list and active routing tables...
Страница 31: ...1 L2TP Client...
Страница 34: ...3 4 3 OpenVPN 1 OpenVPN...