41
Setting the DIP Switch
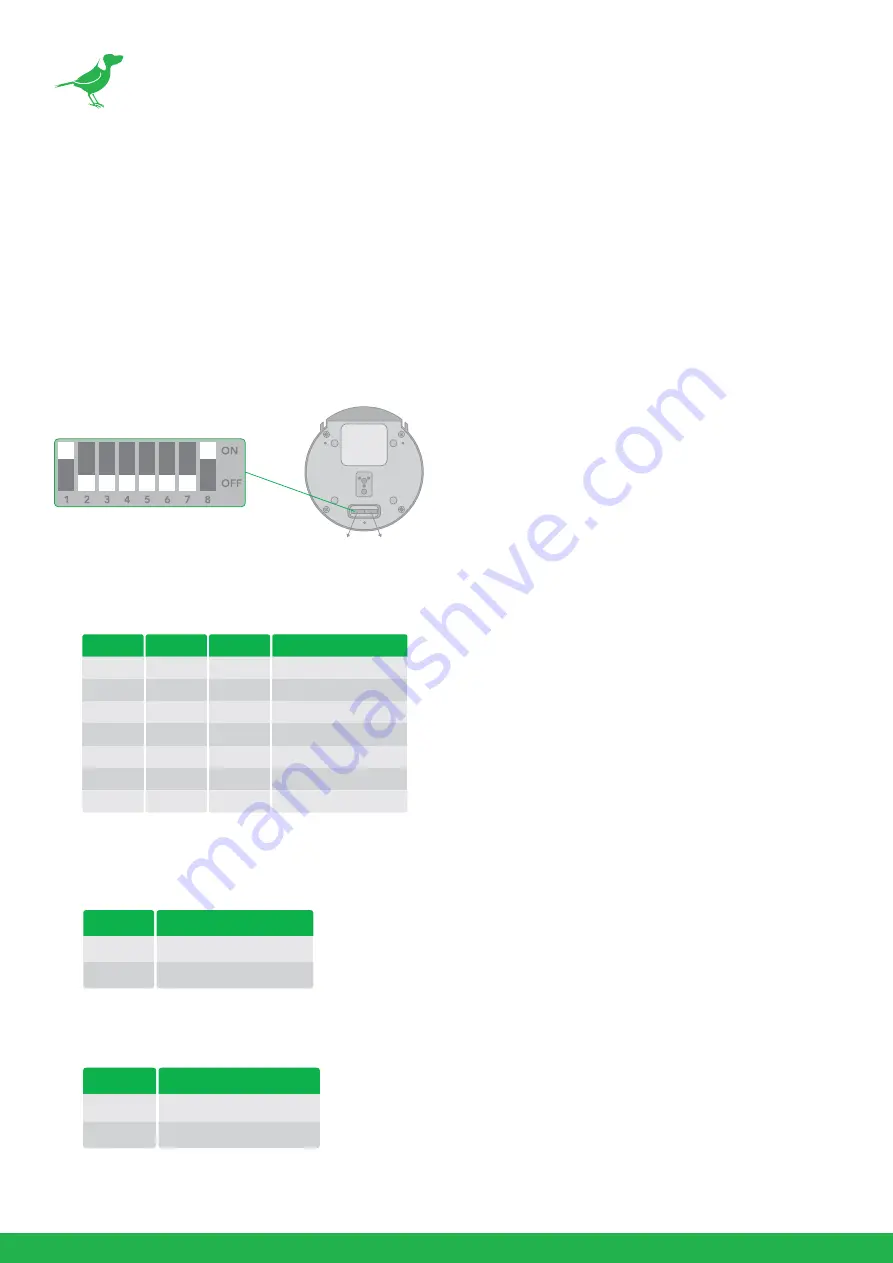
The camera DIP switch are located on the camera base. Turn off power to the camera before changing the DIP
switch settings. Power on the camera to have the new DIP switch setting activated.
NOTE:
The camera OSD and DIP settings override each other. Whichever was the last to be changed will be used
by the camera when it boots.
Switch 1 (left side switch in the orientation below)
Default Setting: ON, OFF, OFF, OFF, OFF, OFF, OFF, ON.
1.
Bit 1~3: Camera Address setting for VISCA protocol
2.
Bit 4: Video Output/Video Color Space
When using HDMI output to display on HDMI device, set the DIP switch B4 to OFF. When using HDMI to DVI
convertor to have DVI video output, set the DIP switch B4 to ON.
3.
Bit 5: Reserved
4.
Bit 6: RS-232/RS-422
BOTTOM
LEFT RIGHT
LEFT:
VISCA Address
1
2
3
4
5
6
7
1
ON
OFF
ON
OFF
ON
OFF
ON
2
OFF
ON
ON
OFF
OFF
ON
ON
3
OFF
OFF
OFF
ON
ON
ON
ON
Colour Space Setting
YUV Output
RGB Output
4
OFF
ON
Control Mode
RS-232
RS-422
6
OFF
ON
Содержание P120
Страница 1: ...FULL NDI PTZ CAMERAS LEVELLED UP USER GUIDE NDI 5 2022 ...
Страница 56: ...52 Camera Dimensions Unit mm 145 171 152 95 97 ...
Страница 59: ...WELCOME TO THE FUTURE ...
Страница 60: ...birddog tv hello birddog tv ...


