


33 / 51
WWW.BIQU3D.COM
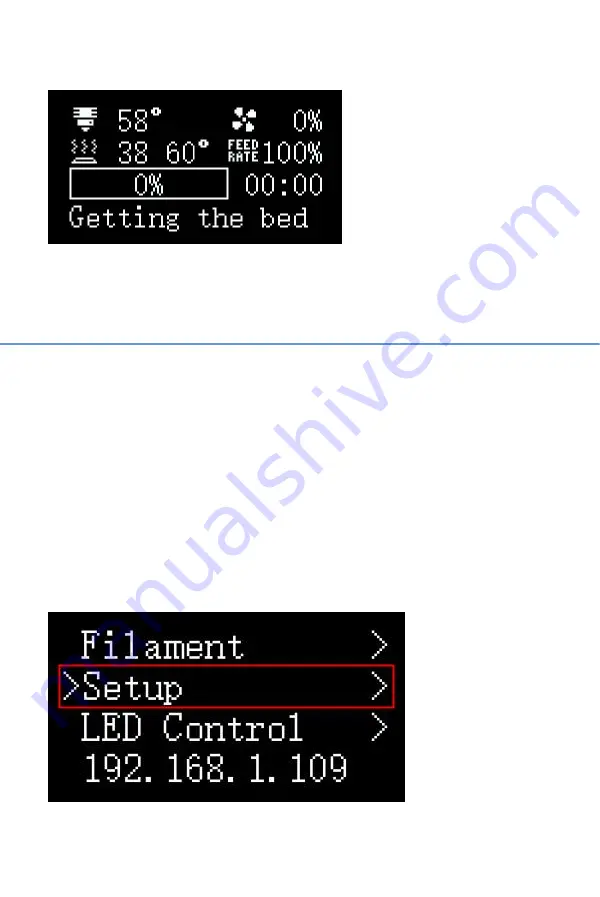
The print will start after the components reached the
printing temperature.
7 Other Function
7.1 MicroProbe Calibration
If you find the MicroProbe factory offset is incorrect, or you
have rewritten the system, the s
teps for calibration are as
follows:
Setup—Calibration——Start Probing——Move Z(
adjust the
distance between the nozzle and bed:
±
1mm
)——Test
Z(
adjust the distance between the nozzle and bed: -0.1mm to
+0.1mm
)——Accept & Save
Содержание Hurakan
Страница 1: ...1 51 WWW BIQU3D COM BIQU Hurakan User Manual V1 0...
Страница 19: ...19 51 WWW BIQU3D COM 5 2 Cura Slicer Setting Setup the slicer according to the following steps...
Страница 20: ...WWW BIQU3D COM 20 51...
Страница 21: ...21 51 WWW BIQU3D COM...
Страница 23: ...23 51 WWW BIQU3D COM...
Страница 24: ...WWW BIQU3D COM 24 51...
Страница 30: ...WWW BIQU3D COM 30 51 Upload the gcode file Select the file and click print...
Страница 34: ...WWW BIQU3D COM 34 51 Make sure the distance between the bed and the nozzle is between 0 and 0 1mm...
Страница 35: ...35 51 WWW BIQU3D COM If Move Z cannot be adjusted you can adjust Test Z for more precise fine tuning...
Страница 37: ...37 51 WWW BIQU3D COM Accept Save then we can start auto leveling 7 2 Auto Leveling Control Bed Mesh Save...
Страница 39: ...39 51 WWW BIQU3D COM 7 3 Z axis Limit Selection choose one of two options...
Страница 42: ...WWW BIQU3D COM 42 51 7 4 ON OFF of the Filament Runout Detection Module...
Страница 44: ...WWW BIQU3D COM 44 51...


