background image

Maintenance and Servicing

41

© 2015 biostep GmbH , V1.3 - 09.2015

5.4

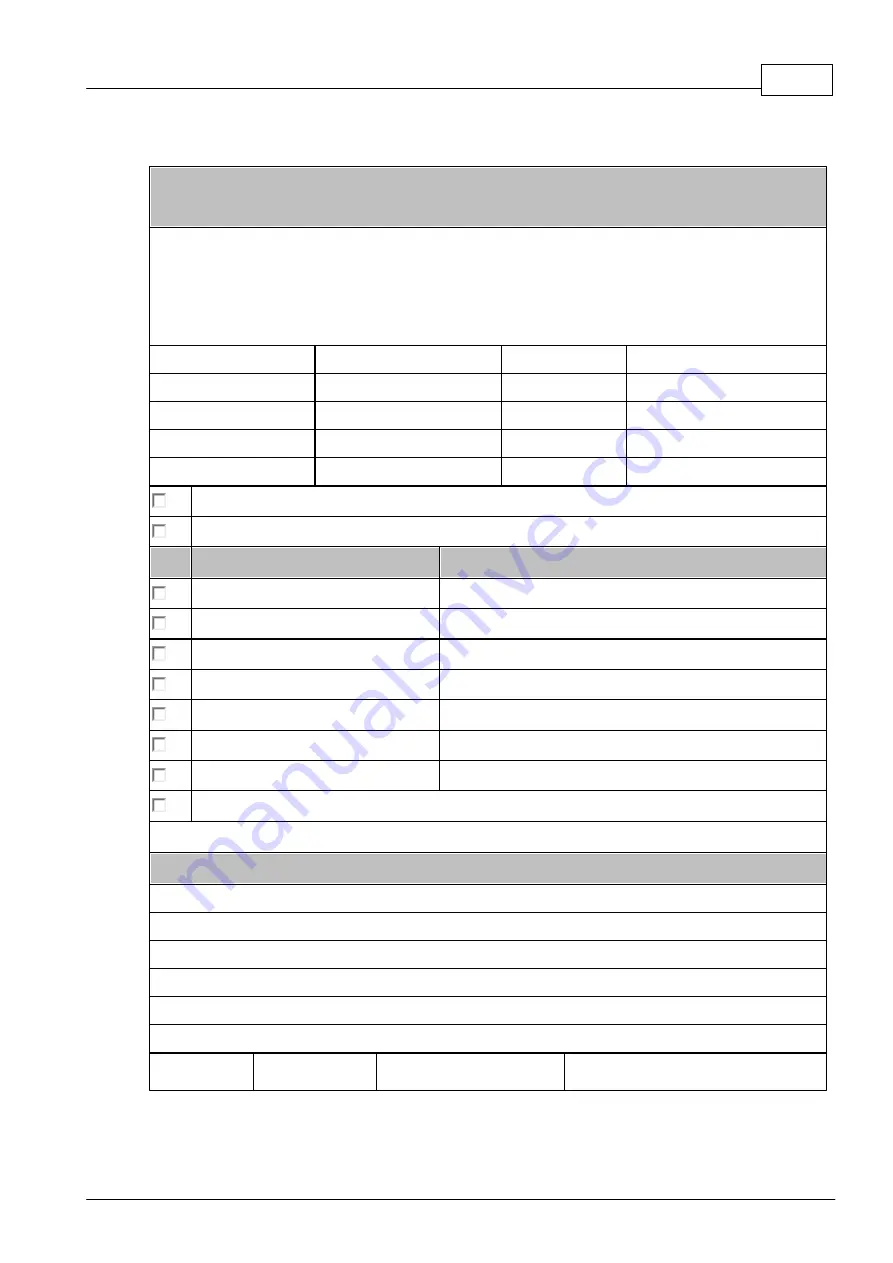
Contamination questionnaire

Contamination questionnaire

for repair orders

Dear customer,

For safety reasons, we kindly ask you to answer the following questions, before your device is
maintained, repaired or given back, or before you send your device to the biostep

®

 GmbH or to

your local sales agency.

Company:

Department:

Town:

Street:

Name:

Telephone No.:

Device / Article:

Serial No.:

The device is free of hazardous substances

The device got into contact with the following hazardous substances:

Substance class

Substance name

Toxic substances

Caustic substances

Explosive substances

Radioactive substances

Infectious substances

Oxidizing substances

Other hazardous substances

The device has been decontaminated according to the legal regulations.

(Mark with a cross where applicable) 

Description of the effected decontamination:

Date:

Signature:

Содержание BG56-A0160

Страница 1: ... 2015 biostep GmbH V1 3 09 2015 User manual Celvin S Order No BG56 A0160 Order No BG56 A0320 Order No BG56 A0420 Order No BG56 A0830 Control software SnapAndGo from Version 1 6 ...

Страница 2: ......

Страница 3: ... SnapAndGo 10 10 1 Program start 11 2 General information 11 Program structure 11 Navigation and action pane 11 Device status 12 Export 13 Histogram 13 Automatic exposure time calculation 13 What is binning 14 3 New project 15 Capturing in basic mode 17 Capturing in master mode 21 Serial mode 27 4 Open project 30 5 Settings 37 6 Information 37 7 Help V Maintenance and Servicing 38 38 1 Service add...

Страница 4: ......

Страница 5: ... device is only intended for research purposes and for the purpose of quality control Copyright The copyright of the present operating manual remains with biostep GmbH The operating manual is only intended for the operating personnel and for the buyer of the device The complete manual or parts of this operating manual may only be copied communicated or otherwise made public with the written consen...

Страница 6: ...data to be completed by the customer biostep GmbH Innere Gewerbestraße 7 D 09235 Burkhardtsdorf Telephone 49 0 3721 3905 0 Telefax 49 0 3721 3905 28 Type Celvin S Serial number __________________ Installation site __________________ Installation date __________________ Inventory number __________________ ...

Страница 7: ... accurate positioning in detection area Celvin S 160 order no BG56 C0305 sample frame for accurate positioning in detection area Celvin S 320 order no BG56 C0305 sample cover panel for blots order no BG56 C0250 2 CL substrates CL substrates Lumixx ready 100ml order no LN04 K2005 CL substrates Lumixx ready 250ml order no LN04 K2010 CL substrates Lumixx plus 250ml order no LN04 K2050 CL substrates L...

Страница 8: ...l information for a better understanding A non observance of these instructions may have the result that the device is incorrectly operated or is even damaged The cleaning error handling and maintenance of the device are described in the corresponding chapters Caution General source of hazard This general attention sign points out to possible personal injury material and or environmental damages w...

Страница 9: ...ide of the device Only use the supplied mains cable with connector plug or a cable of the same type Connect the mains cable of the device only to an electrical socket with earth contact Check the connection cable in regular intervals for damages Install the supplied operator software SnapAndGo on the PC Follow the instructions on the screen Connect the Celvin S with the PC USB port and with the ma...

Страница 10: ...only be opened or maintained by an authorized specialist who is instructed at the Celvin S CAUTION Magnetism The lid is locked via two magnets that create a magnetic field Attention with cardiac pacemakers and other magnetically sensitive objects General Notes The operation is exclusively made by trained specialist personnel If there are doubts about the reliable operational readiness e g obvious ...

Страница 11: ...e to recall settings Img 1 Start screen Press on CAPTURE in order to start a capture with pre set parameters see image 8 The green blue or white color and the open lock indicate that the lid is not locked Press the right or left arrow in order to get to the menu items INFO and SETUP Img 2 4 Img 2 Info Press this button in order to ge tinformation about the Celvin S see image 3 Img 3 Information ab...

Страница 12: ...xplained in Img 5 Img 7 Settings RESET and back to language setting Press RESET in order to reset the Celvin to the factory settings Press the button Back to 1st item language setting in order to get to the setting of the language The other buttons had already been explained in Img 5 and 6 Img 8 Capture mode After you have pressed on Capture in Img 1 this screen appears Press on NORMAL and the cap...

Страница 13: ...ge capturing The capture is in progress the lid is locked which is indicated by the small lock symbol top left and the red background color Img 10 Finished image capturing The capture is finished Press FINISHED in order to get back to the initial screen in Img 1 ...

Страница 14: ... 11 Img 11 Startup icon When you have opened the control software SnapAndGo you will see the following screen Img 12 Img 12 Loading Screen Afterwards the SnapAndGo main menu appears Img 13 Main menu In the menu bar 1 you can create a new project open an existing project or you go to the settings or to the information Img 13 ...

Страница 15: ...his status display always shows the progress of the current capture 4 Capture here you can start stop the capture 5 Continue Save and Exit depending on the mode The status of the actions Live Image and Capture is symbolised by LEDs on the buttons Action is executed Action waits for termination of the previous action Action inactive 4 2 1 2 Device status Img 16 Device status 1 Display of locking st...

Страница 16: ...o full camera resolution can be chosen 3 The export for presentation includes the four possible data formats 9 jpg tiff bmp and png Here the size 7 and the resolu tion 8 can be chosen For those captures for which you have selected the export for presentation the histogram settings are accepted However the raw data are distorted If the pictures are to be analysed by means of software then always se...

Страница 17: ... of the grey scale limits 8 Direct input field for lower grey scale limit 9 Increment by which the value is to be increased or to be reduced q Direct input field for upper grey scale limit 4 2 1 5 Automatic exposure time calculation Img 19 Automatic exposure time calculation 1 Start of the automatic suggestion calculation 2 to 5 calculated suggestions Clicking on one of these buttons automatically...

Страница 18: ...bH V1 3 09 2015 4 3 New project Img 20 New project Under the item New Project the options of the three capture modes basic mode master mode and continuous mode open up Click on the buttons 1 2 or 3 in order to get into the corresponding mode ...

Страница 19: ...he intensity to 0 4 Here you can make calculate a suggestion for the exposure time 5 Menu item capture parameters 6 Image parameters 7 Export see chapter Export 8 Button Back to main menu 9 Button Start live image q Button Start capture w Button Finish Open the lid and start the live image 9 Put on the blot and position it correspondingly 1 Select the desired exposure time via sliding controller d...

Страница 20: ...ve this mode again by clicking on one of the outer buttons in the Navigation pane or you can make a new capture 1 Histogram of the grey value dispersion with sliding controller for the manual adjustment of the optimal area Img 23 Grayscale image 2 Exposure control serves for the control display for overexposed and underexposed areas in the image The respective colors can be changed in the settings...

Страница 21: ...put 4 Symbol for opening the project folder 5 Button for saving the input with subsequent entering of the mode 6 Button for cancelling the input and returning to the main menu Select a previously created project path 1 and assign a project name in the field 2 If the entered name is not yet existing in the selected path then this is indicated by a check mark next to the text input 3 and you can con...

Страница 22: ...e button 5 starts the calculation of suggestions for the exposure Under item 6 the capture parameters are summarized and under item 7 the image parameters By clicking the button 8 you return to the main menu 9 activates the live image q starts the capture and w continues in the program to the capture of the colorimetrically stained marker proteins First press the button 9 while the lid is open in ...

Страница 23: ...2 and or the inversion 3 By pressing the button w Img 28 you continue by capturing colorimetrically stained marker proteins Img 30 Master mode Capturing marker With the aid of the sliding controller 1 you can control the intensity of the white light LEDs in the live image More over also here you can select an exposure control 2 and the inversion 3 When the exposure is sufficient press the button 7...

Страница 24: ...tated or be mirrored For the markers the following change possibilities are available q contrast w brightness e transparency and r inversion The latter possibility should be used when the marker proteins are to be optically adapted to the bright edges of the CL image see image above In the field t notes can be added to the capture Item o indicates the project name that has been assigned at the beg...

Страница 25: ... project name 3 Symbol for validity of the text input 4 Button for opening the project folder 5 Button for saving the input with subsequent entering of the mode 6 Button for cancelling the input and returning to the main menu Select a previously created project path 1 and assign a new project name in the field 2 If the entered name is not yet existing in the selected path then this is indicated by...

Страница 26: ...e dark bulb sets the intensity to 0 2 Status display for temperature and lid status 3 Back to the main menu 4 Continue to the series recording In order to continue to the capture the temperature must be stable and the lid must be closed However the temperature control can be deactivated in the settings Switching off the temperature control is not recommended as the optical calibration of the camer...

Страница 27: ...s been set under item 4 6 Delay between the individual captures 7 Setting of the binning for further information about binning see General information binning 8 Saving the settings as series method 9 Loading a previously saved series method q Cancelling of all settings w List of the captures as configured under items 1 to 7 e Consecutive image number r Status of the individual capture red waiting ...

Страница 28: ... stopped If all settings have been applied and your series has been started by pressing the button a img 36 the control area automatically switches to tab Image Parameters and the histogram as well as the progress of the series recording will be displayed Img 37 Serial mode Image Capturing 1 Selected type of series 2 Histogram settings for the corresponding capture for further information see Gene...

Страница 29: ... controller 1 you can control the intensity of the white light LEDs in the live image Moreover also here you can select an exposure control 2 and the inversion 3 When the exposure is sufficient press the button 7 for the capture The capture is done and now you can mark with the mouse pointer the areas of the marker proteins 4 To continue press the button 8 and the window Image Image Finalization o...

Страница 30: ...re selected in item 2 6 Rotating and reflecting the CL capture and marker capture selected in item 2 as long as selected in item 4 7 Adjustment possibilities for marker capture selected in item 4 8 Text box for remarks about the currently selected capture 9 Tab for image information see next image and export see General information Export q Name of the current project w Button for returning to the...

Страница 31: ...lder with the aid of an input dialogue Img 42 2 Deletes the selected project folder 3 Sort ascending or descending by date 4 Sort ascending or descending by alphabet 5 Existing project folders 6 Projects within the selected project folder 7 Captures within the selected project Select at first the desired project folders 5 Select the desired project in the area 6 Open the selected project by double...

Страница 32: ...a new subfolder within the project folder previously selected in the settings Img 42 Create new folder 1 Existing folder structure 2 Text input for folder name 3 Proofed icon for text input 4 Button for saving the input 5 Button for saving the input 6 Button for cancelling the procedure ...

Страница 33: ...nd marker capture selected in item 2 as long as selected in item 4 7 Adjustment possibilities for marker capture selected in item 4 8 Text box for remarks about the currently selected capture 9 Tab for image information see next image and export see General information Export q Name of the current project w Button for returning to the main menu The last modifications are discarded here e Button fo...

Страница 34: ...d lower limit in percent 6 Options for pixel color for underexposed image sections 7 Options for pixel color for overexposed image sections 8 Indicates the pre set path in which the exported pictures are stored This path can be changed individually at the beginning of a capture 9 Buttons for opening a dialogue for the path selection q When activated export and project paths are defined on the user...

Страница 35: ...ure control at marker captures 6 Provides safety queries in order to ensure the GxP compliance 7 If not set the light will be switched off during the capture in this mode 8 If checked a capture in master mode is not possible until the set temperature of the camera is reached 9 The live image is activated automatically when navigating to the marker capture in this mode q Defines which mode is pre s...

Страница 36: ...omatically according to the value set above when displaying a new image 5 Defines the lower limit for signal recognition at the automatic exposure time calculation If the limit is too low it may result in calculation errors Possibly higher values need more calculation time but result in improved accuracy 6 Defines the grey scale set point to be aspired at automatic exposure time calculation 7 Area...

Страница 37: ...rded and last version of the settings is restored 3 Specifies the binning used when capturing is started in quantity mode at the device touch screen In Celvin display this capture mode is named Auto 1 Img 8 4 Specifies the binning used when capturing is started in quality mode at the device touch screen In Celvin display this capture mode is named Auto 2 Img 8 ...

Страница 38: ...udes the following settings Img 50 Settings Method management 1 Settings are saved 2 Modifications are discarded and last version of the settings is restored 3 Overview of all saved methods of the master mode 4 Button for deleting of corresponding entry CAUTION A restore is not possible ...

Страница 39: ... existing e mail address 7 Input field for recipient e mail Confirm your input with the Enter key or by clicking on the button 8 in order to add the e mail address to the recipient list 8 Button for adding the entered e mail address to the recipient list 9 Subject and content of the notification mail q Sends test message with the settings made under items 4 6 7 and 9 w Resets subject and message 9...

Страница 40: ...tep GmbH V1 3 09 2015 The tab Update includes the following settings Img 52 Settings Update 1 Settings are saved 2 Modifications are discarded and last version of the settings is restored 3 Displays the currently used software version ...

Страница 41: ... GmbH V1 3 09 2015 4 6 Information Img 53 Main menu Information Under item 4 information about software hardware and manufacturer can be seen 4 7 Help Img 54 Main menu Help Under item 5 the pdf version of this manual is opened ...

Страница 42: ...gular intervals by the manufacturer We recommend one maintenance per year 5 2 Cleaning Be sure to switch off the device before cleaning it Risk of contamination Absolutely observe the prescriptions for cleaning of the device Careless cleaning or the non observance of the prescriptions can lead to malfunctions Disinfect the device before cleaning it Disconnect the device from the voltage supply bef...

Страница 43: ...Maintenance and Servicing 39 2015 biostep GmbH V1 3 09 2015 5 3 Notes ...

Страница 44: ...User manual Celvin S 40 2015 biostep GmbH V1 3 09 2015 ...

Страница 45: ...al sales agency Company Department Town Street Name Telephone No Device Article Serial No The device is free of hazardous substances The device got into contact with the following hazardous substances Substance class Substance name Toxic substances Caustic substances Explosive substances Radioactive substances Infectious substances Oxidizing substances Other hazardous substances The device has bee...

Отзывы: