12
BODY FAT PROGRAM.-
This program is designed to calculate the user’s body fat percentage. Press the UP/DOWN keys to select the
BODYFAT function and press ENTER. Use the UP/DOWN keys to select your HEIGHT (90-210cm), press
ENTER to confirm. Use the UP/DOWN keys to select your WEIGHT (10-150cm), press ENTER to confirm.
Use the UP/DOWN keys to select your AGE (10-100 years). Press ENTER and then use the UP/DOWN keys
to select your sex (Male–Female). Press ENTER to confirm.
Press the START/STOP key and place your hands on the pulse sensors (R) (Hand-grips), and after a few
seconds the lower screens on the display will show your FAT%.
If the error code “ERROR” appears, position your hands correctly on the pulse sensors (R).
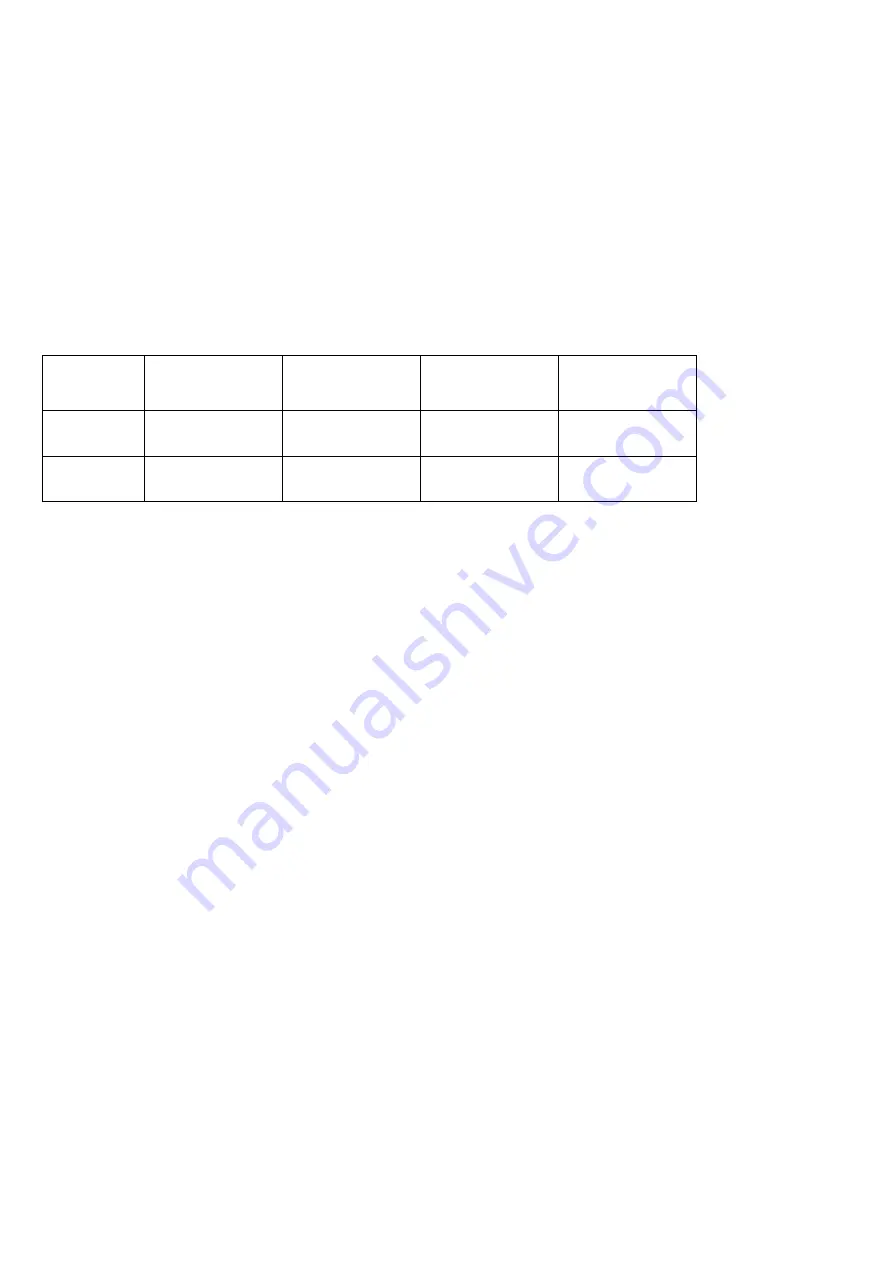
REFERENCE TABLE: BODY FAT PERCENTAGE %
SEX /
FAT%
LOW
LOW
AVGRAGE
AVGRAGE
HIGH
MALE
<13%
13%~25.8%
26%~30%
>30%
FEMALE
<23%
23%~35.8%
36%~40%
>40%
iOS OPERATION (compatible iPhone, iPad and iPod Touch)
Download a Pafers App from the App Store.
Then connect the USB Bluetooth module (purchased separately) into the USB port on the back of the monitor.
Turn Bluetooth to “ON” in settings on the iOS device and the device will begin to search for active Bluetooth
equipment in range.
Select the appropriate BH Module from the list displayed on the Ios device to pair. Open the Pafers app to run
it.
ANDROID OPERATION (compatible Android devices)
Download a Pafers App from Google Play.
Then connect the USB Bluetooth module (purchased separately) into the USB port on the back of the monitor
(Fig. 16.) Turn Bluetooth to “ON” in settings on the Android device.
Open the Pafers app to run it. When prompted by the app, select the appropriate BH Module from the list
displayed on the Android device to pair.
TROUBLESHOOTING GUIDE.
Problem:
The display comes on but only the Time function works.
Solution:
a.- Make sure that the connection cable is connected.
Problem:
Display segments of a function read-out are not visible or error messages for a particular function appear.
Solution:
a.- Unplug it from the 120 V mains socket for 15 seconds and then plug it back in.
b.- If the above steps do not help then replace the electronic monitor.
Содержание H610U
Страница 8: ...8 ELECTRONIC MONITOR ASSEMBLY INSTRUCTYION...
Страница 13: ...13 PROGRAM PROFILES...
Страница 14: ...14 EXPLODER...
Страница 16: ...16...


