


Содержание G-6452
Страница 2: ...Fig 0 Fig 1 ...
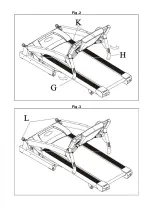
Страница 3: ...Fig 2 Fig 3 ...
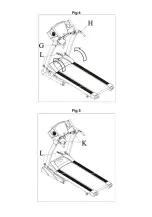
Страница 4: ......
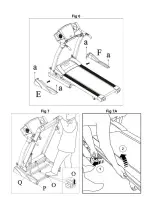
Страница 5: ......
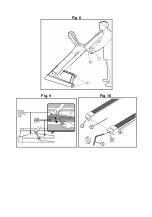
Страница 6: ...Fig 8 Fig 9 Fig 10 ...
Страница 69: ...69 G 6452 ...
Страница 2: ...Fig 0 Fig 1 ...
Страница 3: ...Fig 2 Fig 3 ...
Страница 4: ......
Страница 5: ......
Страница 6: ...Fig 8 Fig 9 Fig 10 ...
Страница 69: ...69 G 6452 ...