OPERATION
1. To set the tool to desired torque, select a nut or screw of known tightness of the same size, thread
pitch and thread condition as those on the job.
2.
Turn air regulator to low position, apply wrench to nut and gradually increase power (turn regulator
to admit more air) until nut moves slightly in the direction it was originally set. The tool is now set
to duplicate that tightness
.
All bolts must always be checked with a torque wrench after
installation.
3.
Do not tighten nuts or screws with higher torque than allowed. Put nut or screw in the thread and
start attach several revolutions by hand. With the impact wrench tighten the screw until it rests
flush against the supporting surface.
AIR SOURCE
Clean air of correct air pressure is recommended for the power supply for this tool. A maximum of 9,8
bar at the tool is recommended for most air tools of this class. Check specifications section for
recommended pressure. Depending on length of air hose and other circumstances, air pressure at
compressor may need to be increased to a higher value to ensure the working pressure at the tool.
Water in the air hose and compressor tank contributes to reduced performance and damage of the air
tool. Drain the air tank and filters before each use and as necessary to keep the air supply dry. Hose
length over 25” causes loss in line pressure. Increase hose ID or increase compressor pressure to
compensate
for the pressure loss
.
Use an in-line pressure regulator with gauge if air inlet pressure is critical.
LUBRICATION & MAINTENACE
Warning!
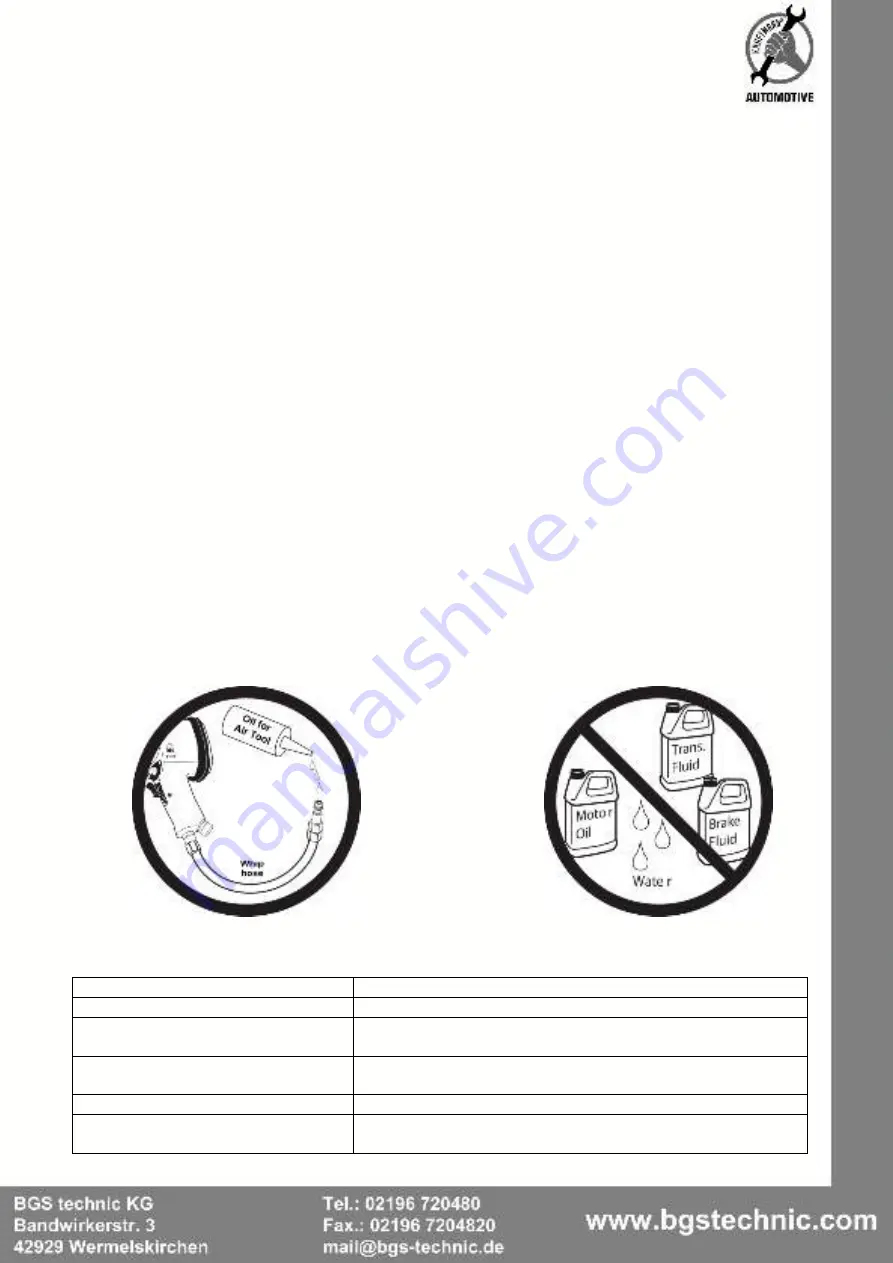
Oil tool before each use. 4 to 5 drops Air Tool Oil placed in the air inlet is sufficient.
Use proper air pressure and CFM rating listed for this tool.
Drain water from hoses and compressor tank.
Water in the air supply line demage the tool and loss of power.
Clean or replace air filters at prescribed intervals from.
TROUBLESHOOTING
I
nsufficient power:
Probable Cause
Solution
Dirty or clogged air passages
Flush and lubricate tool, drain air tank and supply line
Insufficient air supply
Increase line pressure, make sure compressor matches
tool's air pressure and consumption needs
Air leakage
Use teflon tape at all fittings and joints.
Check tool for worn or damaged o-rings & seals.
Worn/damaged wear & tear parts
Replace as necessary
Tool matching
Be sure you are using a tool suited for the sanding
requirements of the job at hand.


