BESTEK NSP-20H1 Скачать руководство пользователя страница 1


Network Security System 

NSP-20H1 

Always at the forefront of innovation 

User Manual 

Содержание NSP-20H1

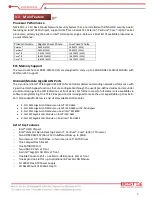
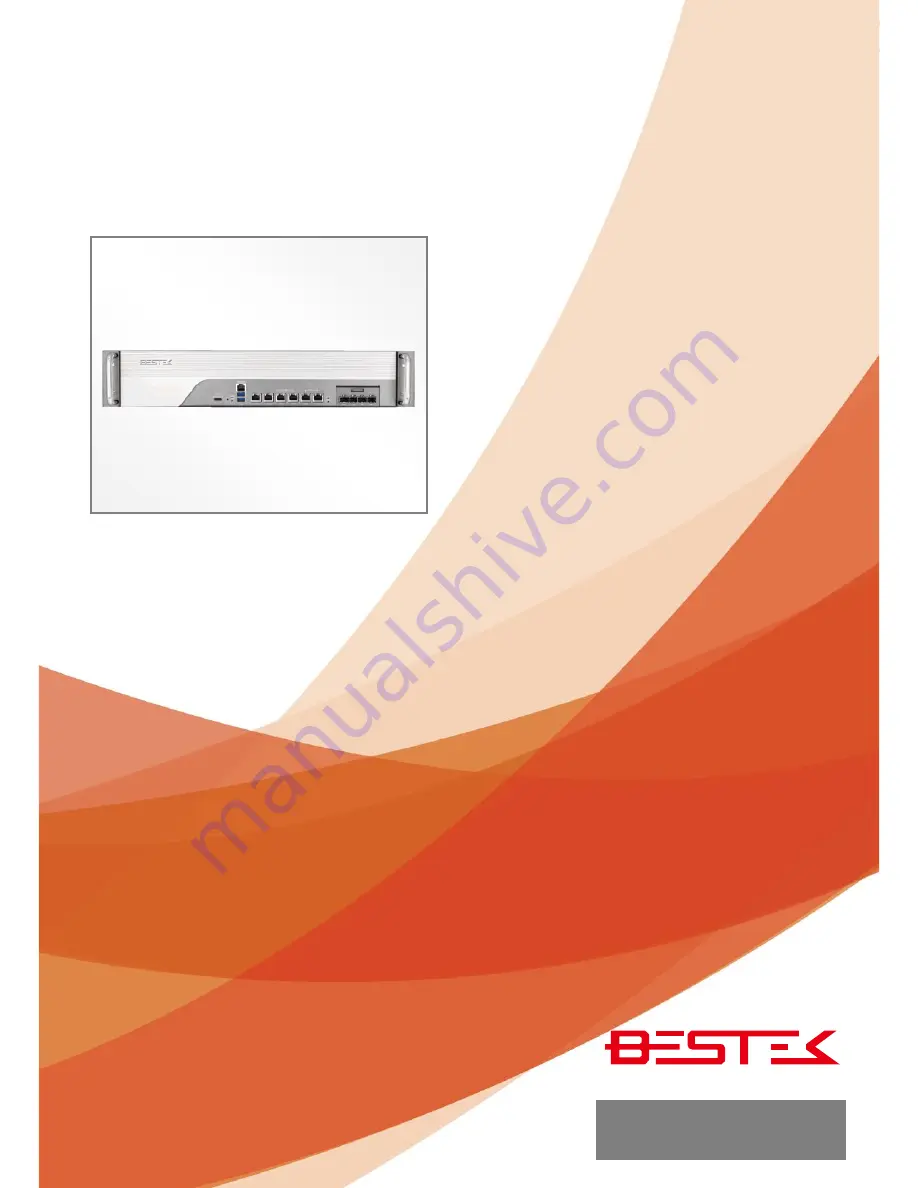
Страница 1: ...1 Network Security System NSP 20H1 Always at the forefront of innovation User Manual...

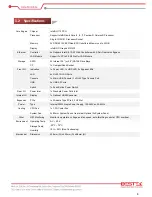
Страница 2: ...t 15 of the FCC rules These limits are designed to provide reasonable protection against harmful interference when the equipment is operated in a residential installation This equipment generates uses...

Страница 3: ...electrical discharge can damage computer components without causing any signs of physical damage You must take extra care in handling them to ensure against electrostatic build up 1 To prevent electr...

Страница 4: ...pe recommend by the manufacturer Dispose of used batteries according to local ordinance Before using the system prepare basic system components If the system comes as a barebone that is none of the ke...

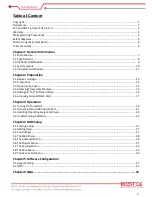
Страница 5: ...2 3 Open Up Top Cover 14 2 4 Accessing Processor Memory 15 2 5 Adding 2 5 3 5 SATA Hard Drive 15 2 6 Accessing CompactFlash Card 17 Chapter 3 Operation 3 1 Turning On The System 19 3 2 Accessing Micr...

Страница 6: ...6 Chapter 1 General Information...

Страница 7: ...e of pre defined codes and are under visual monitoring via the LED indications at front panel Yet further access to full status is also available via software programming One PCIe X8 expansion slot is...

Страница 8: ...EDs LAN 6x RJ45 1G LAN Ports Console 1x Micro USB Console 1x RJ45 Type Console Port USB 2x USB 3 0 Ports Switch 1x Push Button Power Switch Rear I O Power Inlet 1x Standard Power Cord Inlet Internal I...

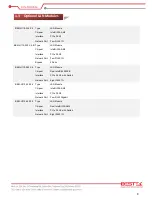
Страница 9: ...ur RJ45 1G Bypass 2 Pairs BEM H110 580 C8 Type LAN Module Chipset Dual Intel 82580EB Interface PCIe 3 0 X8 with Switch Network Port Eight RJ45 1G BEM H110 350 F4 Type LAN Module Chipset Intel i350 AM4...

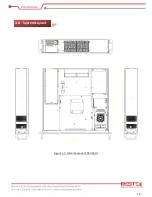
Страница 10: ...10 Figure 1 1 System Layout of NSP 20H1 1 4 System Layout...

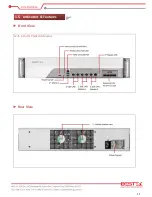
Страница 11: ...11 Front View With 4 Port SFP GbE LAN Module Rear View 1 5 Indicators Features...

Страница 12: ...12 Chapter 2 Preparation...

Страница 13: ...s Humid environment tends to have less static electricity than dry environments A grounding strap is warranted whenever danger of static electricity exists Computer components and electronic circuit b...

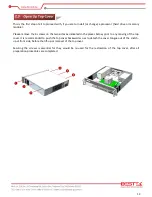
Страница 14: ...icated in the places below prior to any moving of the top cover It is recommended to push the top cover backwards so as to detach the cover tongue out of the snatch up at front side before the lift up...

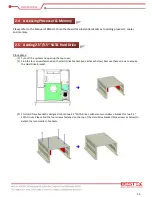
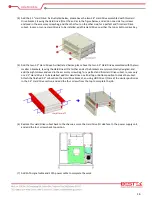
Страница 15: ...e Hard Drive bracket red circles as below Remove these screws to acquire the Hard Drive bracket 3 This Hard Drive bracket is designed to hold two 3 5 SATA Drives with also two smaller L bracket for tw...

Страница 16: ...ller L brackets leaving the Hard Drive I O at either end as the brackets are symmentrically designed and add the eight screws enclosed in the accessory screw bag for a perfect and firm Hard Drive subs...

Страница 17: ...ard as the red circle Please be advised that CompactFlash card on IDE interface is never to be added or removed when the system power is still turned on that is no plug and play scheme is enabled for...

Страница 18: ...18 Chapter 3 Operation...

Страница 19: ...USB cable is just perfect to connect this port with the standard USB port of your terminal PC This is particularly useful for those notebook PCs where COM port is no longer available and usually a US...

Страница 20: ...ress once on the power switch as located below with yellow arrow or press and hold for 4 seconds to reach that goal If such a power scheme is not wished please consult our technical support to disable...

Страница 21: ...Micro USB cable to this port and connect the other end to the USB port of PC or laptop Please be advised that you need to load Microsoft Windows 7 or above on this PC or laptop to go ahead with the pr...

Страница 22: ...3 Press del to go to BIOS setup menu 4 Choose to confirm SATA Controller status If it is enabled select a SATA mode and go to 6 5 If SATA Controller is disabled bring it up and reboot to allow a re d...

Страница 23: ...r Bypass mode or Green for PassThrough mode Such Bypass LEDs would lit the same way for both Power On and Power Off mode setting as long as power cord is plugged at power supply inlet that leads to a...

Страница 24: ...on going 3 Off Network is not connected LAN Speed LED The right LED is LAN Port Speed LED with three different speeds 1 Amber 1000 Speed 2 Green 100 Speed 3 Off 10 Speed Summary Table LED Color State...

Страница 25: ...25 Chapter 4 BIOS Setup...

Страница 26: ...executed under the following conditions When changing the system configurations When a configuration error is detected by the system and you are prompted to make changes to the Setup program When res...

Страница 27: ...followingmessageduringthe POST TO ENTER SETUP BEFORE BOOT PRESS CTRL ALT ESC OR DEL KEY Pressthe Del keyor pressthe Ctrl Alt and Esc keysto enterSetup The online description of the highlighted setup...

Страница 28: ...system configuration Advanced Advanced system settings Chipset Other functions Security Configure Supervisor and User Password Boot System boot configuration Save Exit Exit options as well as loading...

Страница 29: ...onfiguration H W Monitor Serial Port Console Redirection and CSM Configuration Super IO Configuration Serial Port 1 2 Configuration Serial Port This setting enables disables the specified serial port...

Страница 30: ...ntrol Mode Configure Fan Speed Control Mode Serial Port Console Redirection Console Redirection Enables or disables Console Redirection function CSM Configuration Boot option filter This controls Lega...

Страница 31: ...31 CPU Configuration Display CPU Information 4 6 The Chipset Menu...

Страница 32: ...32 System Agent SA Configuration PEG Port Configuration PEG Port Options Memory Configuration Display memory size Frequency SATA Configuration SATA Controller s Enable or disable SATA Device...

Страница 33: ...33 Administrator Password Set Administrator Password User Password Set User Password 4 7 The Security Menu...

Страница 34: ...wait for setup activation key 65535 0xFFFF means indefinite waiting Bootup NumLock State Select the keyboard NumLock state Quiet Boot Enables or disables Quiet Boot option FIXED BOOT ORDER Priorities...

Страница 35: ...nd Reset Reset system setup without saving any changes Restore Defaults Restore Load Default values for all the setup options Launch EFI Shell from filesystem device Attempts to Launch EFI Shell appli...

Страница 36: ...36 Chapter 5 Software Configuration...

Страница 37: ...c driver 2 Make the file with this command make or make clean then make again if error message prompts 3 Install driver files with this command insmod caswell bpgen3 ko 4 Now two file folders g3bp0 an...

Страница 38: ...Bypass LED is green and the network connection is not available Now go to the folder g3bp0 and issue this command echo b bypass This will change the status of Bypass pair 1 to bypass mode also the bo...

Страница 39: ...p Bypass LED is green and the network connection is not available Now go to the folder g3bp1 and issue this command echo b bypass This will change the status of Bypass pair 2 to bypass mode also the t...

Страница 40: ...r g3bp1 and issue this command echo 1 nextboot Reboot to see this change take effect Both Bypass LEDs are turned to red and as in the picture below the notebook is now connected to internet To reverse...

Страница 41: ...right to complete the job Please logon to root now Install the driver files 1 Open up the driver file folder as Your File System src driver 2 Make the file with this command make or make clean then m...

Страница 42: ...as GPO pins with value low The pin 1 3 5 7 are defined as GPI pins A few jumpers will be added onto pin 1 2 3 4 5 6 7 8 so pin 1 will read the value of pin 2 pin 3 will read the value of pin 4 etc Wi...

Страница 43: ...43 Now move these two jumpers onto 3 4 and 7 8 Pin 3 and pin 7 will now read value low Users are welcome to configure this GPI script for other programming jobs...

Страница 44: ...ns Pin 2 4 6 and 8 are negative pins The script will change the value of Pin 1 3 5 and 7 so when the a high is set LED will be turned on If a low is set LED will be turned off Walkthrough 1 LED on Pin...

Страница 45: ...45 Chapter 6 Q A...

Страница 46: ...1 CMOS checksum error due to Clear CMOSapproach Press F1 to bringupBIOSsetupmenuandloadoptimal setting 2 Bad Hard Drive Remove SATA signal cable or CompactFlash card and boot again 3 Bad external dev...

Страница 47: ...etween RJ45 port and network chip Q Can I enable Bypass function at Power Off mode A Yes you certainly can NSP 20H1 comes with dual latch relay that will work at both power on and power off mode Q Can...

Отзывы: