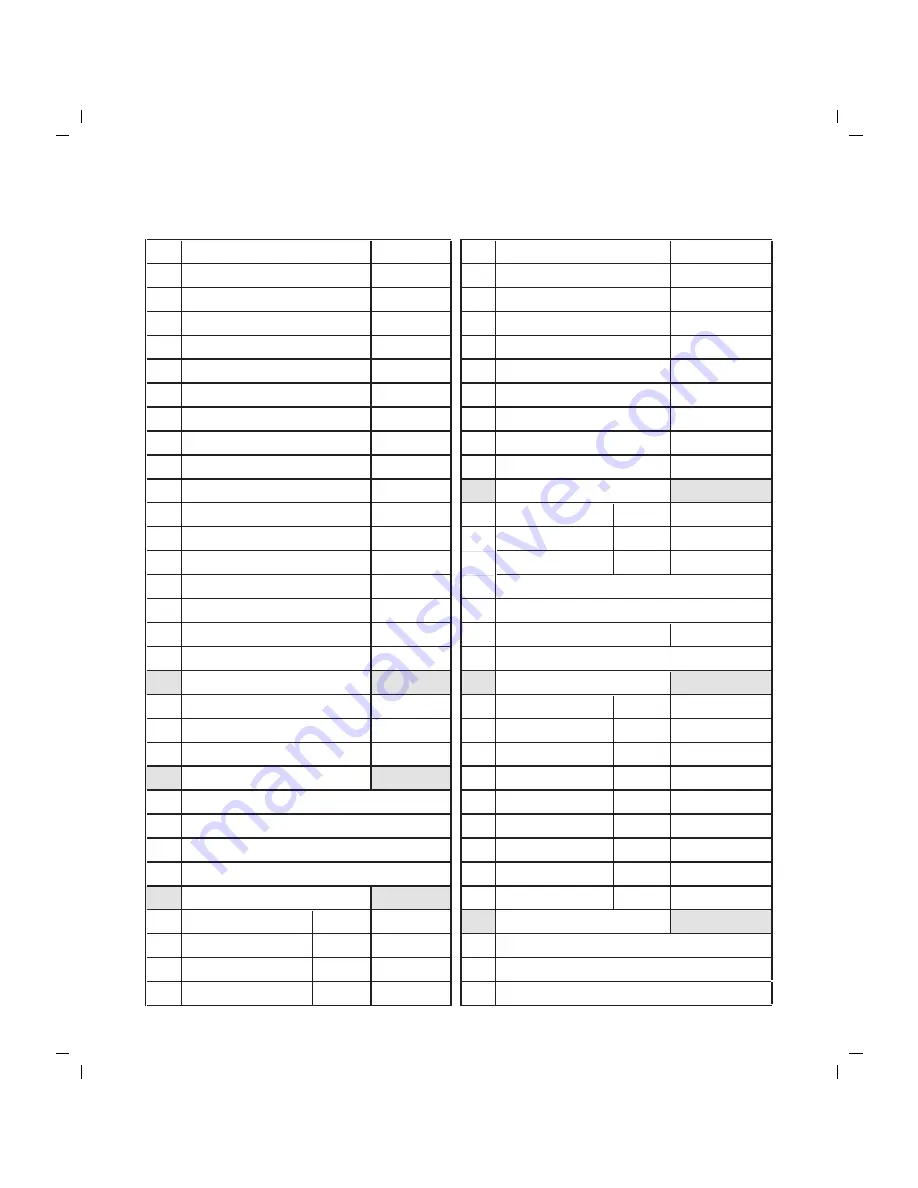
background image

Qty.

Qty.

4

Wall Plates

120

"

4

1x4 Gable Trim

47

1/2"

8

Truss - Bottom Cords

116 1/4"

4

1x4 Gable Trim

43

"

8

2x4 Boards Attached to Pallet

80

"

4

1x4 Corner Trim

75

3/4"

37 Wall Studs black ends

72

"

4

1x4 Corner Trim

74

3/4"

4

Wall Plates

68 1/2"

2

1x4 Door Trim

72

"

4

Wall Plates

65 1/2"

1

1x3 Top Door Trim

72

"

4

Wall Plates

56 1/2"

4

1x3 Lower Wall Trim

62

"

4

Gable Framing

47

"

2

1x3 Loft Door Trim

29

"

4

Gable Framing

38

"

1

1x3 Loft Door Trim

42

3/4"

1

Gable Studs & Framing

36

"

1

Gable Studs & Framing

35 3/4"

3

48" x77-1/4"

2

4

Gable Studs & Framing

34 1/4"

2

36" x 77-1/4"

6

4

Gable Studs & Framing

21 1/2"

2

16" x 77-1/4"

2

9

Truss Ridge Blocks

22 3/4"

4

Siding for Roof Gables

48" x 48"

6

Gable Nailing Blocks

15 3/4"

4

Siding for Roof Gables

16" x 30"

2

2x6 Tie Plates for Sidewalls

48

"

2

Siding For Door Header

6" x 32-3/4"

4

2x6 Tie Plates for Sidewalls

70 1/2"

4

4

Gable Overhangs

47

"

3

lb. 10d Sinkers

4

Gable Overhangs

42 1/4"

3

lb. 8d Galv.

28

Truss Hangers

2

Gable Blocks

6 1/4"

2

lb. 7d Sinkers

75

Hinge Screws

4

lb. 6d Common

1

Door Hasp

14

Pre-built Truss Halves

1

lb. 6d Galv.

2

4" Barrel Bolts

2

32" x 72"  Pre-built Barn Doors

4

lb. Hanger Nails

2

6" Barrel Bolts

2

18"  x 29" Loft Door Frames

4

4" Door Hinges

12

2-1/2" Screws

1

2x3 Door Header

67-1/2"

6

5" Door Hinges

36

1-1/4"  Screws

26 1x4 Drive-on Plate

24

1-5/8"  Screws

2

2

2

2

16 Wood Truss Ridge Gussets

8" x 24"

2

8

28 Wood Bottom Truss Gussets 12" x 12"

2

2

2

Center Truss Blocks w/gusset

Size

46" x 80"

46" x 72"

2x3 Framing

Hardware

Exterior Siding & Soffit

12" x 77-1/4"

48" x 75-3/4"

6" x 32-1/4"

8" x 48" Front Soffit Panels (Woodville model)

Miscellaneous Lumber

2x4 & 2x6 Framing

Whie Pine Trim

Size

Meadowbrook and Woodville 10'x 16' Barn kit

Loft Floor & Roof Sheathing

Pre-built Components

42" x 48"

46" x 48"

48" x 48"

24" x 48"

42" x 80"

42" x 72"

3-1/2"x7-1/2"

Содержание the Woodville

Страница 1: ...ay not be copied in whole or in part without consent from Reynolds Building Systems Inc Copyright 2010 10 x 16 Revised September 19 2017 Assembly Book Best Barns USA Manufactured by Reynolds Building...

Страница 2: ...s call 724 866 HELP 4357 or email to help barnkits com The material that is included in our kit is listed on the back page The optional floor package if purchased will be supplied by a local lumber su...

Страница 3: ...asurements if necessary to obtain 10 0 building width 1 Cut 2x4 16 joist headers to 15 9 Layout for 16 on center joist spacing X marks where floor joist will be placed X X X X X X 16 15 1 4 Joist Head...

Страница 4: ...et with 16 sixteen 6d common nails Space nails evenly 4 Secure the truss bottom legs to the bottom cord with wood gussets Note You may have to spread the truss bottom to fit the bottom 2x4 Use 12 nail...

Страница 5: ...bottom of the 2x4 bottom cord One on each end and one in the center Use 2 two 2 1 2 screws 35 3 4 Long Center Stud 1 Place 2 two 47 long and 2 two 38 long 2x4 gable rafters in the truss jig Secure at...

Страница 6: ...s Measure 24 3 4 from bottom cord and secure with 1 x4 plates 36 Long 2x4 34 1 4 Long Gable Stud If you don t need loft access from the outside attach loft door frames to the gable to create a decorat...

Страница 7: ...0d sinkers 2 Install a 42 1 4 long 2x3 at the sides of the gable flush with the frame Board will extend below siding 3 Install 29 1 4 long 1x3 trim boards on each side of the loft door opening Install...

Страница 8: ...ith the cut edge flush with the end of the wall and flush with the top of the 2x4 tie plate The siding should extend below the bottom plate Use the 8d galv nails spaced 12 on center 5 Install a 48 3 4...

Страница 9: ...door header and the 2x4s as header support under the door header 3 Install 2 two 56 1 2 long 2x4 as tie plates over the top plate The 2x4s will be 3 1 2 short of the end of the wall frame 4 Square wa...

Страница 10: ...stall another 16 wide siding panel with the cut edge flush with the side of the door opening 9 Install the last siding panel 1 Disassemble the shipping plates Save the OSB sheathing for the loft floor...

Страница 11: ...ding Extends 3 1 2 Past Wall 6 Locate 2 two siding panels that are 77 1 4 long and cut them to a length of 75 3 4 7 Square wall frame Install 4 four 75 3 4 long siding panels Install the first siding...

Страница 12: ...the corners of the front wall 4 Install lx4x72 boards along each side of the door opening Tack these boards with a couple nails you may want to move the trim later when you install the doors 1 Install...

Страница 13: ...h 6d galv nails Gable Siding 1x3 Trim Install Ends With Blue Mark At Ridge 1 Apply 1x4 white pine trim to gable Install a 47 1 2 long 1x4 at the top of the gable These boards have a blue marking on on...

Страница 14: ...left sidewall facing building Start at the back of the building Measure from the inside face of the wood gusset when marking the location of the first truss 2 Locate the truss hangers there are left...

Страница 15: ...s over the X marks Install hanger to the opposite side of the trusses Secure truss to metal hangers using 1 1 2 hanger nails Note The center truss will not have a bottom cord Step 13 Install Trusses 2...

Страница 16: ...nd truss Notch the panel around the studs on the gable and cut the width to fit on the center of the 2x4 truss bottom Note Some OSB panels may be attached to the shipping pallet Secure floor with 7d s...

Страница 17: ...the sheathing with the top of the truss see Detail B Make sure the trusses are plumb and the roof sheathing meets the center of the truss Use 7d sinkers spaced 6 apart The top roof sheathing will not...

Страница 18: ...x4 Gable Trim Step 17 Install Gable Soffit and Trim 1 Install soffit panels to the 2x3s Use 6d galv nails 2 Install 1x4 trim over the 2x3 boards Use 8d galv nails Install felt paper and metal roof edg...

Страница 19: ...in or out to make the door spacing equal 5 Install hinges to trim with 2 screws OSB Shim 1 Lay the left door with the trim facing up The siding on the left door extends past the door trim See detail...

Страница 20: ...r 6 x 32 3 4 4 2x6 Tie Plates for Sidewalls 70 1 2 4 4 Gable Overhangs 47 3 lb 10d Sinkers 4 Gable Overhangs 42 1 4 3 lb 8d Galv 28 Truss Hangers 2 Gable Blocks 6 1 4 2 lb 7d Sinkers 75 Hinge Screws 4...

Отзывы: