background image

14

ENGLISH

Change Channels

Select channels directly

To select a single-digit program number, press the corresponding channel selection 

• 

button. For example, to select program 8, press 

8

.

To select a double-digit program number, press -/-- 

fi

 rst, make sure there is a "_ _" 

• 

shown, and then enter the channel number using the channel selection buttons. For 
example, to select 

2

8

.

Change channels sequentially

Press  /  on the remote control, or CH + or CH - on the TV to sequentially navigate 
through all available channels.

Return to the previous selected channel

button on the remote control allows you to quickly switch between the current selected 
channel and the previous one.

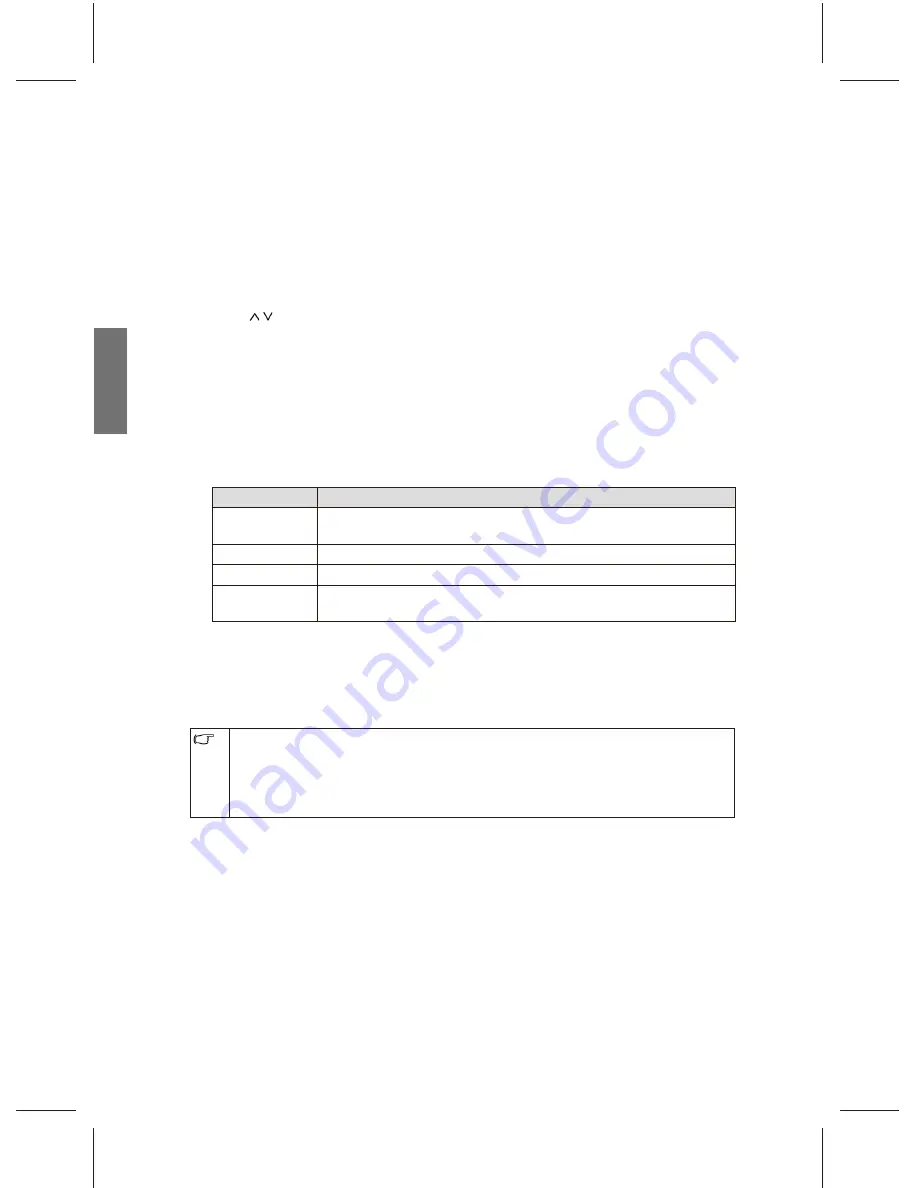
Select a picture mode

Press the 

图像模式

 button on your remote control allows you to select a picture mode 

from following options according to your need:

Mode

Description

Dynamic

Suitable for brighter environments. The contrast of the TV display will 
be adjusted to higher level for better view.

Standard

Suitable for environments with normal lighting condition.

User

Personal Your own customised picture mode.

Cinema

Suitable for darker environments. The contrast of the TV display will 
be adjusted to lower level for better view.

Freeze image on screen

Press the 

静止

 button on the remote control to freeze the image on the screen. And 

press it again to undo. 

This function allows you to stop the screen at the current image. However the current 

• 

video will keep running at the background, and the screen will resume playing from the 
video signal received at the moment you cancel the funtion, not from the freezed image.
In order to avoid possible "image retention" or "screen burn-in" on the LCD screen, it is 

• 

recommended that you change the aspect ratio from time to time, and not to display a still 
image for more than two hours.

Use the sleep timer

1. Press the 

睡眠

 button to turn on the automatic shut-down timer. 

2.  Press the button again to set the time. The time can be 15 to 120 minutes. 
When it comes to the preset time, the TV will enter the off mode automatically if you 
want the TV to enter the off mode automatically at the preset time. 

Display information for current input source

Press 

显示

 button on the remote control to display the information for the current input. 

The information displayed will vary with the type of current selected input.

Содержание VC3202

Страница 1: ...VC3202 LCD TV User Manual ...

Страница 2: ...ntrol Panel 8 Rear View 9 Getting to know the remote control 11 Using your remote control 13 Power on and off 13 Power on the TV 13 Put the TV to off mode 13 Switch inputs 13 Adjust the audio settings 13 Adjust the volume 13 Mute Setting 13 Select TV Video sound mode 13 Change Channels 14 Select channels directly 14 Change channels sequentially 14 Return to the previous selected channel 14 Select ...

Страница 3: ... OSD menu 22 Picture menu 23 Sound menu 24 System menu 25 PC menu 26 Channel menu 27 Manual search 28 JPEG menu 29 MP3 menu 30 DRIVE menu 31 Reference 32 Copyright 32 Disclaimer 32 Battery safety notice 32 Dimension 33 Specifications 34 Supported DVI input signal modes 35 Supported PC input signal modes 35 Supported HDMI input signal modes 35 Supported Component Video input signal modes 36 Trouble...

Страница 4: ...1 ENGLISH VC3202 LCD TV User Manual Welcome ...

Страница 5: ...ard Quick Start Guide User Manual Remote control x1 Power Cable x1 AA Battery x2 ᑩᑻ ᅮ㶎ϱx3 Optional components support frame base fix screws and base The actual items come with your TV such as the power cable may look different from that illustrated depending on where the TV was purchased If you find any item missing or damaged contact your dealer immediately for help Please keep the product docume...

Страница 6: ...he TV in direct sun or where direct sun or spot lighting will shine onto the TV as the heat may damage the TV and the bright light will make viewing the TV more difficult than necessary Do NOT place the TV near or above sources of heat such as radiators heaters fuel stoves and other heat generating items including audio amplifiers Otherwise heat may cause damages to the outer casing as well as the...

Страница 7: ...le outlet power boards There are no user serviceable parts in this TV Never unscrew or remove any covers from it The supplied power cord is suitable for use with 100 240V AC power only The type of power cord plug and jack illustrated may differ from the type used in your region Only use an appropriate power cord for your region Never use a power cord which appears damaged or frayed or change the p...

Страница 8: ... In this case you will use the ten keys on your remote control to enter the number For example just press 8 to select channel 8 If want to enter a double digit channel number first press the Channel Entry button then press the corresponding ten keys buttons For example to select channel 28 press the Channel Entry button and then 2 8 The remote controll also provide you a shortcut to return to the ...

Страница 9: ...o consider removing the batteries from the remote control as they may leak LCD Liquid Crystal Display screens like plasma PDP and conventional CRT Cathode Ray Tube screens are also susceptible to screen burn in or image retention which can be found on the screen as visible fixed lines and shades and can t be removed To avoid such permanent damage to the screen please take the following preventive ...

Страница 10: ...connect your necessary TV Video and Graphic sources to your TV and no need to connect all available sources Analog TV source input You can connect an external VHF or UHF TV antenna if available to the TV antenna input using an appropriate TV coaxial cable Instead If you have and prefere cable TV you can connect your cable TV decoder box to the TV antenna input using an appropriate TV coaxial cable...

Страница 11: ... Button Decrease the volume of the speaker or adjust the value of an item highlighted in OSD menu 4 CH Previous Channel Button Increase the channel number by one when the source is TV input or select a control item in the OSD menu Search available signal inputs circularly 5 CH Next Channel Button Decrease the channel number by one when the source is TV input or select a control item in the OSD men...

Страница 12: ... the power cable on page 4 2 HDMI 1 DVI IN 1 Connect to the HDMI digital audio video output or DVI digital video output on digital video devices See Connect to a HDMI input on page 18 or Connect to a DVI input PC VIDEO on page 19 3 AUDIO IN DVI L R Connect to the audio output of DVI See Connect to a PC Input on page 18 and Connect to a DVI input PC VIDEO on page 19 4 PC AUDIO IN Connect to the aud...

Страница 13: ...16 11 AUDIO OUT L R Connect to the audio input of audio devices See Connect to a stereo audio output on page 20 12 HDMI IN 2 Connect to the HDMI digital audio video output or DVI digital video output on digital video devices See Connect to a HDMI input on page 18 or Connect to a DVI input PC VIDEO on page 19 13 Media USB Support only MP3 and JPEG Formats 14 AV 2 Connect to the Compositive video AV...

Страница 14: ...Press 确认 button to confirm your selection See Navigate the OSD menu on page 22 6 退出 Press this button to go back to the previous menu or leave the menu 7 频道 Press these buttons to sequentially change channels See Change channels sequentially on page 14 8 声音模式 Press to toggle among available TV sound modes may vary from your TV sound system See Select TV Video sound mode on page 13 9 图像模式 Press to ...

Страница 15: ...the information about current input See Display information for current input source on page 14 17 音量 Press these buttons to raise or lower the volume level See Adjust the volume on page 13 18 缩放 Press to adjust the aspect ratio of your screen image See Adjust the aspect ratio on page 15 19 静止 Press once to stop the screen at the current image and press again to resume the screen playing See Freez...

Страница 16: ...interface as shown below 9 2 9 2 6 9 2 3E3U 0 0 86 3 79 3 Continue to press the 信号源 button to circulate the signal input or press the and 确认 buttons to select the signal source Adjust the audio settings Adjust the volume Press VOL on the TV or 音量 on the remote control to raise the volume An volume bar will be shown on your screen and increased in its length as you raise the volume Press VOL on the...

Страница 17: ...d picture mode Cinema Suitable for darker environments The contrast of the TV display will be adjusted to lower level for better view Freeze image on screen Press the 静止 button on the remote control to freeze the image on the screen And press it again to undo This function allows you to stop the screen at the current image However the current video will keep running at the background and the scree...

Страница 18: ...s Zoom Resizes a 4 3 image to 16 9 aspect proportions and trims off the top and bottom strips Recommended for use when viewing 4 3 aspect video presenting compressed 16 9 aspect images in a 4 3 aspect frame in a so called letterbox format black strips along the top and bottom Not recommended Panorama Stretches a 4 3 image to the width of a 16 9 aspect image proportions recommended for use in filli...

Страница 19: ...ert each plug into its corresponding jack by its color If you want to watch the Composite Video input press the 信号源 button on the remote control and then press button or repeatedly press the 信号源 button to select Video 1 or Video 2 as the input and then press 确认 button on the remote control to confirm HDMI 2 MEDIA USB RF IN AV IN 2 AUDIO R IN2 L HDMI 1 PC IN AUDIO OUT S AV IN 1 COMPO NENT IN AUDIO ...

Страница 20: ...one same video device just connect one of them For better image quality S Video jacks is recommended Connect to a Component Video input 1 Connect the component video output jacks on your output equipment to the Y Pb and Pr jacks on your TV using a component video cable not provided Ensure that the colors of the plugs and jacks match 2 Connect the audio output jack on the output equipment to the YP...

Страница 21: ...es please refer to the manuals supplied with the devices Connect to a HDMI input Connect the HDMI output jack on your video device to the HDMI jack on the TV using a HDMI cable not provided If you want to watch the DVI input PC press the 信号源 button on the remote control and then press button or repeatedly press the 信号源 button to select HDMI1 2 as the input and then press 确认 button on the remote co...

Страница 22: ...IN 1 COMPO NENT IN HDMI DVI IN HDMI Audio cable See Supported PC DVI input signal mode on page 34 for more about the resolution options Connect to a DVI input Video devices 1 Connect the DVI output jack on the digital device to the HDMI jack on your TV using a DVI to HDMI convert cable not supplied 2 Connect the DVI audio output jack on the PC to the PC DVI AUDIO IN input jacks using a suitable au...

Страница 23: ...UDIO OUT L R output jacks on your TV using a audio cable Please note that the outputted audio is fixed in its level and cannot be adjusted with the volume controls on your TV and remote control HDMI 1 PC IN AUDIO OUT S AV IN 1 COMPO NENT IN AUDIO IN R L VIDEO IN Pr Pb Y S VIDEO IN AUDIO IN R L HDMI DVI IN RGB PC IN PC AUDIOIN DVI AUDIO IN R L AUDIO OUT R L AUDIO OUT L R Audio cable Audio device ab...

Страница 24: ...p Timer Language ECO Mode OSD Duration OSD reset Sleep Timer Language ECO Mode OSD Duration OSD reset Channel Auto Search Sound Mode Channel Colour System TV System AFT Fine Tune Manual Scan Delete Channel Swap Not available PC Not available Auto Adjust H Position V Position Frequency Phase The available menu items will vary with the input sources Unavailable items will be greyed out or hid For mo...

Страница 25: ...4 Press or on the remote control or VOL or VOL on the TV to change the setting 5 Press the 退出 button on your remote control or MENU on your TV to back to previous menu or to quit the OSD menu For example you can adjust the color temperature using your remote control by following steps 1 Press 菜单 button to open the OSD menu 2 Press or to select the Picture menu Then Press to enter the menu 3 Press ...

Страница 26: ...ser is selected this item is for adjust the sharpness level of your TV image Press to sharpen the image or press to blur the image 0 10 Hue It can only be adjusted in Color System NTSC mode Press to enhance green and weaken red and press to weaken green and enhance red 0 100 Saturation When Personal is selected this item is for adjusting the tint level of your TV image Press to enhance the color a...

Страница 27: ... When User is selected this item allows you to adjust the treble middle treble middle middle bass and bass settings Press or to select sound mode User Standard Music Movie Bass To adjust the bass Press or to select 15 15 Treble To adjust the treble Balance To adjust the volume level of the left right speaker Press to increase the volume of the right speaker and press to increase that of left one 5...

Страница 28: ...hich OSD will be displayed Press or to select English 繁體中文 简体中文 ECO Mode Automatic Shutdown and Power Saving function If you turn on this function PC will enter Power Saving mode after 30 seconds when there is no signal input and other Sources will shutdown automatically after 10 minutes However multimedia sources are not included OFF ON OSD Duration To automatically shut off the OSD after a prese...

Страница 29: ...ic Adjust the horizontal vertical position automatically Press to Auto Adjust H position Adjust the horizontal position of the image Press or to select 0 100 V position Adjust the vertical position of the image Frequency Adjust the horizontal image quality Phase Adjust the phase delay time to reduce the noise of image PC Auto Adjust H position V position Frequency Phase move menu ...

Страница 30: ...he TV system I D K M AFT The nonstandard signal frequency left sided or right sided from the TV station will result in poor image or noise Through this function we can automatically adjust the frequency to its best ON OFF Fine Tune To adjust the image frequency Manual Scan To manually preset adjust skip and tune in the channel Press to Manual Scan Delete To manually delete the channel Press to Del...

Страница 31: ... channel number 3 Move the highligh to Manual Scan and use to search available channels Please take note that the time for auto scanning will diff er according to the local signals If the scanning process is unable to proceed try return to the main menu and use Manual Search again Do not try to store the channels into memory before the scanning process is completed move menu Channel Auto Search Ch...

Страница 32: ...ost hard disk USB and etc which however is not intended for all purposes Any identification failure should not be considered as a mechanical problem which may be related with the drive in that device 2 The USB inlet on this machine will provide the voltage of 5V and the maximum electric current of 500mA Some memory devices adopting the different inlet specifications with the standard USB may resul...

Страница 33: ...nsumption external power as a must Attention 1 The USB inlet of the digital multimedia player will support the most hard disk USB and etc which however is not intended for all purposes Any identification failure should not be considered as a mechanical problem which may be related with the drive in that device 2 The USB inlet on this machine will provide the voltage of 5V and the maximum electric ...

Страница 34: ...c which however is not intended for all purposes Any identification failure should not be considered as a mechanical problem which may be related with the drive in that device 2 The USB inlet on this machine will provide the voltage of 5V and the maximum electric current of 500mA Some memory devices adopting the different inlet specifications with the standard USB may result in identification prob...

Страница 35: ...ision or changes Battery safety notice Using wrong type of batteries may causes your batteries to leak chemical substance and or explode Please note the following Always ensure that the batteries are inserted with the positive and negative in the correct direction as the plus and minus marks shown in the battery compartment The characteristics of battery may vary with the types of that Do not mix ...

Страница 36: ...33 ENGLISH Dimension 240 3 527 4 579 5 80 9 803 2 Unit mm ...

Страница 37: ...ositive Video S Video audio x 2 Component Video Y Cb Pb Cr Pr audio x 1 PICTURE DVI over HDMI x 2 PC VGA D sub x 1 PC DVI audio x 1 Signal outputs RCA Stereo Sound output x 1 Component video resolutions 480i 480p 576i 576p 720p 1080i 1080p PC horizontal frequency 31 60 8 kHz PC horizontal frequency error margin 1 kHz PC vertical frequency 59 76 Hz PC vertical frequency error margin 1 Hz Power supp...

Страница 38: ...5 60 25 200 VGA 640 x 480 37 5 75 31 500 VGA 800 x 600 37 879 60 40 000 SVGA 800 x 600 46 875 75 49 500 SVGA 1024 x 768 48 363 60 65 000 XGA 1024 x 768 56 476 70 75 000 XGA 1024 x 768 60 023 75 78 750 XGA 1360 x 768 47 712 60 85 500 WXGA Supported HDMI input signal modes Resolution H frequency KHz V frequency Hz Clock frequency MHz Note 720 x 480i 15 735 60 27 HDMI 720 x 576i 15 625 50 27 HDMI 720...

Страница 39: ... 1920 x 1080p60 67 5 60 148 5 1920 x 1080p50 56 25 50 148 5 The PC DVI and Component Video resolutions not listed in these tables will not be recognised and displayed When you connect your TV to a PC you should adjust the resolution of the output from the PC to 1920 x 1080 60Hz will giving you the best image quality in this case If you find the TV image has been misplaced or the image are flashing...

Страница 40: ... if the aspect ratio is the right one for the input source The Image is too bright and the sharpness of the bright area is degraded Decrease your contrast seeting If the input sorce is a DVD player set the output resolution of the player to maximum Check if the source has been correctly connected to your TV The color of the image is too light or the dark area in the image is too bright Decrease th...

Страница 41: ...It may caused by the interference from radio broadcasting amateur radio communication mobile phone communication Keep away any device that could generate interfering signal Claim for RoHS Compliance The names and contents of poisonous and harmful substance or element found in this product are as follow Parts Name Poisonous and harmful substance or element Plumbum Pb Hydrargyrum Hg Cadmium Cd Chrom...

Страница 42: ...4J V0K01 001 ...

Отзывы: