BenQ MW809ST Скачать руководство пользователя страница 37

  37

  Maintenance

To obtain the lamp hour information:
1.  Go to 

Advanced Menu - Settings

 > 

Lamp Settings

 and press 

OK

. The 

Lamp Settings

 page 

appears.

2.  Press 


to select 

Lamp Timer

 and press 

OK

. The 

Lamp Timer

 information is displayed.

You can also get the lamp hour information on the 

Information

 menu.

Extending lamp life

• Setting the 

Lamp Mode

Go to 

Advanced Menu - Settings

 > 

Lamp Settings

 > 

Lamp Mode

 and select a suitable lamp 

power from among the provided modes.
Setting the projector in 

Economic

SmartEco

 or 

LampSave

 mode extends lamp life.

• Setting 

Auto Power Off

This function allows the projector to turn off automatically if no input signal is detected after a set 
period of time to prevent unnecessary waste of lamp life.
To set 

Auto Power Off

, go to 

Advanced Menu - Settings

 > 

Power On/Off Settings

 > 

Auto 

Power Off

 and press  / .

Timing of replacing the lamp

When the 

Lamp indicator

 lights up or a message appears suggesting it is time to replace the lamp, 

please consult your dealer or go to 

http://www.BenQ.com 

before installing a new lamp. An old lamp 

may cause a malfunction in the projector and in some instances the lamp may explode.

The following Lamp warning displays will remind you to change the lamp.

Lamp mode

Description

Normal

Provides full lamp brightness

Economic

Lowers brightness to extend the lamp life and decreases the fan noise

SmartEco

Adjusts the lamp power automatically depending on the content brightness level while 
optimizing display quality

LampSave

Adjusts the lamp power automatically depending on the content brightness level while 
offering a longer lamp life

• The apparent brightness of the projected image will vary depending on the ambient lighting conditions, selected 

input signal contrast/brightness settings, and is directly proportional to projection distance.

• The lamp brightness will decline over time and may vary within the lamp manufacturers specifications. This is 

normal and expected behavior.

• The 

LAMP indicator light

 and 

TEMPerature warning light

 will light up if the lamp becomes too hot. Turn 

the power off and let the projector cool for 45 minutes. If the Lamp or Temp indicator still lights up after turning 
the power back on, please contact your dealer. See 

Indicators on page 41

.

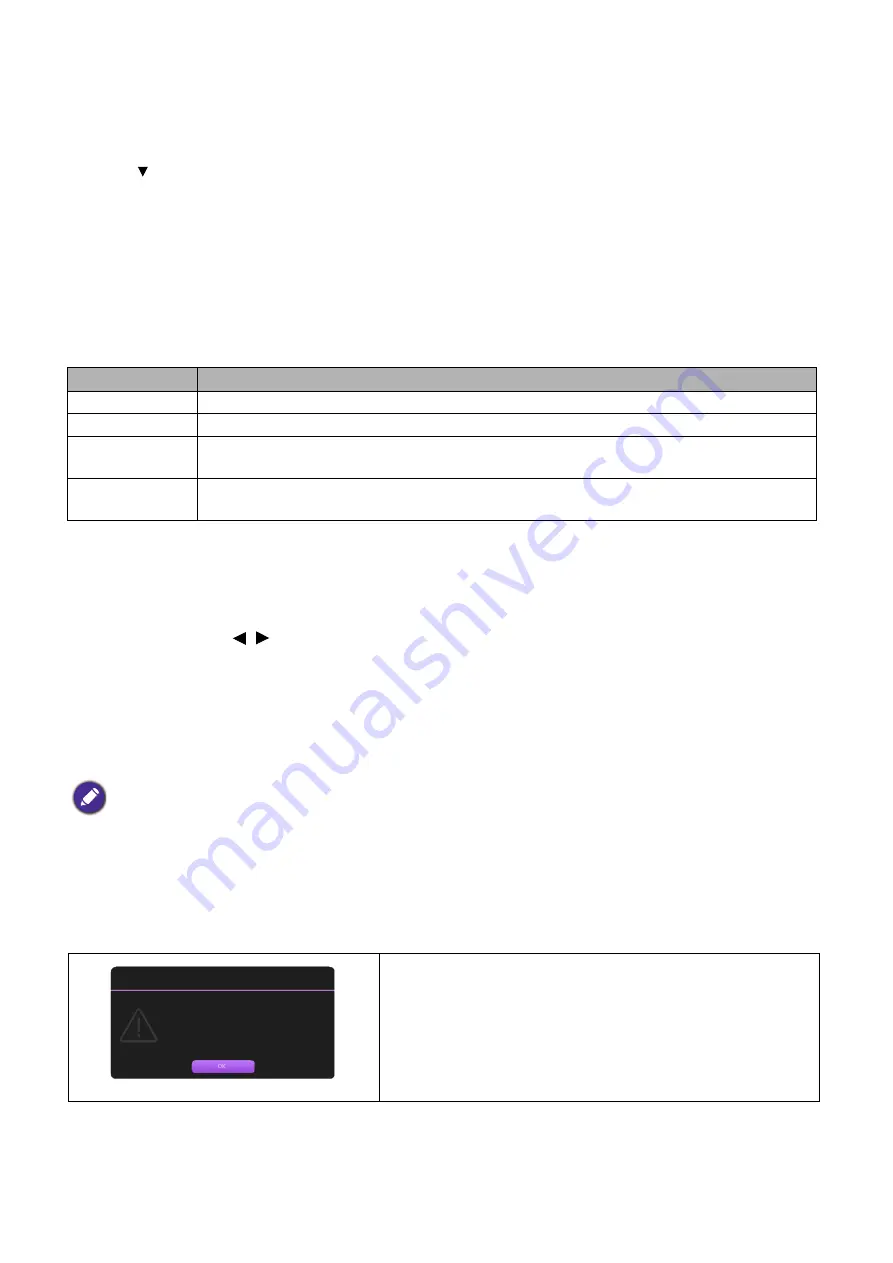
Install a new lamp for optimal performance. Press 

OK

 to 

dismiss the message.

Order a replacement lamp

Equivalent lamp hour >XXXX hours

Order a new lamp at www.BenQ.com

Notice

Содержание MW809ST

Страница 1: ...MX808ST MX825ST MW809ST MW826ST Digital Projector User Manual V 1 00...

Страница 2: ...ave other rights which vary from country to country For other information please visit www BenQ com Copyright Copyright 2017 by BenQ Corporation All rights reserved No part of this publication may be...

Страница 3: ...d projected image size 13 Mounting the projector 14 Adjusting the projected image 15 Connection 17 Operation 20 Starting up the projector 20 Using the menus 21 Securing the projector 23 Switching inpu...

Страница 4: ...t during operation Allow the projector to cool for approximately 45 minutes prior to removing the lamp assembly for replacement 6 In some countries the line voltage is NOT stable This projector is des...

Страница 5: ...ector with a cloth or any other item Do not place inflammables near the projector If the ventilation holes are seriously obstructed overheating inside the projector may result in a fire 13 Always plac...

Страница 6: ...Space that is poorly ventilated or confined Allow at least 50 cm clearance from walls and free flow of air around the projector Locations where temperatures may become excessively high such as the in...

Страница 7: ...our region and may differ from those illustrated The warranty card is only supplied in some specific regions Please consult your dealer for detailed information 1 Spare lamp kit 2 3D glasses 3 PointWr...

Страница 8: ...ut port for HDMI dongle 12 USB Type A port Power for Touch kit 13 USB Mini B port 14 RGB PC signal input jacks 15 RGB PC signal output jack 16 RS 232 control port 17 RJ 45 LAN input jack 18 S Video in...

Страница 9: ...nd saves menu settings 5 Arrow keys When the On Screen Display OSD menu is activated these keys are used as directional arrows to select the desired menu items and to make adjustments Keystone keys Di...

Страница 10: ...presentation purposes 15 ZOOM ZOOM Magnifies or reduces the projected picture size 16 PAGE PAGE Operate your display software program on a connected PC which responds to page up down commands like Mic...

Страница 11: ...mote control effective range The remote control must be held at an angle within 30 degrees perpendicular to the projector s IR remote control sensor s to function correctly The distance between the re...

Страница 12: ...ont Table Select this location with the projector placed on the table in front of the screen This is the most common way to position the projector for quick setup and portability 2 Rear Table Select t...

Страница 13: ...s required Screen size Distance from screen mm Lowest Highest Lens position mm Diagonal H mm W mm Inch mm 60 1524 914 1219 738 137 70 1778 1067 1422 862 160 80 2032 1219 1626 985 183 90 2286 1372 1829...

Страница 14: ...base of the mounting bracket This will perform the secondary role of restraining the projector should its attachment to the mounting bracket become loose Ask your dealer to install the projector for...

Страница 15: ...screen and the projector are not perpendicular to each other the projected image becomes trapezoidal You can screw the adjuster feet to fine tune the horizontal angle To retract the feet screw the adj...

Страница 16: ...ps 1 Do one of the following steps to display the keystone correction page Press on the projector or remote control Press QUICK INSTALL on the remote control Press to highlight Keystone and press OK G...

Страница 17: ...he cables are firmly inserted 7 2 7 7 10 4 8 3 1 1 5 6 10 11 9 0 67 0 67 Notebook or desktop computer VGA cable VGA to DVI A cable USB cable Component Video to VGA D Sub adapter cable S Video cable Vi...

Страница 18: ...display on off Press FN and the labeled function key simultaneously Refer to your notebook s documentation to find your notebook s key combination If the selected video image is not displayed after th...

Страница 19: ...r or home cinema applications Any stereo audio input if provided is mixed into a common mono audio output through the projector speaker s The built in speaker s will be muted when the AUDIO OUT jack i...

Страница 20: ...for input signals The current input signal being scanned appears If the projector does not detect a valid signal the message No Signal will continue displaying until an input signal is found You can...

Страница 21: ...Type 2 Press OK and press to select Advanced Next time when you turn on the projector you may access the Advanced OSD menu by pressing MENU Below is the overview of the Advanced OSD menu The OSD scree...

Страница 22: ...ed OSD menu to the Basic OSD menu follow the instructions below 1 Go to Advanced Menu System Menu Settings and press OK 2 Select Menu Type and OK 3 Press to select Basic Next time when you turn on the...

Страница 23: ...e wrong password the password error message will appear and the Input Current Password message follows If you absolutely do not remember the password you can use the password recall procedure See Ente...

Страница 24: ...put signal The projector can be connected to multiple devices at the same time However it can only display one full screen at a time When starting up the projector automatically searches for the avail...

Страница 25: ...power off The AC power cord can be pulled out right after the projector is turned off To protect the lamp wait about 10 minutes before re starting the projector If you attempt to re start the projecto...

Страница 26: ...set the image s aspect ratio depending on your input signal source Auto Scales an image proportionally to fit the projector s native resolution in its horizontal or vertical width Real Projects an ima...

Страница 27: ...ntrast with a low brightness level this is most suitable for enjoying movies in a totally dark environment as you would find in a commercial cinema 3D Is appropriate for playing 3D images and 3D video...

Страница 28: ...current available picture modes See Reference Mode on page 28 Reference Mode There are 2 user definable modes if the current available picture modes are not suitable for your need You can use one of...

Страница 29: ...ion provides six sets RGBCMY of colors to be adjusted When you select each color you can independently adjust its range and saturation according to your preference Primary Color Selects a color from a...

Страница 30: ...s it to fit within the display area For input signals with lower resolutions the projected image will be displayed in its original size 4 3 Scales an image so that it is displayed in the center of the...

Страница 31: ...are saved you can decide if you would like to apply them by choosing a set of 3D settings that you have saved Once applied the projector will automatically play the incoming 3D contents if it matches...

Страница 32: ...one or more mirrors See Choosing a location on page 12 Remote Receiver Allows you to enable all the remote receivers or one specific remote receiver on the projector Auto Source Search Allows the proj...

Страница 33: ...the above it may display auto shut down symptoms which is designed to protect your projector from over heating In cases like this you should switch to High Altitude mode to solve these symptoms Howeve...

Страница 34: ...or can play sound when it is in standby mode and the corresponding jacks are correctly connected to devices Press to choose the source that you wish to use See Connection on page 17 for how to make th...

Страница 35: ...preset values The following settings will still remain Keystone Projector Installation Lamp Timer High Altitude Mode Security Settings Baud Rate Reset System Returns all of the adjustments you ve mad...

Страница 36: ...ith water and a neutral pH detergent Then wipe the case Storing the projector If you need to store the projector for an extended time please follow the instructions below Make sure the temperature and...

Страница 37: ...tances the lamp may explode The following Lamp warning displays will remind you to change the lamp Lamp mode Description Normal Provides full lamp brightness Economic Lowers brightness to extend the l...

Страница 38: ...of injuries to fingers and damage to internal components use caution when removing lamp glass that has shattered into sharp pieces To reduce the risk of injuries to fingers and or compromising image...

Страница 39: ...n the projector Do not turn the power on with the lamp cover open Do not insert your fingers between the lamp and the projector The sharp edges inside the projector may cause injuries Pulling it too q...

Страница 40: ...ettings Lamp Settings and press OK The Lamp Settings page appears Highlight Reset Lamp Timer and press OK A warning message is displayed asking if you want to reset the lamp timer Highlight Reset and...

Страница 41: ...eration Lamp is not lit up Lamp life exhausted Thermal events Fan 1 error the actual fan speed is outside the desired speed Fan 2 error the actual fan speed is outside the desired speed Temperature 1...

Страница 42: ...l has not been correctly selected Select the correct input signal with the SOURCE key The lens cover is still closed Open the lens cover Blurred image Cause Remedy The projection lens is not correctly...

Страница 43: ...5 x 1 IR receiver x 2 Input terminals Computer input RGB input D Sub 15 pin female x 2 Video signal input S VIDEO MX825ST MW826ST Mini DIN 4 pin x 1 VIDEO MX825ST MW826ST RCA jack x 1 SD HDTV signal i...

Страница 44: ...44 Specifications Dimensions 296 mm W x 116 mm H x 237 mm D 296 237 116 Unit mm...

Страница 45: ...Notebook_timing 64 995 41 467 51 419 1280 x 720 1280 x 720_60 60 45 000 74 250 V V V 1280 x 768 1280 x 768_60 59 87 47 776 79 5 V V V 1280 x 800 WXGA_60 59 810 49 702 83 500 V V V WXGA_75 74 934 62 7...

Страница 46: ...67 51 419 1280 x 720 1280 x 720_60 60 45 000 74 250 V V V 1280 x 768 1280 x 768_60 59 870 47 776 79 5 V V V 1280 x 800 WXGA_60 59 810 49 702 83 500 V V V WXGA_75 74 934 62 795 106 500 WXGA_85 84 880 7...

Страница 47: ...720 x 480 59 94 31 47 27 576i 720 1440 x 576 50 15 63 27 576p 720 x 576 50 31 25 27 720 50p 1280 x 720 50 37 5 74 25 720 60p 1280 x 720 60 45 00 74 25 1080 24P 1920 x 1080 24 27 74 25 1080 25P 1920 x...

Страница 48: ...ode Horizontal Frequency kHz Vertical Frequency Hz Color sub carrier Frequency MHz Supported 3D format Frame Sequential NTSC 15 73 60 3 58 V PAL 15 63 50 4 43 SECAM 15 63 50 4 25 or 4 41 PAL M 15 73 6...

Отзывы: