


Viewing Digital Photographs and Creating Slide Shows 19
Creating a Slide Show
4.
Select
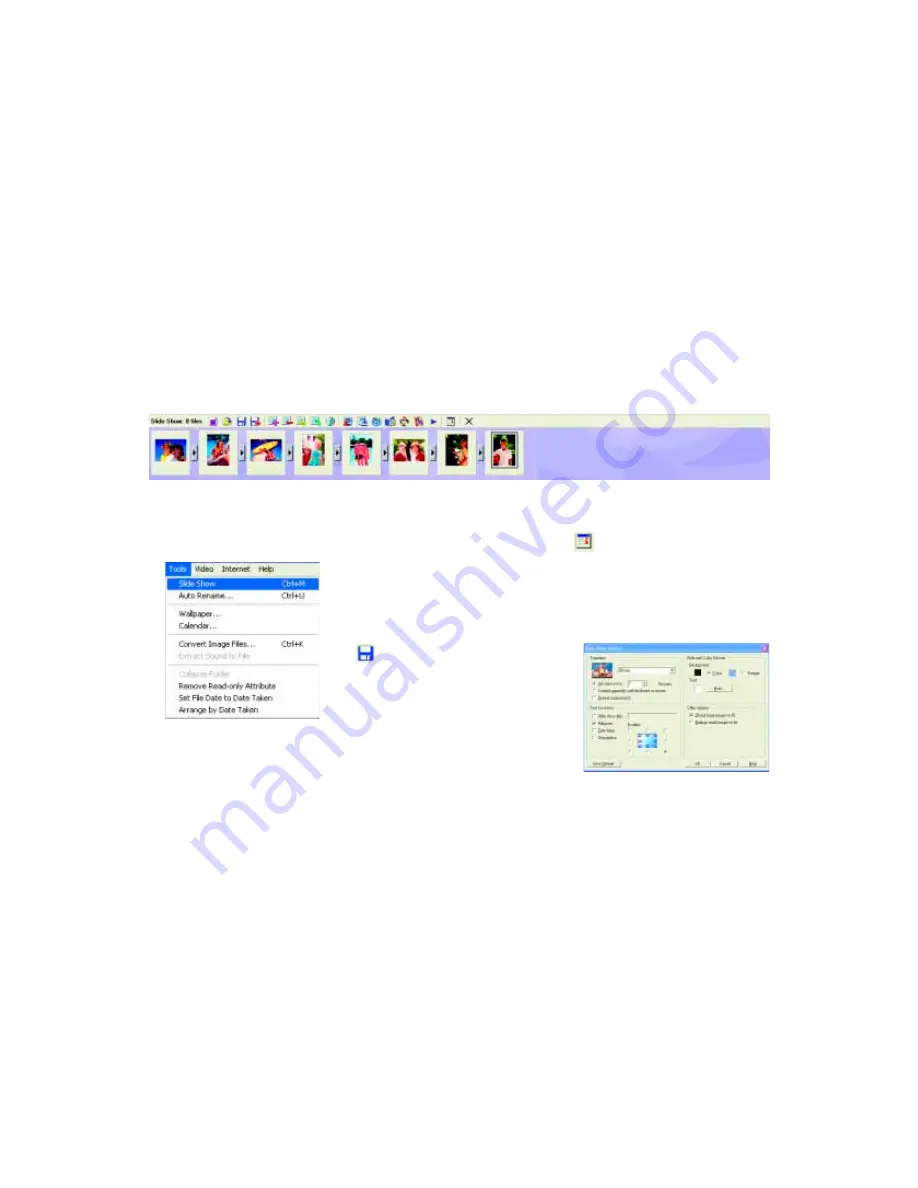
Tools ---
> Slide Show
to open
the Slide Show Storyboard and create a new
project.
5.
Select the image, video, and sound files
you wish to use in your slide show, and drag
them to the Slide Show Storyboard. These
files may come from different directories.
* To use a sound file as the soundtrack for your slide
show, drag it to a position before the first slide on the
Slide Show Storyboard.
6.
Click
Slide Show Options
to select
transition effects and other options.
Choose to run the slide show automati-
cally or control it manually. If you choose
to run the slide show automatically, you
should also set the duration each slide
should be displayed. (This setting applies
only to images, as video and sound files
will play to completion.)
7.
Click
Save
. If you wish to make changes
to the slide show, open the .use file for
the slide show and edit it on the Slide
Show Storyboard.
* The .use project file stores only file locations,
sequences, names, and slide show options. It does not
store the actual images, video, and sound files. If you wish
to save a slide show to a CD for sharing with friends and
family, or for archiving purposes, collect all its files in a
single directory, and then burn this directory to a CD-R
disc.


