Multimedia OSD operation
59
2. Take another RJ-45 cable and connect it to the display, and your Ethernet or router.
Make sure that your computer and the display is on the same local area network
(LAN).
You can also use your Android/iOS device to connect to the display if the network
equipment is wireless enabled.
3. Have your computer ready with the EZ WiFi/LAN software installed.
4. Depending on your need and the availability of the equipment, select a connection
method (
Auto
/
Manual
) in the
Settings
>
LAN
menu.
-
Auto
: Select it when you are in a DHCP environment.
-
Manual
: Fill in the required information when you are not in a DHCP
environment.
5. Go to the
EZ Display
>
EZ LAN
menu and confirm your selection. The password
of the display appears on the screen.
6. Open the EZ WiFi/LAN software and enter the password for the display. Use the
software to set how you will use the display. You can allow multiple computers to
connect to the display, and manage those computers by selecting a split screen, send
your computer screen directly to the display by selecting Mirror mode, or treat the
display as an extended desktop by selecting Extension mode. For details about how
to install and use the software, see its user manual.
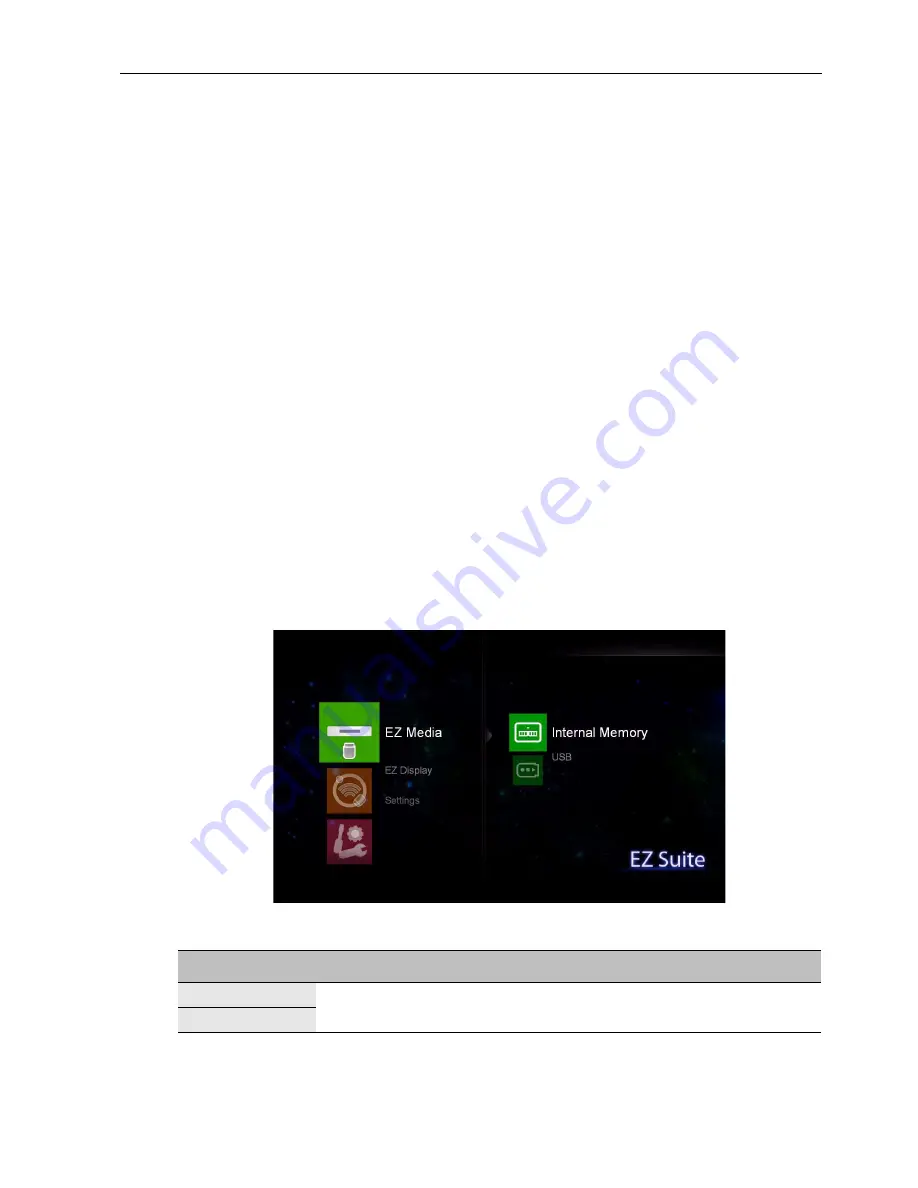
Menu system
EZ Media
Select the device where the files you want to present are stored, and select the file type.
Supported file formats
•
Photo
: JPEG, BMP
Name
Description
Internal
See
Viewing files on page 48
for details.
USB
Содержание IL Series
Страница 1: ...SL Series IL Series Digital Signage User Manual ...
Страница 36: ...Network connection 36 IP address Main menus ...
Страница 71: ...Product information 71 IL420 Unit mm 980 6 570 2 121 1 67 1 22 5 22 5 22 5 22 5 935 6 525 2 ...
Страница 73: ...Product information 73 IL650 Unit mm ...
Страница 75: ...Product information 75 720p 60Hz 1080i 50Hz 1080i 60Hz 1080p 50Hz 1080p 60Hz supported Blank not supported ...


