background image

BenQ DC 5530  User’s Manual

En
glis

h

Using the DC C520

14

• 

If there is no image stored in the internal memory or on the memory card, [No Image] 

message will appear on the monitor.

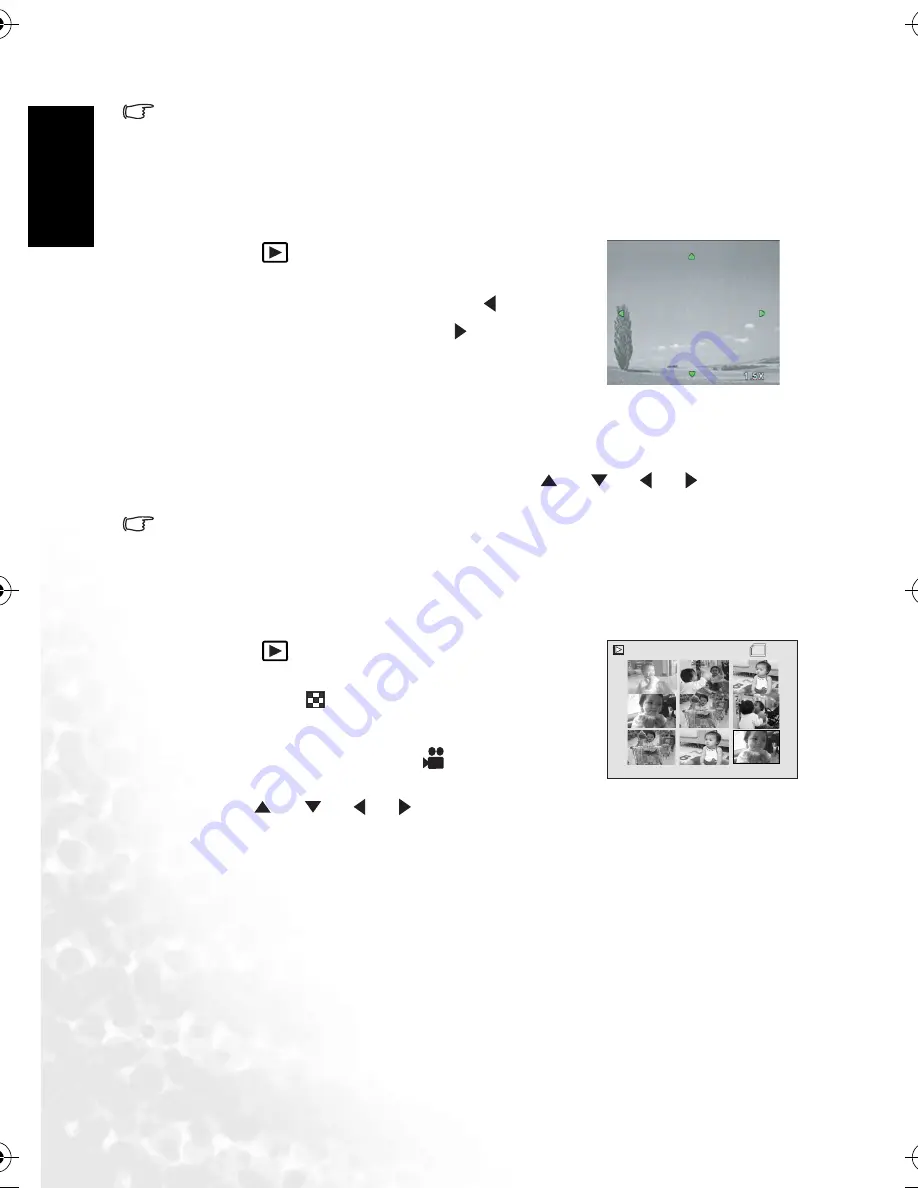
3.4.3.3.2 Magnifying images

While reviewing your images, you may enlarge a selected portion of an image. This 
magnification allows you to view fine details. The zoom factor displayed on the screen shows 
the current magnification ratio.

1. Press the [

] button.

The last captured image appears on the LCD monitor.

To view the previous image, press the [

] button.

To view the next image, press the [

] button.

2. Adjust the zoom ratio by using the Zoom [

W

] / [

T

button.

To enlarge the selected image, press the [

T

] button.

To return to the normal image, press the [

W

] button.

The magnification factor is displayed on the LCD monitor.

3. To view different portion of the images, press the [

] / [

] / [

] / [

] button to 

adjust the display area.

• 

The magnification factors range from 1x to 4x (within 7 stages: 1.0x, 1.5x, 2.0x, 2.5x, 3.0x, 

3.5x and 4.0x).

3.4.3.3.3 Thumbnail display

This function allows you to view 9 thumbnail images on the LCD monitor simultaneously so 
you may search for a particular image.

1. Press the [

] button.

The last captured image appears on the LCD monitor.

2. Press the [

W

] / [

] button once.

Nine thumbnail images are displayed simultaneously.

For recorded video clips, the [

] video mode icon 

will be displayed.

3. Use the [

] / [

] / [

] / [

] button to select the 

image to be displayed at regular size.

4. Press the 

OK

 button to display the selected image on full screen.

SD

SD

1

2

3

4

5

6

7

8

9

DC_C520_UM.book  Page 14  Monday, July 4, 2005  4:40 PM

Содержание DC C520

Страница 1: ...Welcome DC C520 Digital Camera User s Manual ...

Страница 2: ... below 0 C or above 40 C Do not use or store your camera in the environments listed below Direct sunlight High and dusty places Next to an air conditioner electric heater or other heat sources In a closed car that is in direct sunlight Unstable locations If your camera becomes wet wipe it with a dry cloth as soon as possible Salt or seawater may cause severe camera damage Do not use solvents such ...

Страница 3: ... dial 4 3 2 LCD monitor information camera mode 5 3 3 Getting started 6 3 3 1 Turning the power on off 6 3 3 2 Choosing the screen language 6 3 3 3 Setting the date and time 6 3 3 4 Using the flash 7 3 3 5 Using the self timer 7 3 3 6 Using the zoom function 8 3 3 7 Burst 9 3 3 8 Auto exposure bracketing AEB 9 3 4 Menu options 10 3 4 1 Camera menu 10 3 4 2 Video mode 12 3 4 2 1 LCD monitor informa...

Страница 4: ...ode 17 3 4 4 1 Setup menu 17 4 PC DEPENDENT FEATURES 19 4 1 Bundled software 19 4 2 Transferring files to your computer 19 4 2 1 Step 1 Connect the digital camera to your computer 20 4 2 2 Step 2 Download images or video clips 20 4 3 Connecting to a PictBridge compliant printer optional feature 21 5 Troubleshooting 22 6 Specifications 24 7 Service Information 25 ...

Страница 5: ...issing or appear to be damaged contact your dealer Save the packaging in case you need to ship your camera for service 1 2 DC C520 components 1 2 1 Front view 1 User s Manual 2 DC C520 digital camera 3 USB cable 4 AA batteries 5 Hand strap 6 DC C520 software CD ROM 7 Pouch 8 AV cable 1 Shutter button 2 Built in flash 3 Power button 4 Mode dial 5 Self timer LED 6 Lens 7 Beeper 8 PC USB AV Out termi...

Страница 6: ...The digital camera is powering up Solid green The digital camera is ready to capture images or record video clips Blinking green The USB communication transfer is in progress Blinking red The flash is charging Self timer LED Blinking red The self timer function is activated 1 W Thumbnail button Zoom out button 2 T Zoom in button 3 Strap eyelet 4 Rec play button 5 Menu button 6 Delete button 7 Arro...

Страница 7: ...so expand the memory capacity by using an optional SD Secure Digital memory card to store more files 1 Always make sure the camera is turned off before inserting or removing a memory card 2 Insert an SD memory card in the correct orientation as shown in the illustration 3 Close the battery SD memory card cover To remove the SD memory card make sure the camera is turned off Press lightly on the edg...

Страница 8: ... advanced features 3 A Auto Select this mode to adjust point and shoot action automatically 4 Video Select this mode to record video clips 5 Portrait Select this mode to make people stand out with the background out of focus 6 Landscape Select this mode to take photographs of distant scenery or landscapes 7 Sports Select this mode to capture fast moving subjects 8 Night Select this mode to take ph...

Страница 9: ...7 1 0 1 3 1 7 2 0 6 ISO ISO Auto ISO 50 ISO 100 ISO 200 7 Resolution 2560 x 1920 2048 x 1536 1280 x 960 640 x 480 8 Image Quality Quality Fine Quality Normal Quality Economy 9 Possible number of shots 10 Effect Effect Normal B W Sepia 11 Focus indicator Focus Auto Macro Infinity 12 White balance Auto WB Sunny Cloudy Sunset Tungsten Fluorescent 13 Metering Center Average Spot 14 Sharpness Sharpness...

Страница 10: ...uage menu 3 Press or to select the desired language 4 Press the OK button to confirm 3 3 3 Setting the date and time Follow the steps below to set the current date and time 1 Rotate the mode dial to SET mode and then press the button to turn on your camera 2 Press or to scroll to Date Time menu 3 Press or to move to Year Month Day and Time fields Move to the field that you would like to change and...

Страница 11: ... a flat surface 1 Secure the camera to a tripod or place it on a stable surface 2 Rotate the mode dial to A M or and then press the button to turn on your camera 3 Toggle until the desired self timer mode appears on the LCD monitor Icon Flash mode Description Auto flash The flash fires automatically according to the photographic conditions Red eye This mode can reduce the red eye phenomenon when y...

Страница 12: ...ler away by pressing the W button Moreover you can further enlarge the subjects with 4X digital zoom by pressing the T button continuously It is activated after your camera reaches its maximum optical zoom factor 3X A useful feature as it is however the more the image is magnified the grainer the image may become To capture a zoomed image perform the following steps 1 Press the button to turn on y...

Страница 13: ...ot Shooting will stop when the shutter button is released In Burst mode the flash mode will be set to OFF automatically 3 3 8 Auto exposure bracketing AEB In this mode the camera automatically changes the exposure within a set range to take three shots after you press the shutter button once AEB settings can be combined with exposure compensation settings to extend the adjustment range 1 Rotate th...

Страница 14: ...4 To exit from the menu press the button In A mode Item Functional Description Resolution This option sets the size of the image that will be captured 2560 x 1920 2048 x 1536 1280 x 960 640 x 480 Image Quality This option sets the quality compression rate at which the image will be captured Quality Fine Quality Normal Quality Economy Focus This option allows you to capture images with the distance...

Страница 15: ...hree different degrees of color to match with your preference Your images will demonstrate different impression by selecting different degrees of color This is called Saturation Saturation Low Saturation Medium Saturation High Focus Refer to the In A mode on page 10 Capture Mode Refer to the In A mode on page 10 Metering You can select the metering mode that sets which part of the subject to measu...

Страница 16: ...tical zoom 3X can be activated before you start to record video clips Pressing the switches the LCD monitor display mode Press the button once to set the indicators OFF Press the button again to set the indicators ON White Balance This option sets the white balance photographing under a variety of lighting conditions and permits photographs to be taken that approach the conditions that are seen by...

Страница 17: ...mode image 2 Resolution 3 Image Quality 4 Available number of files 5 Battery power indicator 6 Date 3 4 3 2 LCD monitor information video playback 1 Playback mode video 2 Available number of files 3 Playback navigator 4 Date 5 Battery power indicator 3 4 3 3 Playback mode the basics 3 4 3 3 1 Viewing images You can display the still images you have just captured at a time 1 Press the button to tu...

Страница 18: ...age press the T button To return to the normal image press the W button The magnification factor is displayed on the LCD monitor 3 To view different portion of the images press the button to adjust the display area The magnification factors range from 1x to 4x within 7 stages 1 0x 1 5x 2 0x 2 5x 3 0x 3 5x and 4 0x 3 4 3 3 3 Thumbnail display This function allows you to view 9 thumbnail images on t...

Страница 19: ...interval within the range of 3 sec 5 sec 10 sec 3 4 3 3 5 Resizing an image You can change the resolution of a captured image to one of the following sizes 2048 x 1536 pixels 1280 x 960 pixels and 640 x 480 pixels 1 Press the button The last captured image appears on the LCD monitor 2 In mode use or to select the desired images To view the previous image press the button To view the next image pre...

Страница 20: ...m being erased by mistake Protect One Protect All Quality Reduce This option reduces the quality compression rate for the selected image Quality Normal Quality Economy Resize This option changes the size of a captured image Resize to 3M Resize to 1M Resize to VGA DPOF This option allows you to select the desired pictures to be printed and set the number of prints and date displayed in DPOF format ...

Страница 21: ... every time when you press the camera buttons Louder Soft Off Power Save If no operation is performed for a specific period of time the power to the camera is auto matically turned off This feature is useful to reduce battery wear 2 min 3 min 5 min OFF Digital Zoom This option sets whether the digital zoom will be activated at the time of photography ON OFF Reset to Default This option returns all...

Страница 22: ...immediately after you have taken a shot ON OFF Date Time This option sets the date and time Refer to 3 3 3 Setting the date and time on page 6 for further details Year Month Date Date Month Year Month Date Year Video Out This option sets the video output system of the video equipment that you are going to connect to the camera NTSC PAL Language This option sets the language that is displayed on th...

Страница 23: ...omplete photo project software for digital images Acquire photos effortlessly from digital cameras or scanners Edit and enhance images using easy to use editing tools and cool photographic filters and effects Assemble creative photo projects and share results via e mail and multiple print options Ulead Photo Explorer Ulead Photo Explorer 8 0 SE Basic provides an efficient way to transfer browse mo...

Страница 24: ... a floppy disk or CD You can download transfer images by copying them from the Removable disk untitled or unlabeled disk on a Macintosh to your computer hard drive Windows Open the removable disk and double click on the DCIM DSCIM folder to open it to find more folders Your images are inside these folder s Select the desired still images or video clips and then choose Copy from the Edit menu Open ...

Страница 25: ...appear on the monitor after seconds of time 5 When the connection is established you will be asked to select Print Images or Print DPOF 6 Select the desired option and then press the OK button Print Images 1 If you select Print Images you will be prompted with a screen that allows you to set Size and Borderless options 2 Press or to access the option you would like to change and then press or to s...

Страница 26: ... camera is warm The camera or flash was used con tinuously over a long period of time The flash does not fire The flash does not recharge The camera flash is turned off Set the flash to Auto Flash The light source is sufficient Even though the flash fired the image is dark The distance to the subject is greater than the flash s effective range Get closer to the subject and shoot The image is too b...

Страница 27: ...ng Mode The shutter button was not pressed all the way down Press the shutter button all the way down The internal memory or memory card does not have any free space Load a new card or delete unwanted files The flash is recharging Wait until the flash mode icon indi cated on the screen stops flashing The camera does not recognize the memory card Format the memory card before the initial use or bef...

Страница 28: ...rmat Motion JPEG AVI Lens F no Wide 2 8 Tele 4 8 Focal length 5 4mm 16 2mm Equivalent to 35mm Camera 32 96 mm Focus range Normal 50 cm infinity Wide 6 cm infinity Tele 35 cm infinity LCD monitor 2 0 LTPS color LCD High resolution 130K pixels display Self timer 10 sec delay 2 sec delay 10 2 sec delay Exposure compensation 2 0EV 2 0EV in 0 3EV increments White balance Auto Sunny Cloudy Sunset Tungst...

Страница 29: ...RMATION Technical Support If you have any problem or question regarding the DC C520 you can visit the following web site for further assistance http support BenQ com For free driver updates product information and news releases visit the following web site http www BenQ com ...

Страница 30: ...BenQ DC 5530 User s Manual English Service Information 26 ...

Отзывы: