


Eng
lish
Using the Camera
17
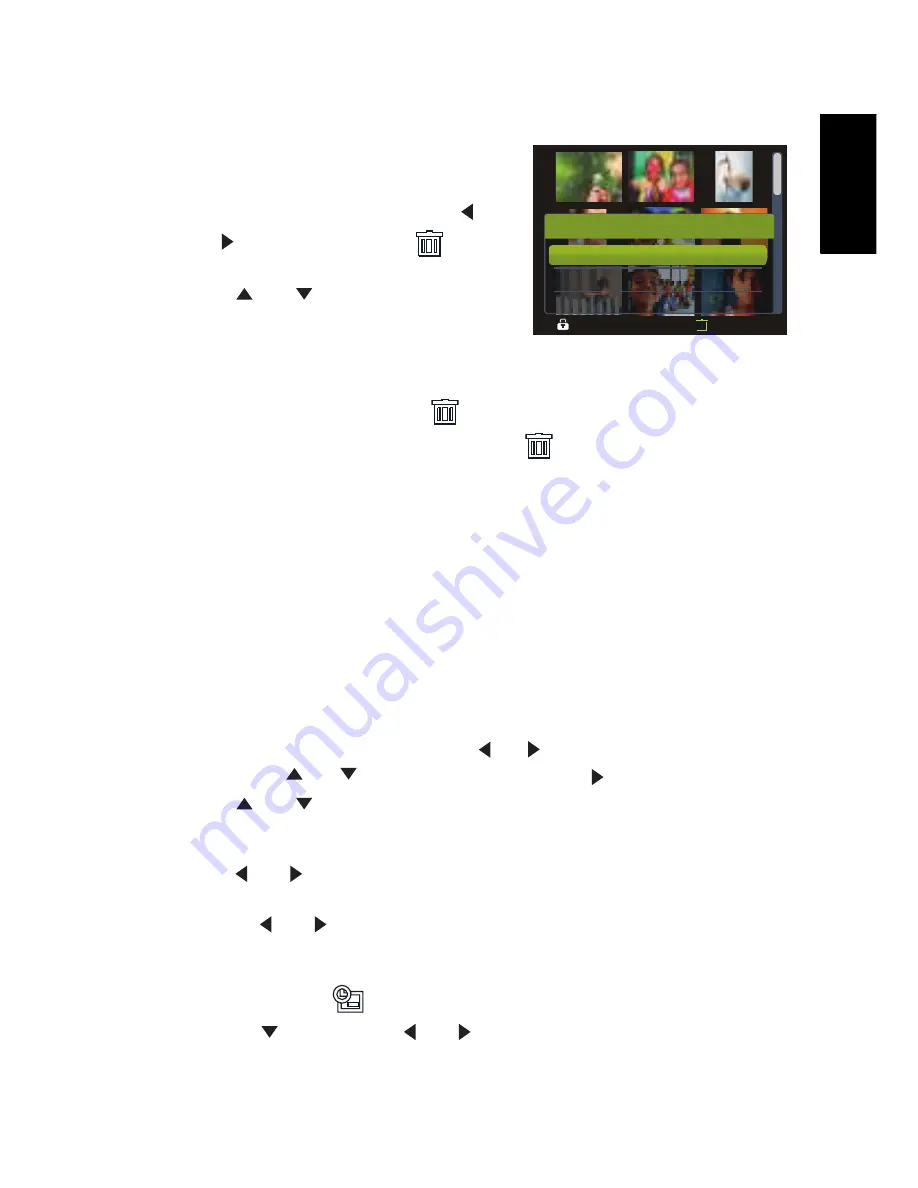
3.8.7 Deleting multiple files
1. Turn the power on, and set the camera to the
thumbnail screen.
2. Open the menu.
•
Press the
MENU
button, then press [
] or
[
] to select to select
Delete
and
press
the
OK
button.
3. Press [
] or [
] to select
[Select]
, and then
press the
OK
button.
•
The frame of the selected image turns green.
4. Select multiple images.
•
Use the four-way control to select the image.
•
Press the
OK
button toggles the
on and off. Repeat this step until all images that
you want to delete are displayed with an icon
.
5. Delete images.
•
Press the
MENU
button, then select
[Yes]
and press the
OK
button. All selected images
will be deleted.
•
To cancel delete, press the
MENU
button in this step.
3.8.8 Setting the DPOF for printing
The Digital Print Order Format (DPOF) setting allows you to select images on the memory
card for printing and specify the number of print copies in advance using the camera. This is
extremely convenient for sending the images to a photo developing service or for printing on
a direct print function compatible printer.
1. Turn the power on, and set the camera to the PLAY mode.
2. Open the menu.
•
Press the
MENU
button, then use the [
] / [
] to select PLAY mode.
•
Press the [
] / [
] ] to select DPOF and press the [
] or
OK
button.
3. Press [
] or [
] to select
[Single]
, then press the
OK
button.
•
To set the DPOF setting for all images in a time, select
[All]
in this step.
•
To reset all DPOF settings to initial default, select
[Reset]
in this step.
4. Press [
] or [
] to select the image you want to print out, then press the
OK
button.
5. Set the number of copies.
•
Press [
] or [
] to specify the number of copies.
•
The number of copies can be set from 0 to 30.
•
To cancel this image DPOF setting, set the number of copies to 0.
6. Print the date stamp
out.
•
Press [
] and then press [
] or [
] to set or cancel the date stamp of current
image.
•
Repeat step 4~6 to other images for printing.
Delete
Ba ck
Ba ck
Al l
Al l
Se lec t
Protect
Protect
Delete
Delete


