35
Item Function Operation
Range
Auto
Adjustment
Optimizes and adjusts the screen settings automatically for you.
The
AUTO
key is a ‘hot key’ for this function.
Press the
ENTER
key to select this
option and make
adjustment.
H. Position Adjusts the horizontal position of the screen image.
Press
▲
or
▼
keys to adjust the
value.
0 to 100
V. Position Adjusts the vertical position of the screen image.
0 to 100
Pixel Clock
Adjusts the pixel clock frequency timing to synchronize with the
analog input video signal. Not applicable to a digital input signal.
0 to 100
Phase
Adjusts the pixel clock phase timing to synchronize with the
analog input video signal. Not applicable to a digital input signal.
0 to 63
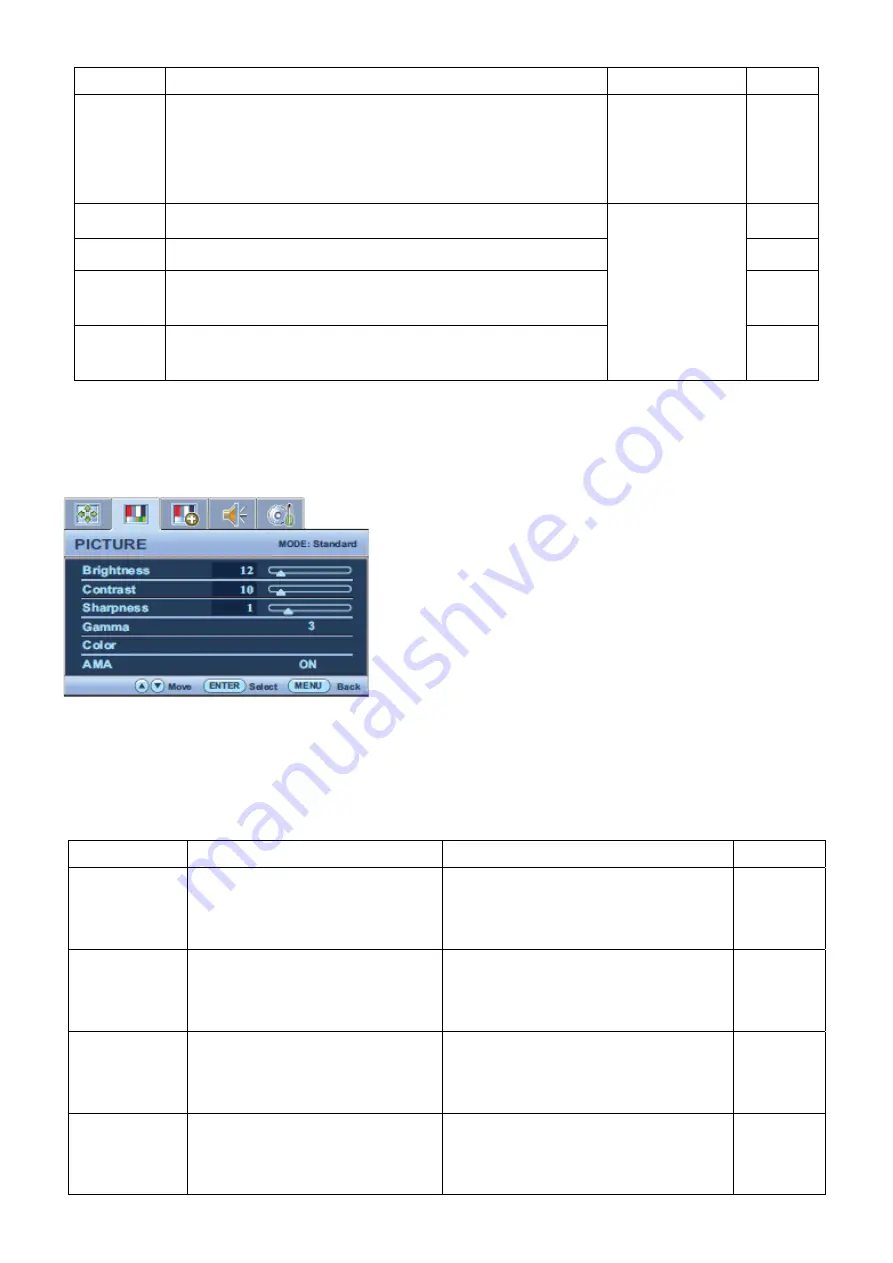
Picture Menu
Available menu options may vary depending on the input sources, functions and settings. Menu options that are not
available will become grayed out.
1. Press the
MENU
key to display the main menu.
2. Press the
▲
or
▼
keys to select
PICTURE
and then press the
ENTER
key to enter the menu.
3. Press the
▲
or
▼
keys to move the highlight to a menu item and then press the
ENTER
key to select that item.
4. Press the
▲
or
▼
keys to make adjustments or selections.
5. To return to the previous menu, press the
MENU
button.
Item Function
Operation Range
Brightness
Adjusts the balance between light
and dark shades.
Press the
▲
key to increase the
brightness and press the
▼
key to
decrease the brightness.
0 to 100
Contrast
Adjusts the degree of difference
between darkness and lightness.
Press the
▲
key to increase the contrast
and press the
▼
key to decrease the
contrast.
0 to 100
Sharpness
Adjusts the clarity and visibility of
the edges of the subjects in the
image.
Press the
▲
key to improve the crispness
of the display and press the
▼
key to
have softness effect on the display.
1 to 5
Gamma
Adjusts the tone luminance. The
default value is 3 (the standard
value for Windows).
Press the
▲
key to increase the gamma
value (Tone becomes darker) and press
the
▼
key to decrease the gamma value
1~ 5
Содержание 9H.L6RLA.T8X
Страница 25: ...25 Click Finish to complete the USB serial port driver installation ...
Страница 28: ...28 4 6 Set the restore address 4 7 Set parameter in Auto window ...
Страница 48: ...48 Six Angles View ...
Страница 52: ...52 Pull out the wire to remove the mainframe 5 Remove the AC cover from the mainframe The mainframe ...
Страница 58: ...58 Stick the black rubberized fabric and aluminum foil to tidy the wire 6 Assemble the AC COVER ...
Страница 81: ...81 PCB LAYOUT Main Board 715G4967M0D000004L ...
Страница 82: ...82 ...
Страница 83: ...83 ...
Страница 84: ...84 ...
Страница 85: ...85 Power Board G950A G950AM 715G5000P01001003H ...
Страница 86: ...86 ...
Страница 87: ...87 ...
Страница 88: ...88 GL950A GL950AM 715G5000P01000003H ...
Страница 89: ...89 Key Board 715G5048K0C000004I ...


