English
45
If you have purchased a test disc which contains various
color test patterns and can be used to test the color
presentation on monitors, TVs, projectors, etc. You can
project any image from the disc on the screen and enter
the 3D Color Management menu to make adjustments.
To adjust the settings:
1. Go to the
Picture
menu and highlight
3D Color
Management
.
2.
Press
ENTER
and the 3D Color Management page
displays.
3. Highlight
Primary color
and press
◄
/
►
to select a
color from among Red, Green, Blue, Cyan, Magenta,
Yellow.
4.
Press
▼
to highlight
Hue
and press
◄
/
►
to select its range. Increase in the range will
include colors consisted of more proportions of its two adjacent colors.
Please refer to the illustration to the right for how the colors relate to each other.
For example, if you select Red and set its range at 0, only pure red in the projected picture
will be selected. Increasing its range will include red close to yellow and red close to
magenta.
5.
Press
▼
to highlight
Saturation
and adjust its values to your preference by press
◄
/
►
.
Every adjustment made will reflect to the image immediately.
For example, if you select Red and set its value at 0, only the saturation of pure red will be
affected.
6. Adjusting the
RGB Gain
to get an accurate white point. For example, if you want to
correct a reddish white, you can decrease the R gain value. .
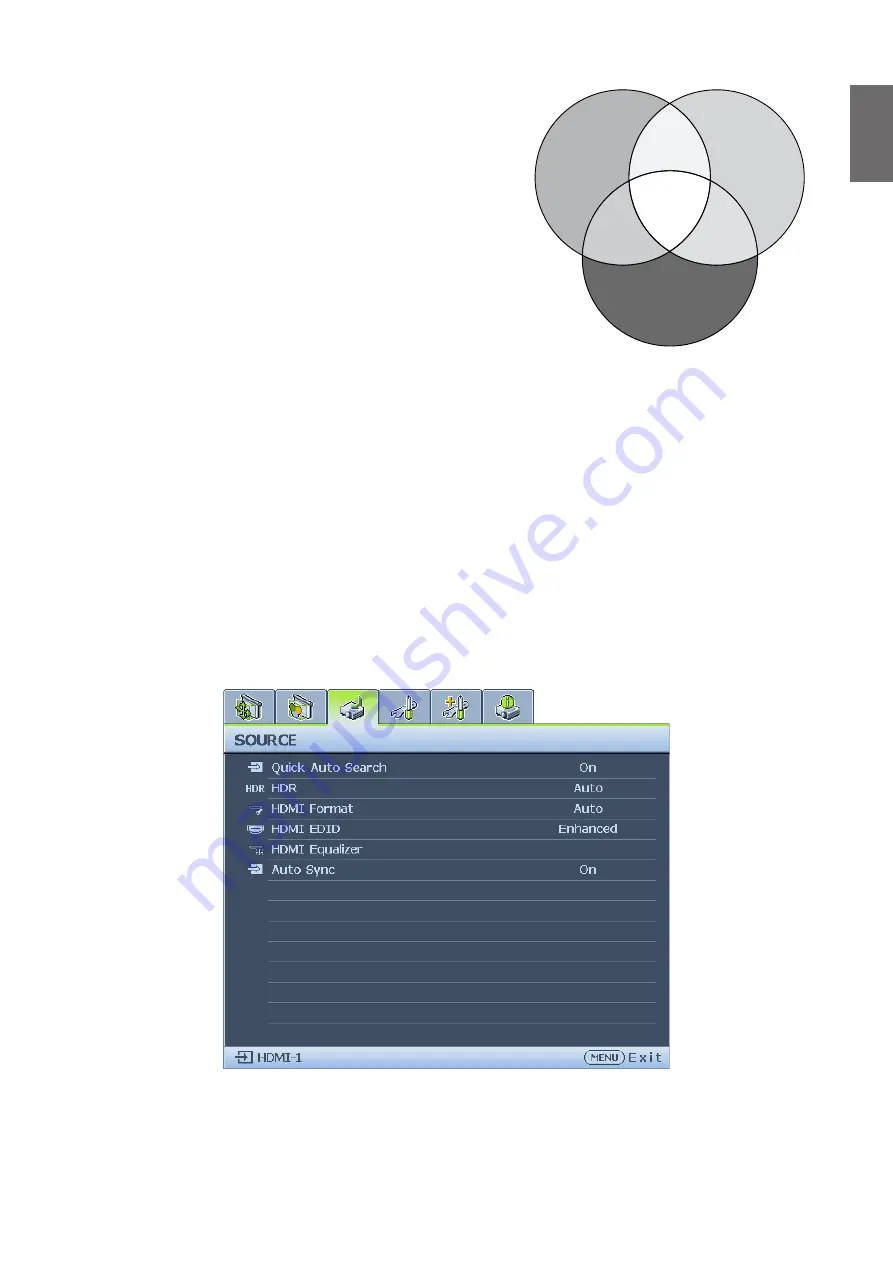
Source menu
•
Quick Auto Search
Press
◄
/
►
to enable or disable search the input source automatically.
•
HDR
Press
◄
/
►
to select a suitable HDR setting. The options are Auto, SDR, HDR 10 and HLG.
RED
Yellow
White
GREEN
Cyan
Magenta
BLUE
Содержание 9H.JMT77.25E
Страница 1: ......
Страница 13: ...English 13 Package contents Standard packing items ...
Страница 69: ...English 69 Dimensions Attaching for ceiling mount Unit mm ...


